How to Make More Cheap Wall Art (Can You Ever Have Enough?)

Flowers, flowers and more flowers
Last week, I shared how to make some awesome framed wall art for less than $6. The one purchase I made for this project (aside from the frames) was a piece of teal sparkly scrapbooking paper and even though it, you know, seemed like a good idea at the time, I eventually realized that sparkly paper was a bit… juvenile. So, I decided to re-purpose my already re-purposed frames for a slightly more sophisticated look.
What’s you’ll need:
- Frames (once again, mine were empty glass cabinet doors from the Habitat ReStore)
- Fabric (I used a remnant I found on clearance at Joann Fabrics)
- Cardboard (I used the boxes that once contained my bamboo flooring)
- Glue gun and tape
- Optional: if you want to go a bit more high end, you’ll also need a large plastic poster frame (hold on to the plexiglass and the backing)

So many choices!
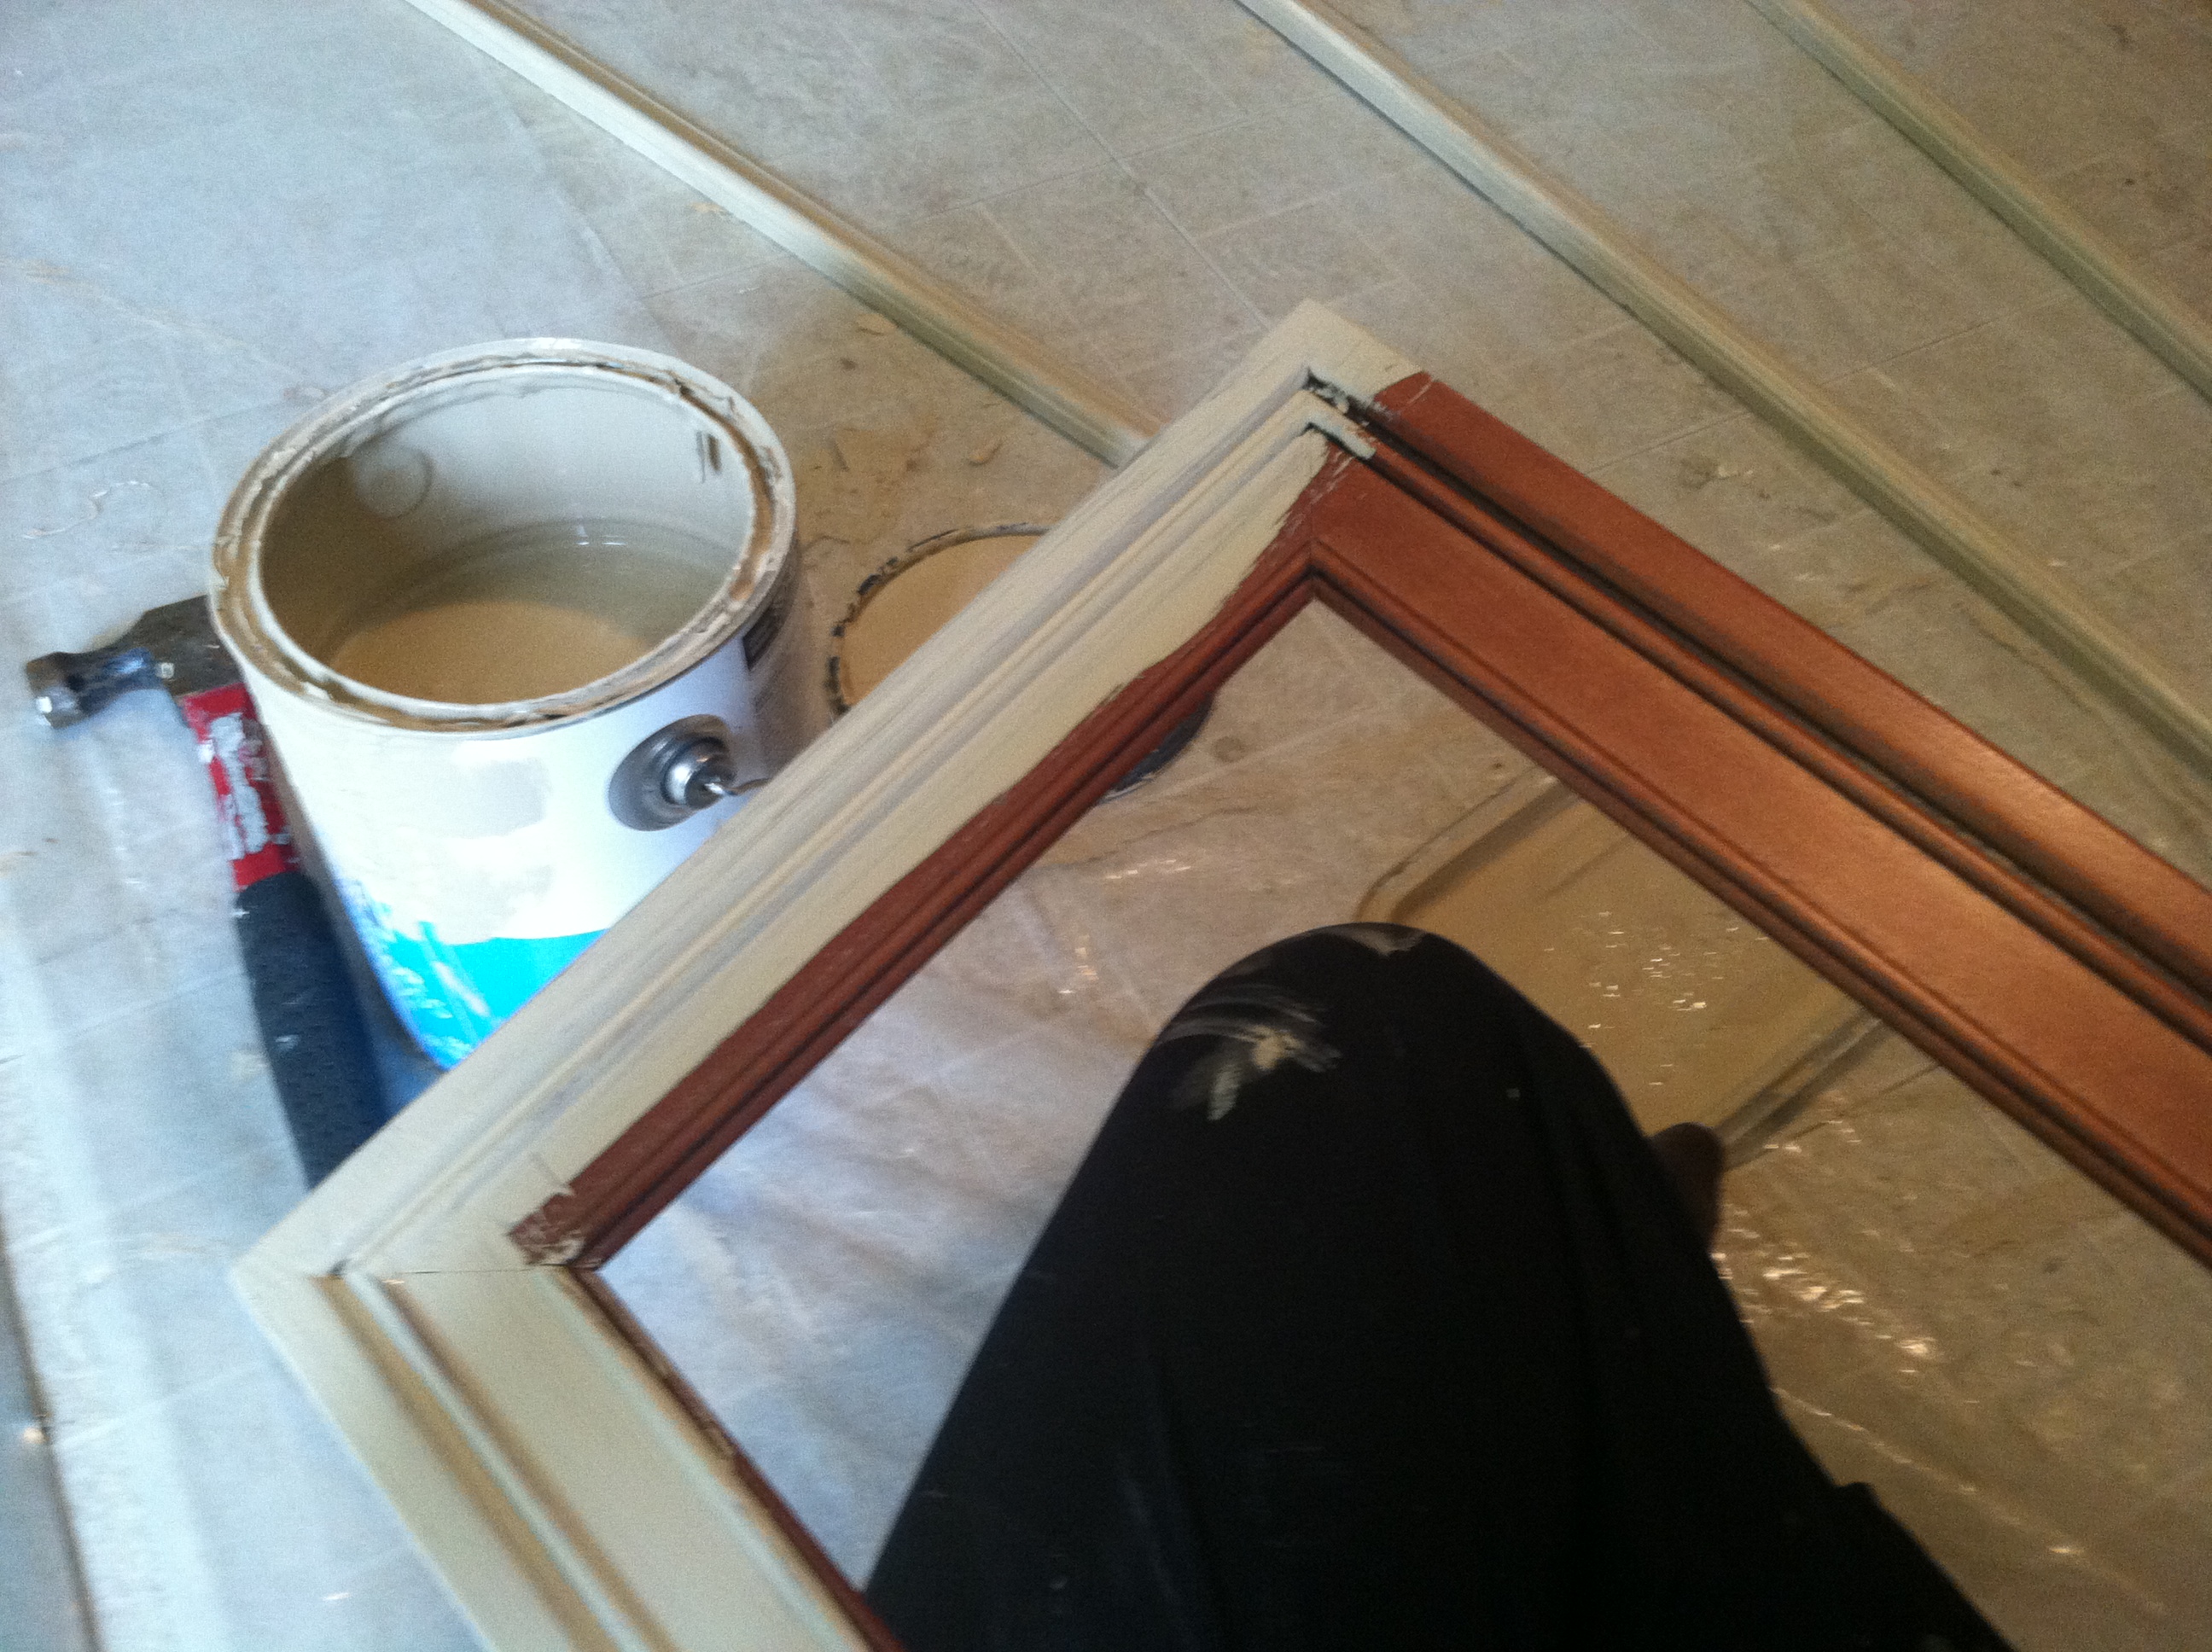
- Paint your frames. (I used leftover gray paint for the frames in my bedroom and leftover beige for the frames in my dining room so they match the baseboard in each room.)
- Cut a piece of cardboard the same size as the interior measurement of your frames. This will provide the backing for your finished product.
- Iron your fabric and cut it to measure about two inches larger than your cardboard backing. (Because I’m a bit anal and wanted all of my frames to look exactly alike, I made sure to use the same pattern repeat for each piece.)
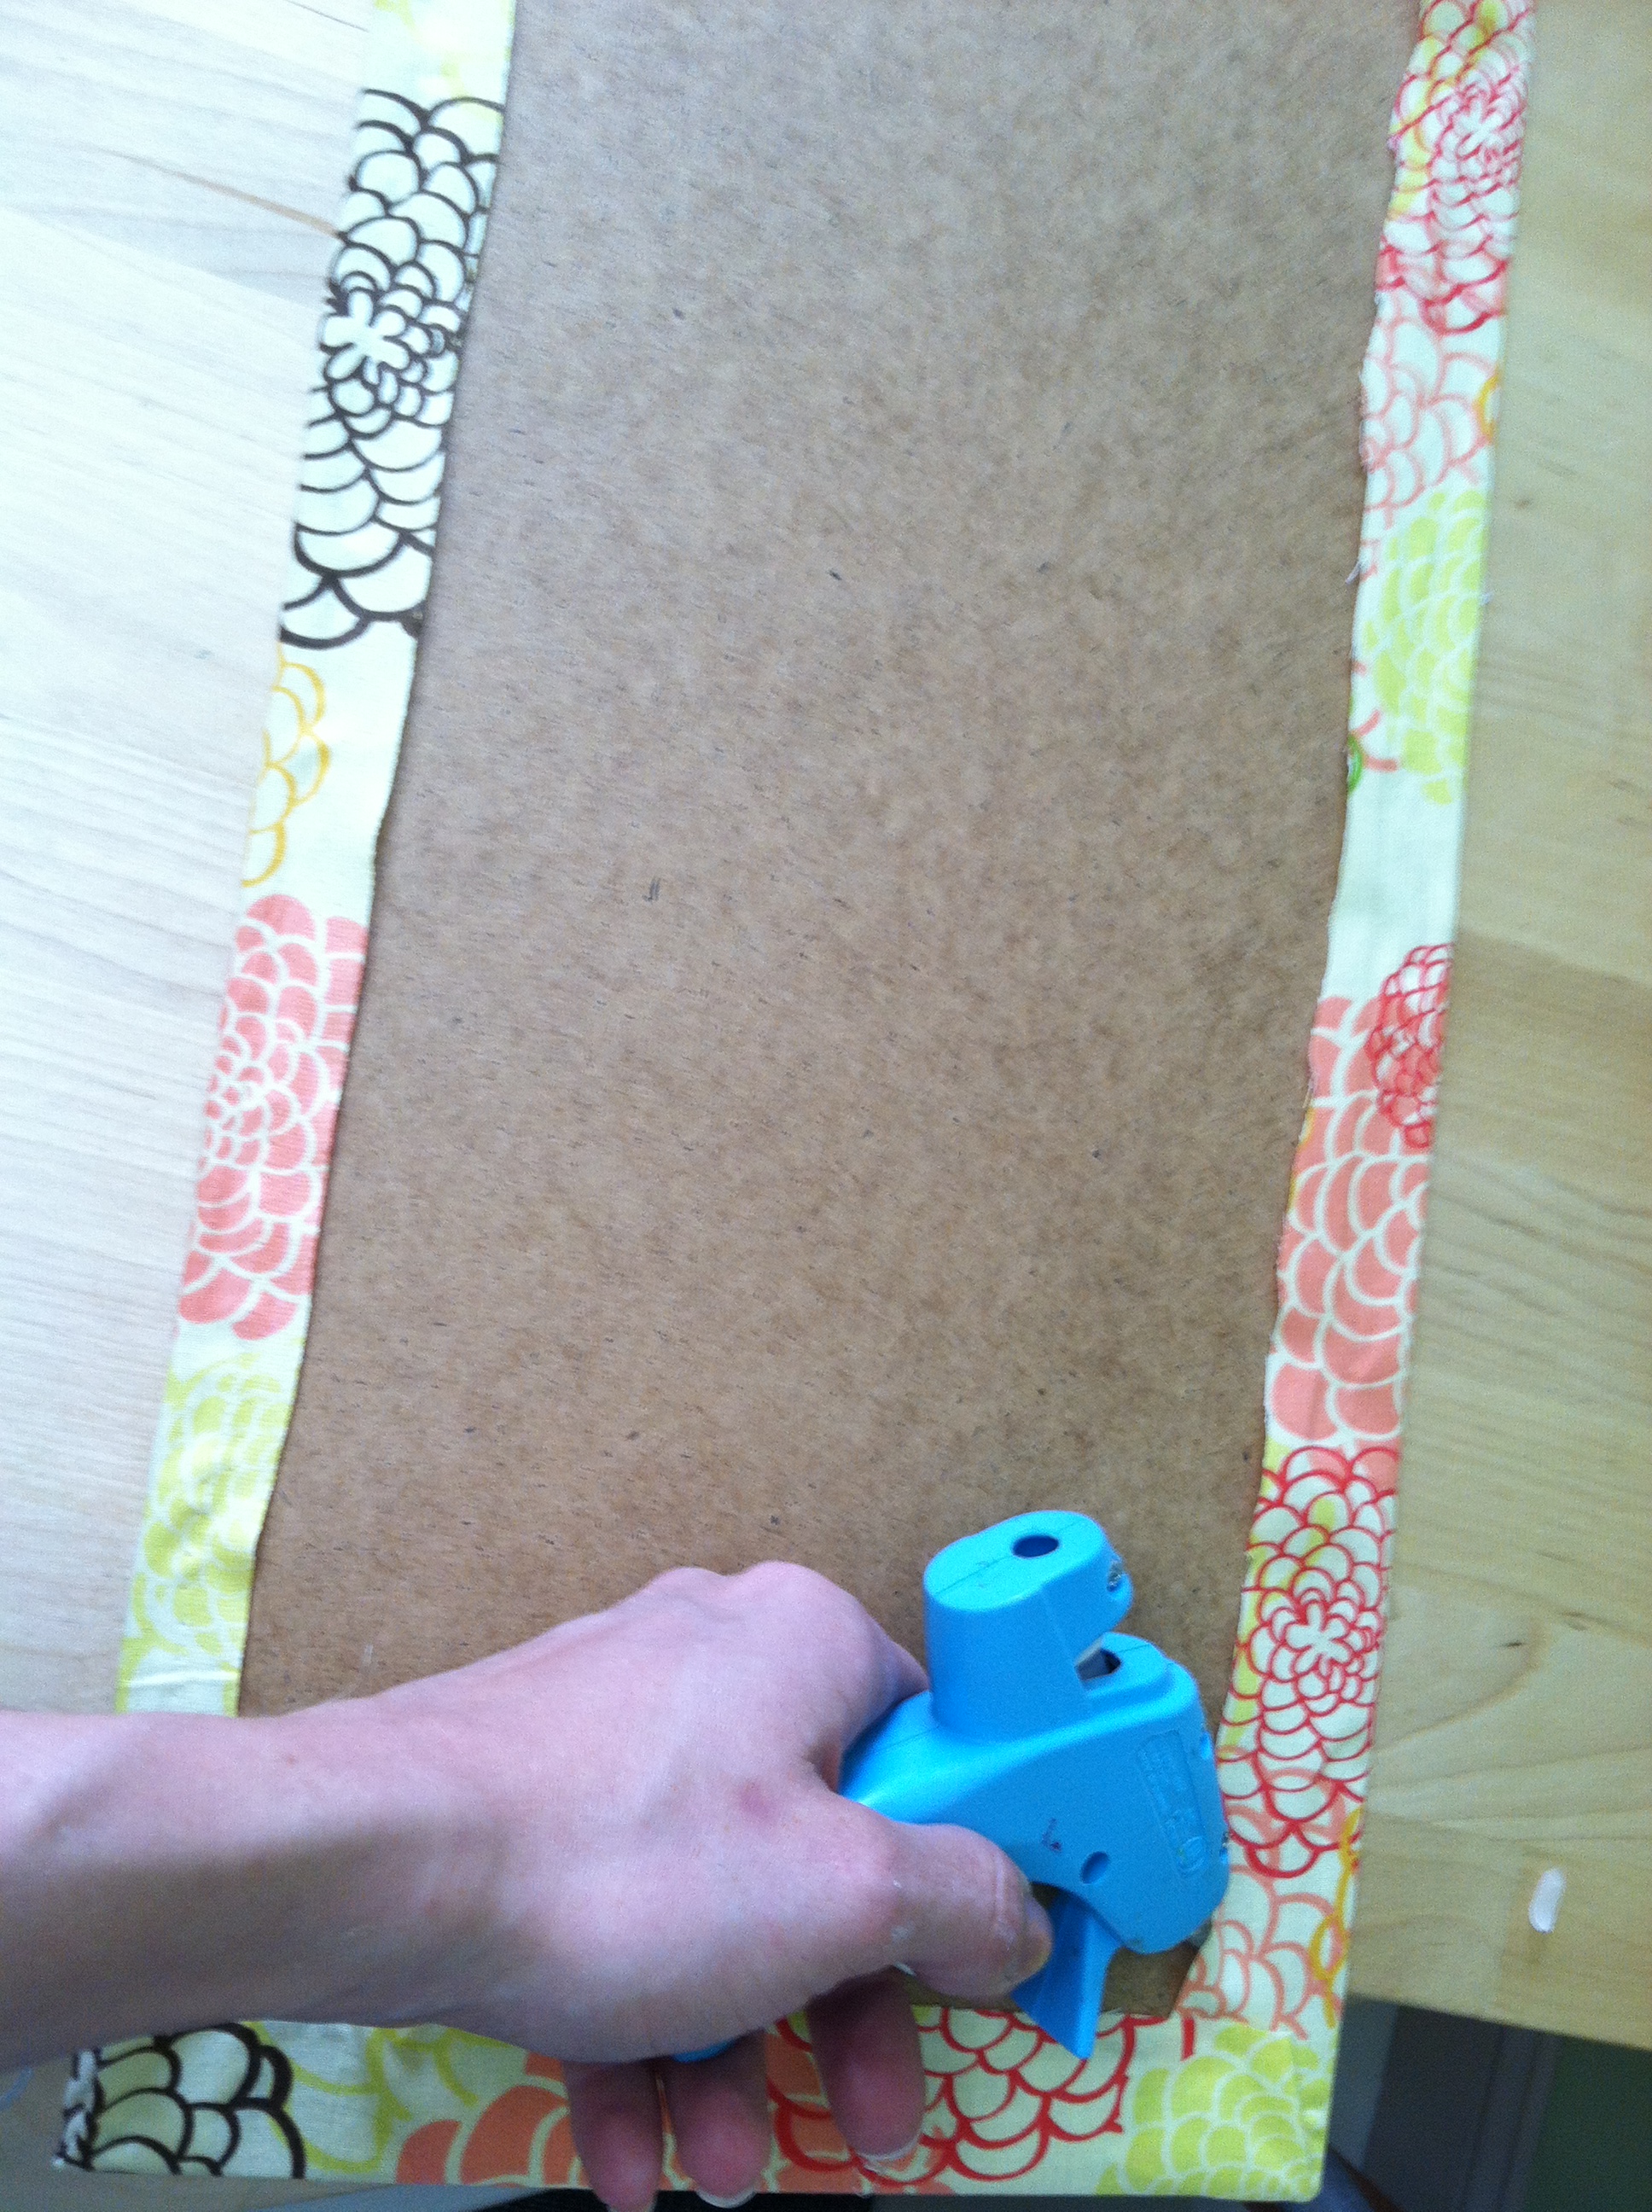
- “Wrap” the edges of the fabric around your cardboard backing and glue or tape them in place. I only used glue on the back of the cardboard back so as not to have any squiggly glue lines show through my finished product. I also wasn’t sure if these frames would be the fabrics final destination (turns out, I’m a bit fickle about wall art) so I wanted the attachment to be only semi-permanent.
- Glue or the fabric wrapped backing into your frame. Pay careful attention to the corner and to the long edges, as these need the most support. Leave a little space in the top center un-taped so that you can easily hang your frame on the wall.

Place your cardboard backing onto your fabric before you cut.

Wrap the edges of the fabric up and around your cardboard backing.

Tuck your project into the frame.
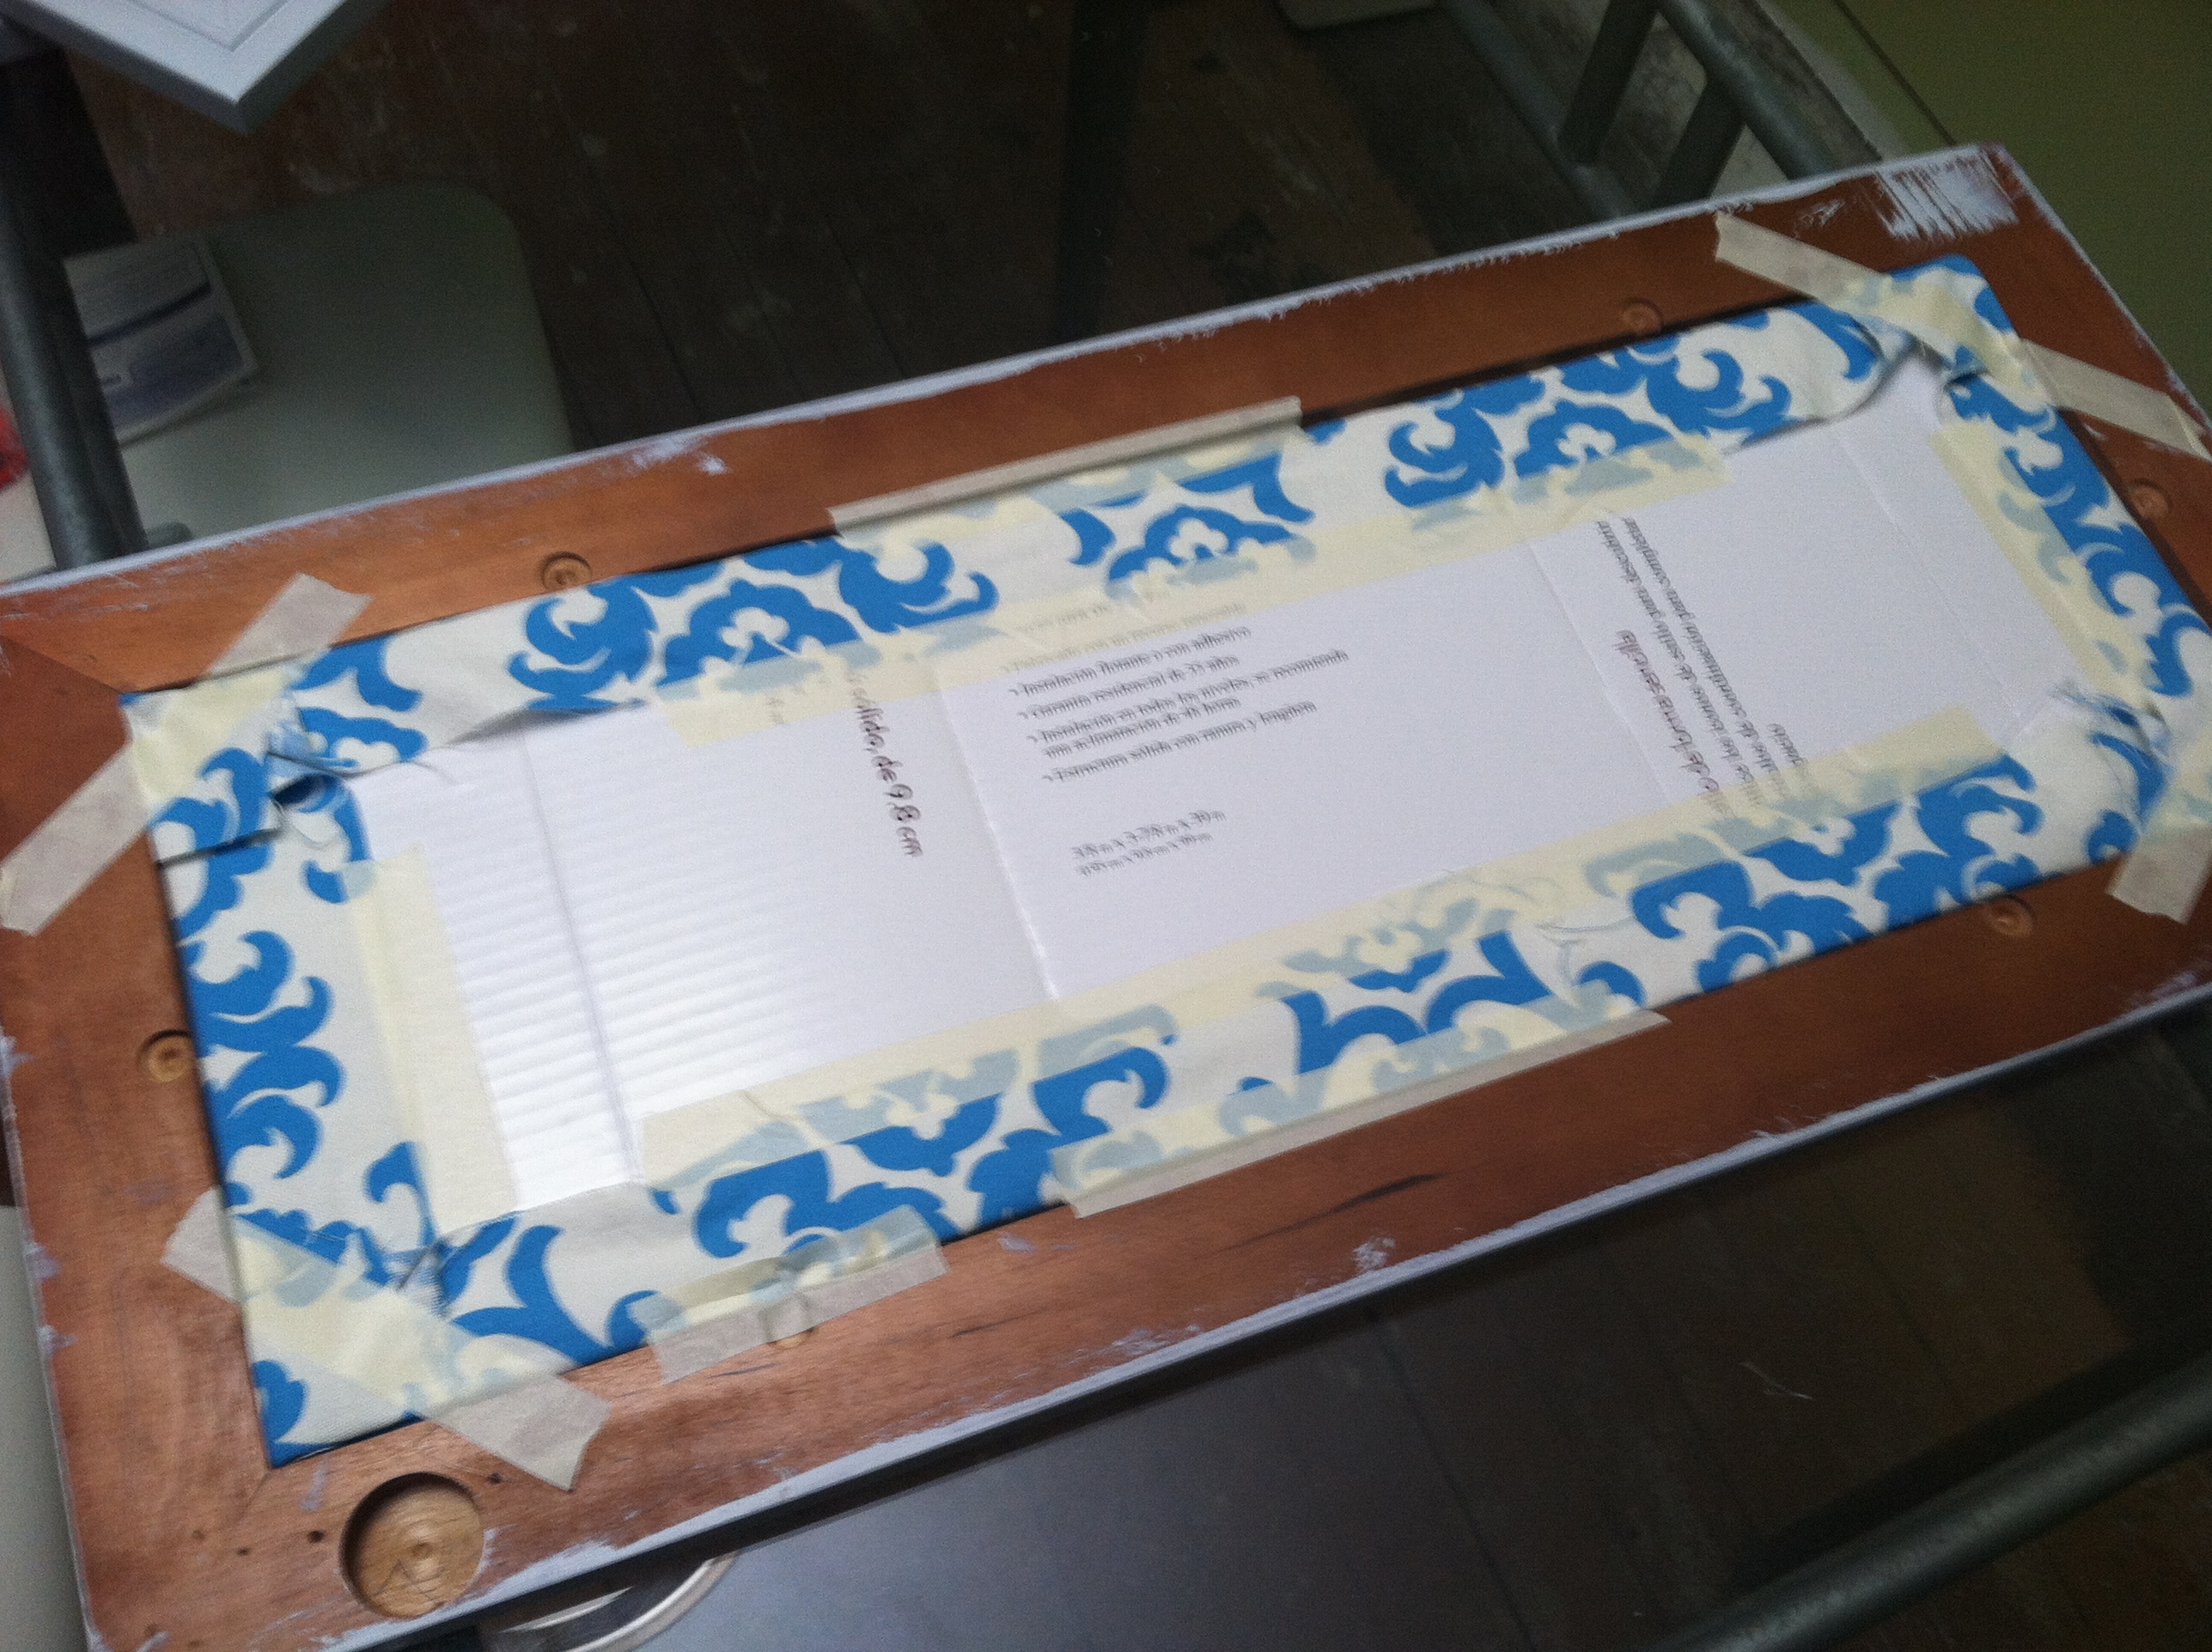
I used masking tape for reinforcement.
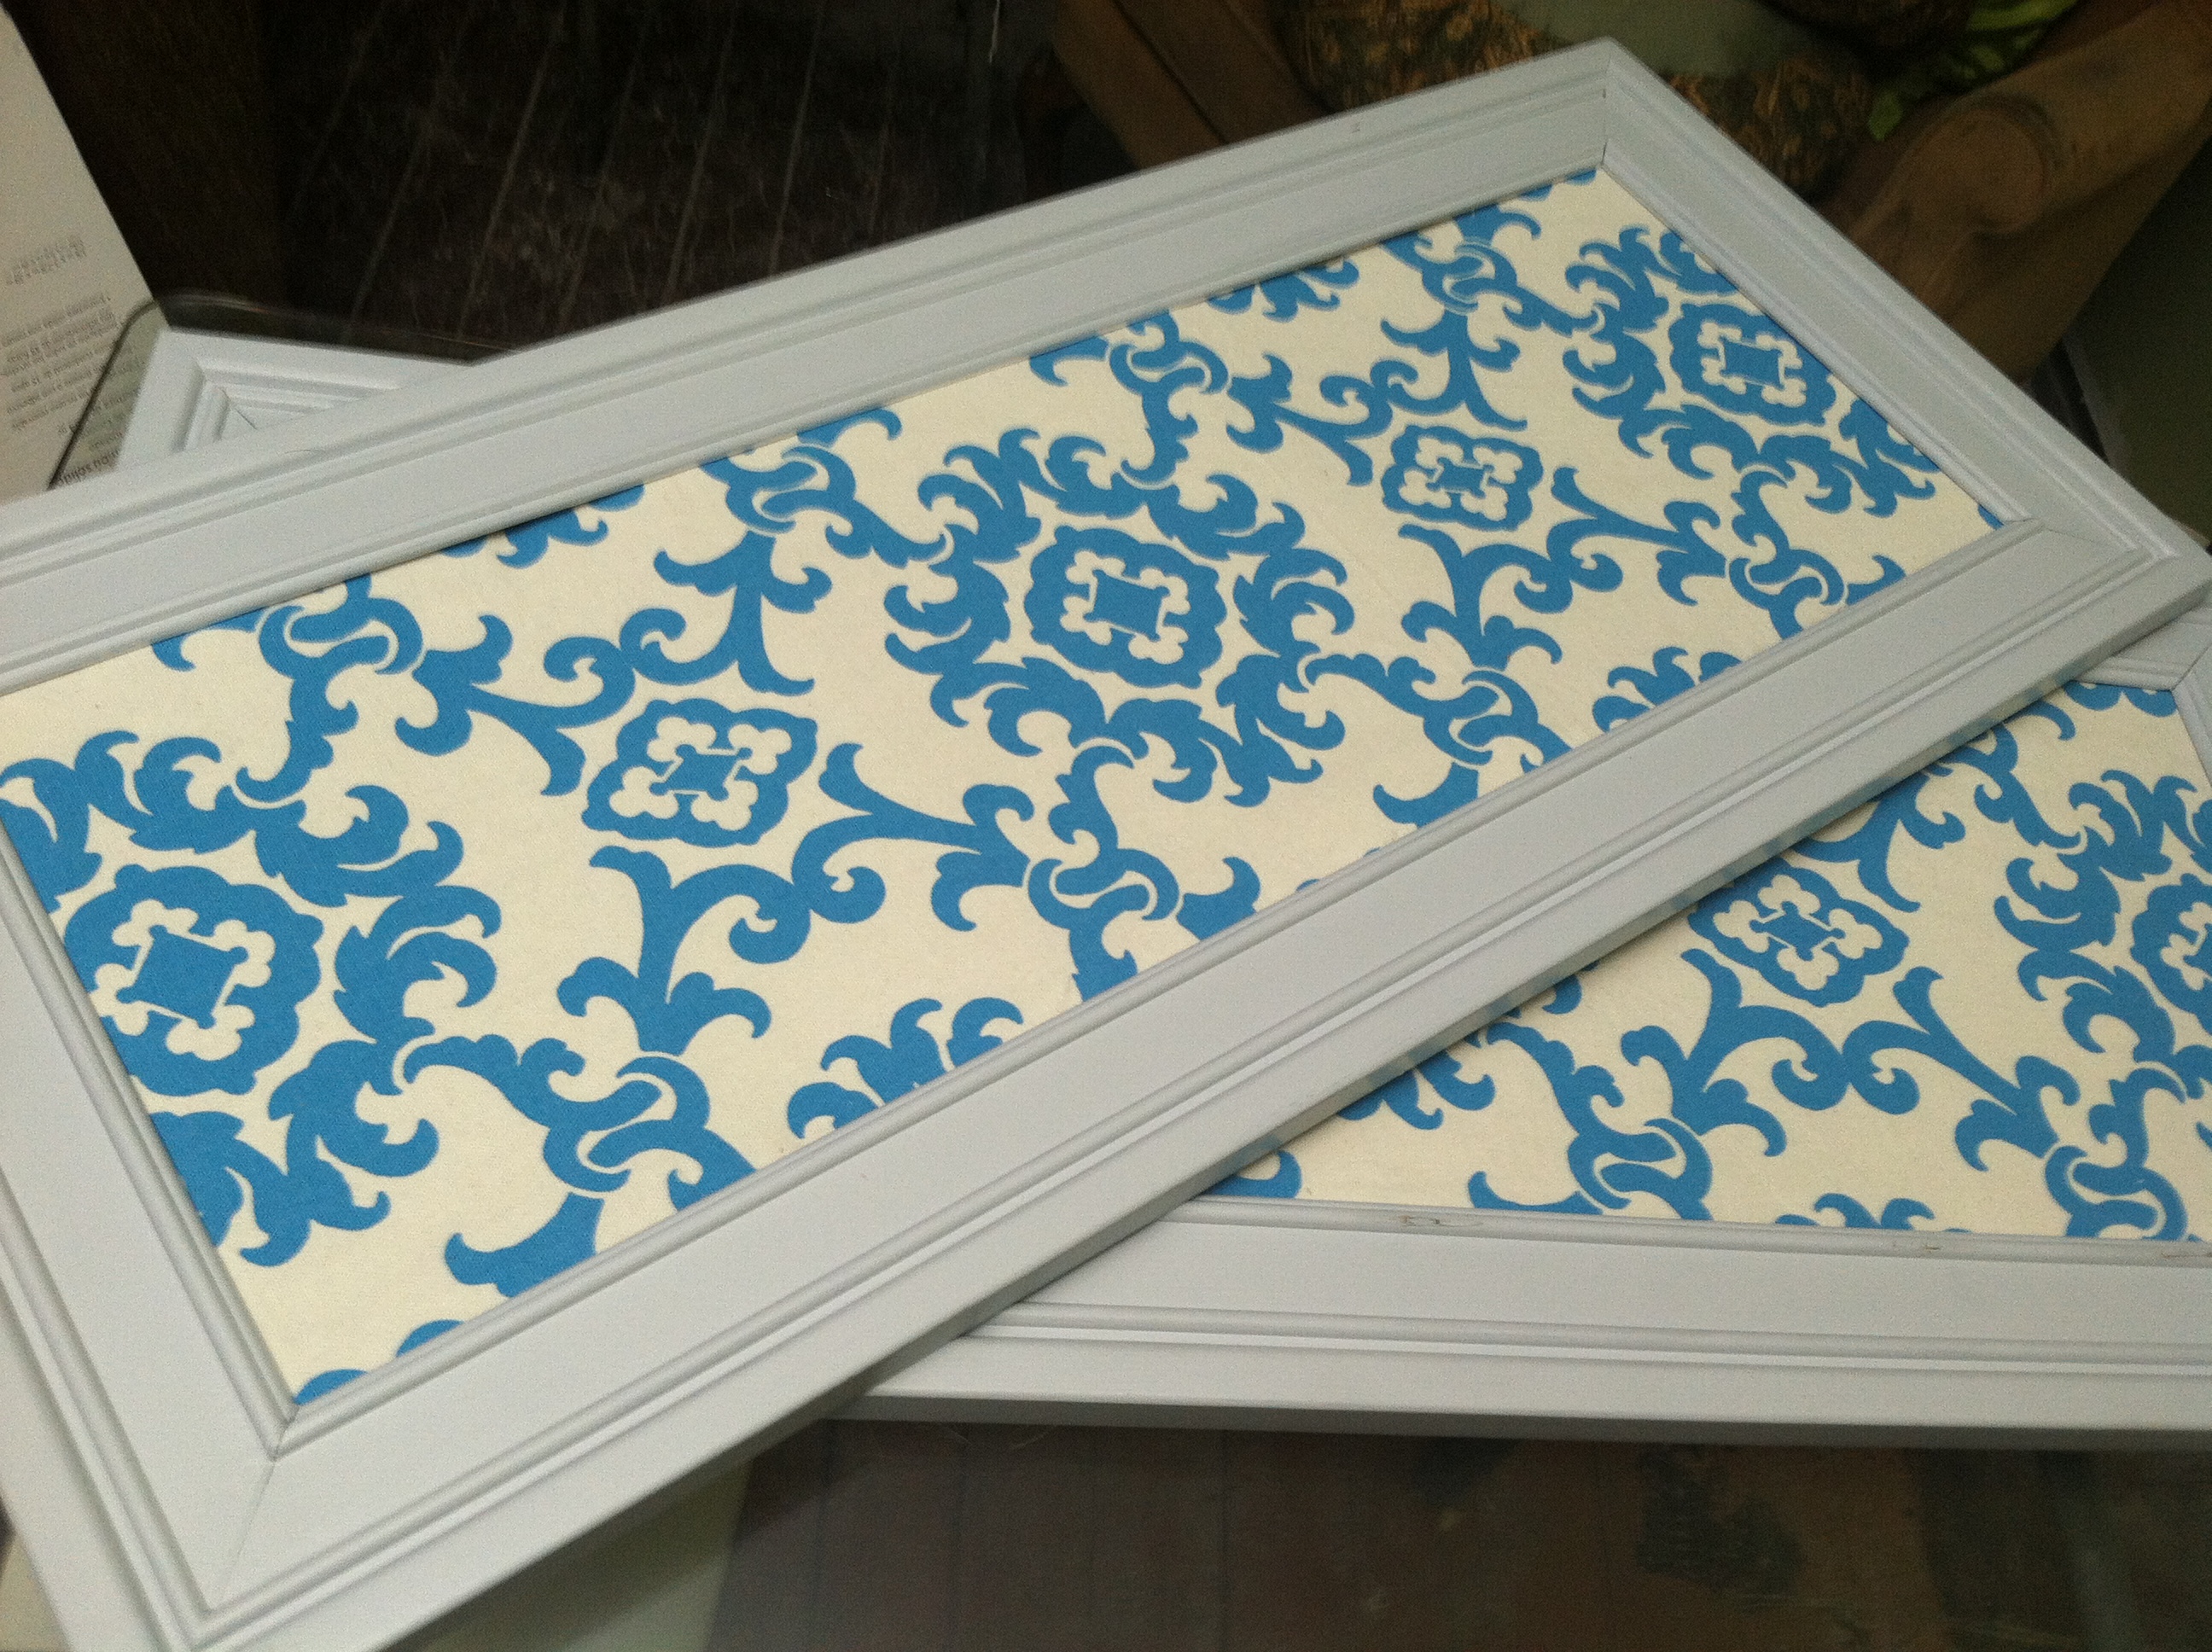
Tres chic!

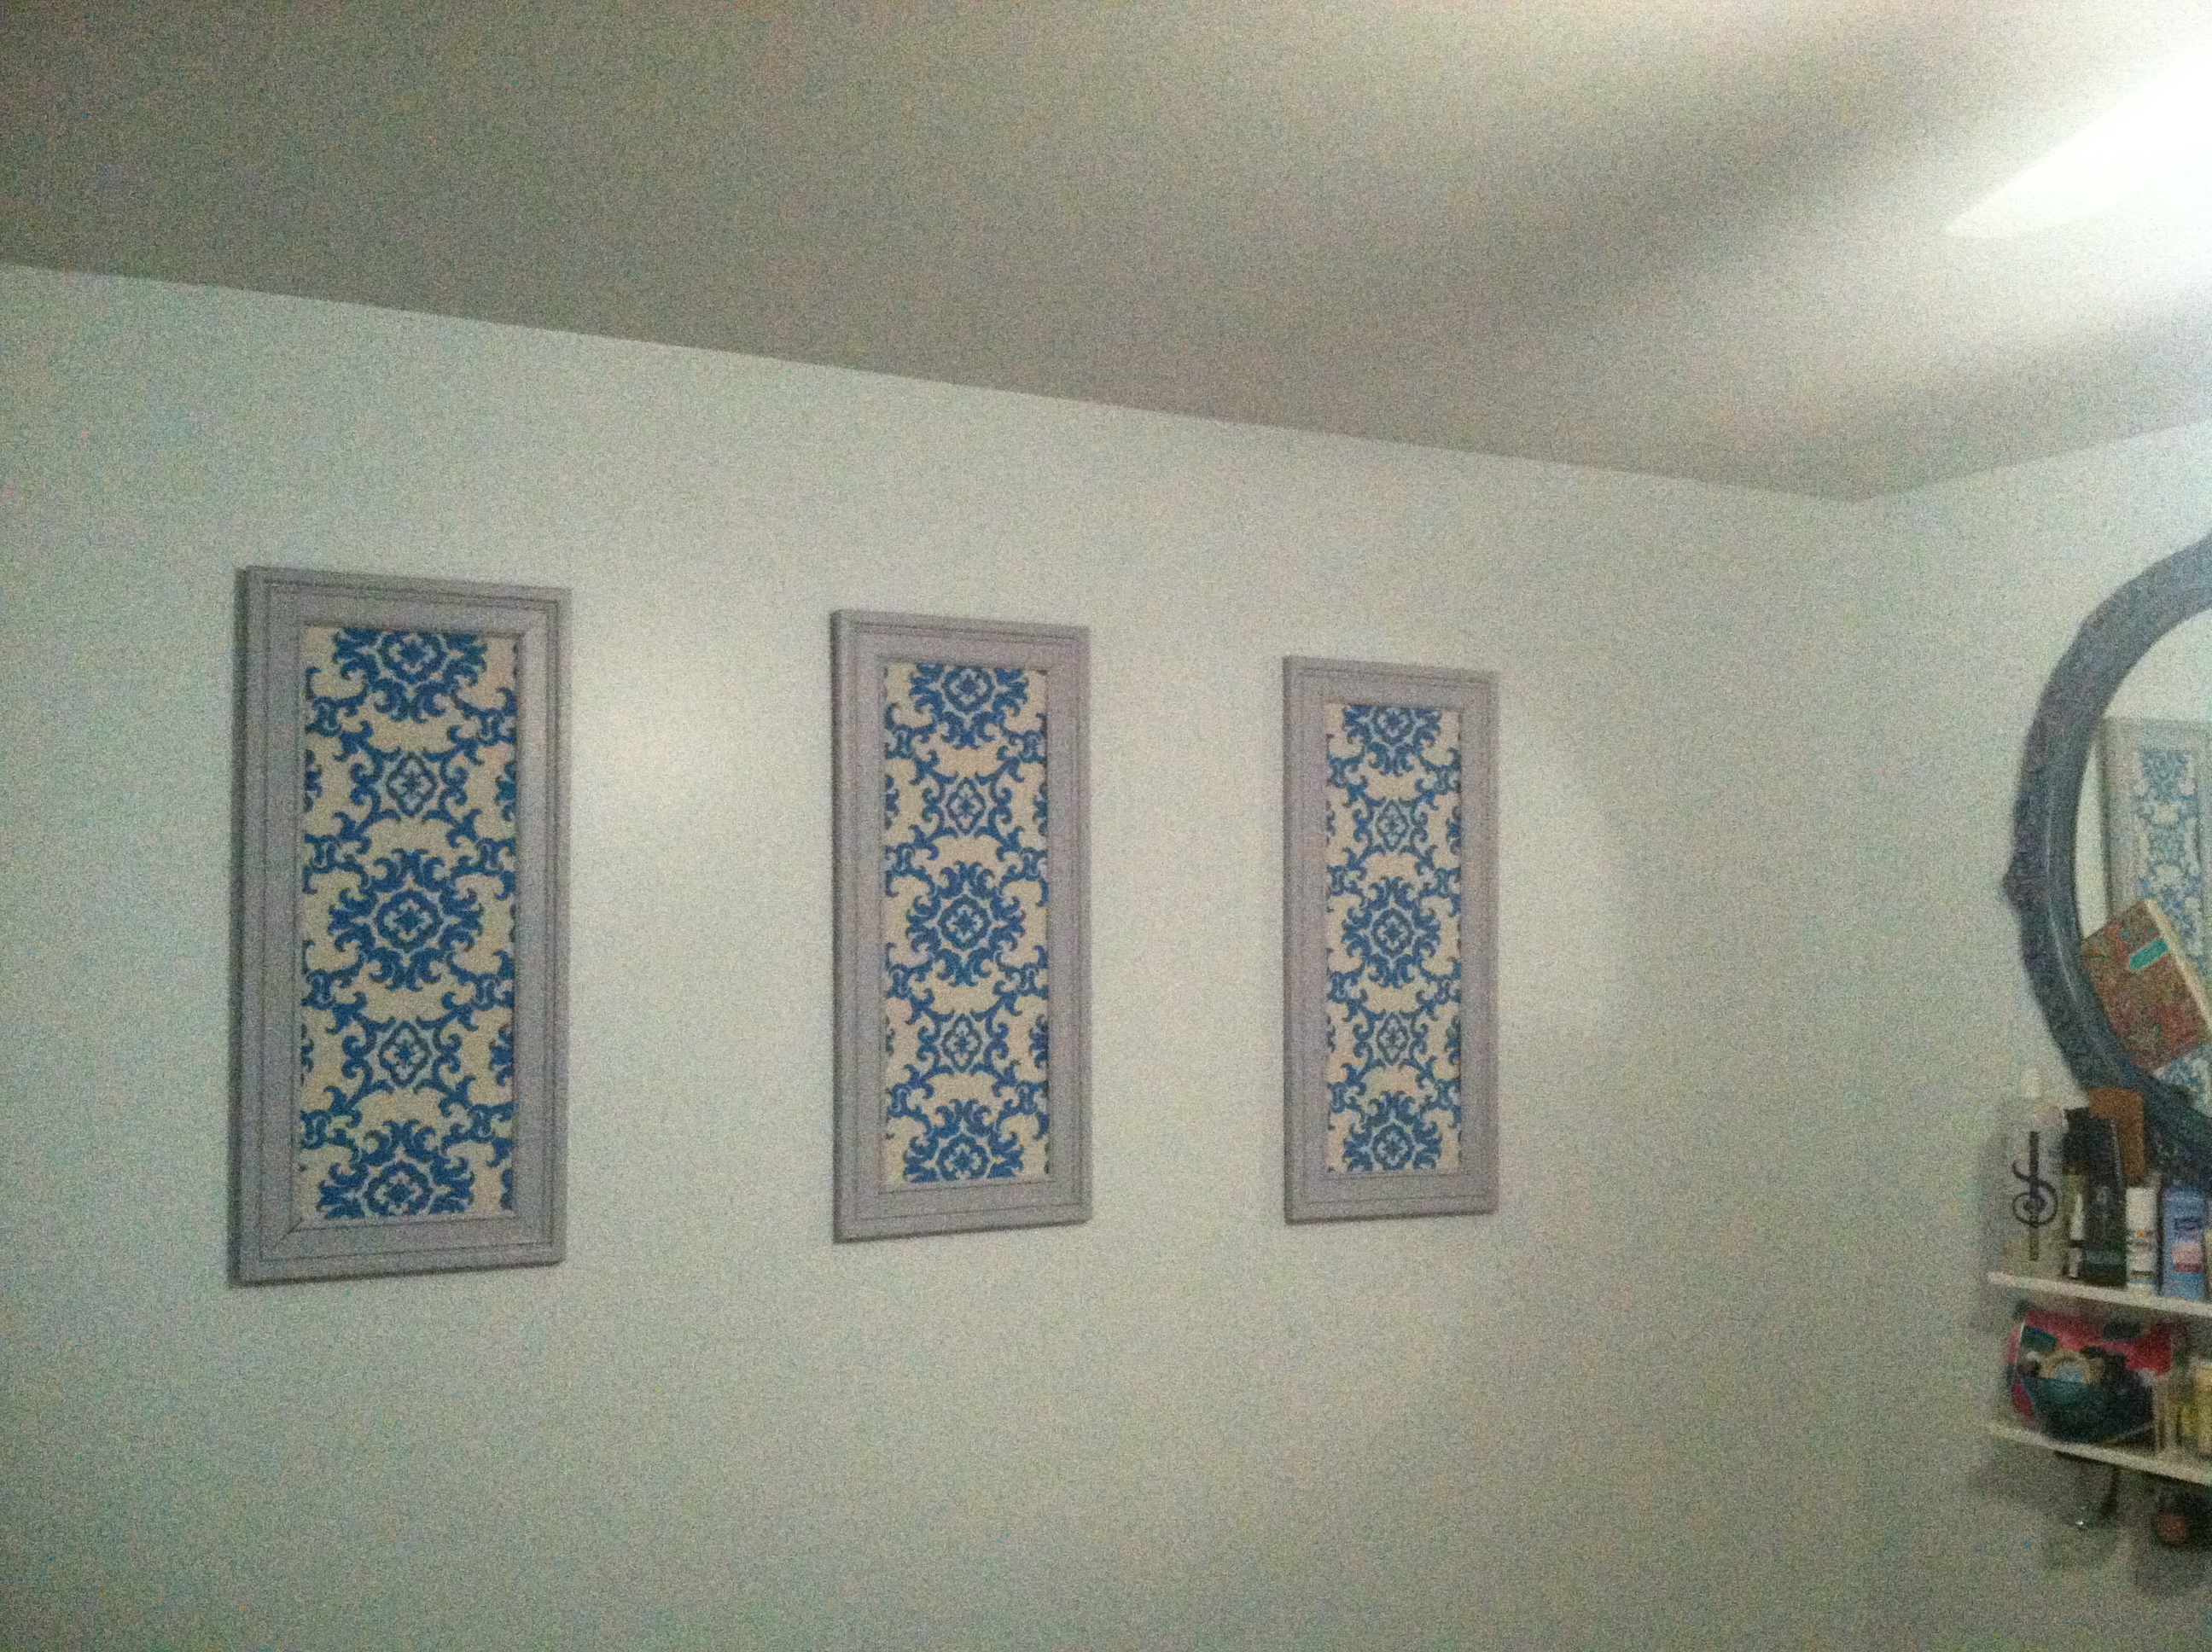
Three’s a crowd. Except when you’re talking budget decor.
All done.
A couple of hints:
- It is possible to cut a large piece plexiglass into smaller pieces by scoring it with a utility knife and snapping it into multiple pieces. DO NOT try to cut plexiglass with a scissor, however; it will shatter like real glass into little tiny shards.
- You can also recycle the backing of your poster frame; its stronger than cardboard and helps keeps your frames looking their best.
I used my old framed Heath Ledger poster (sorry, Heath, it was time to let you go…)
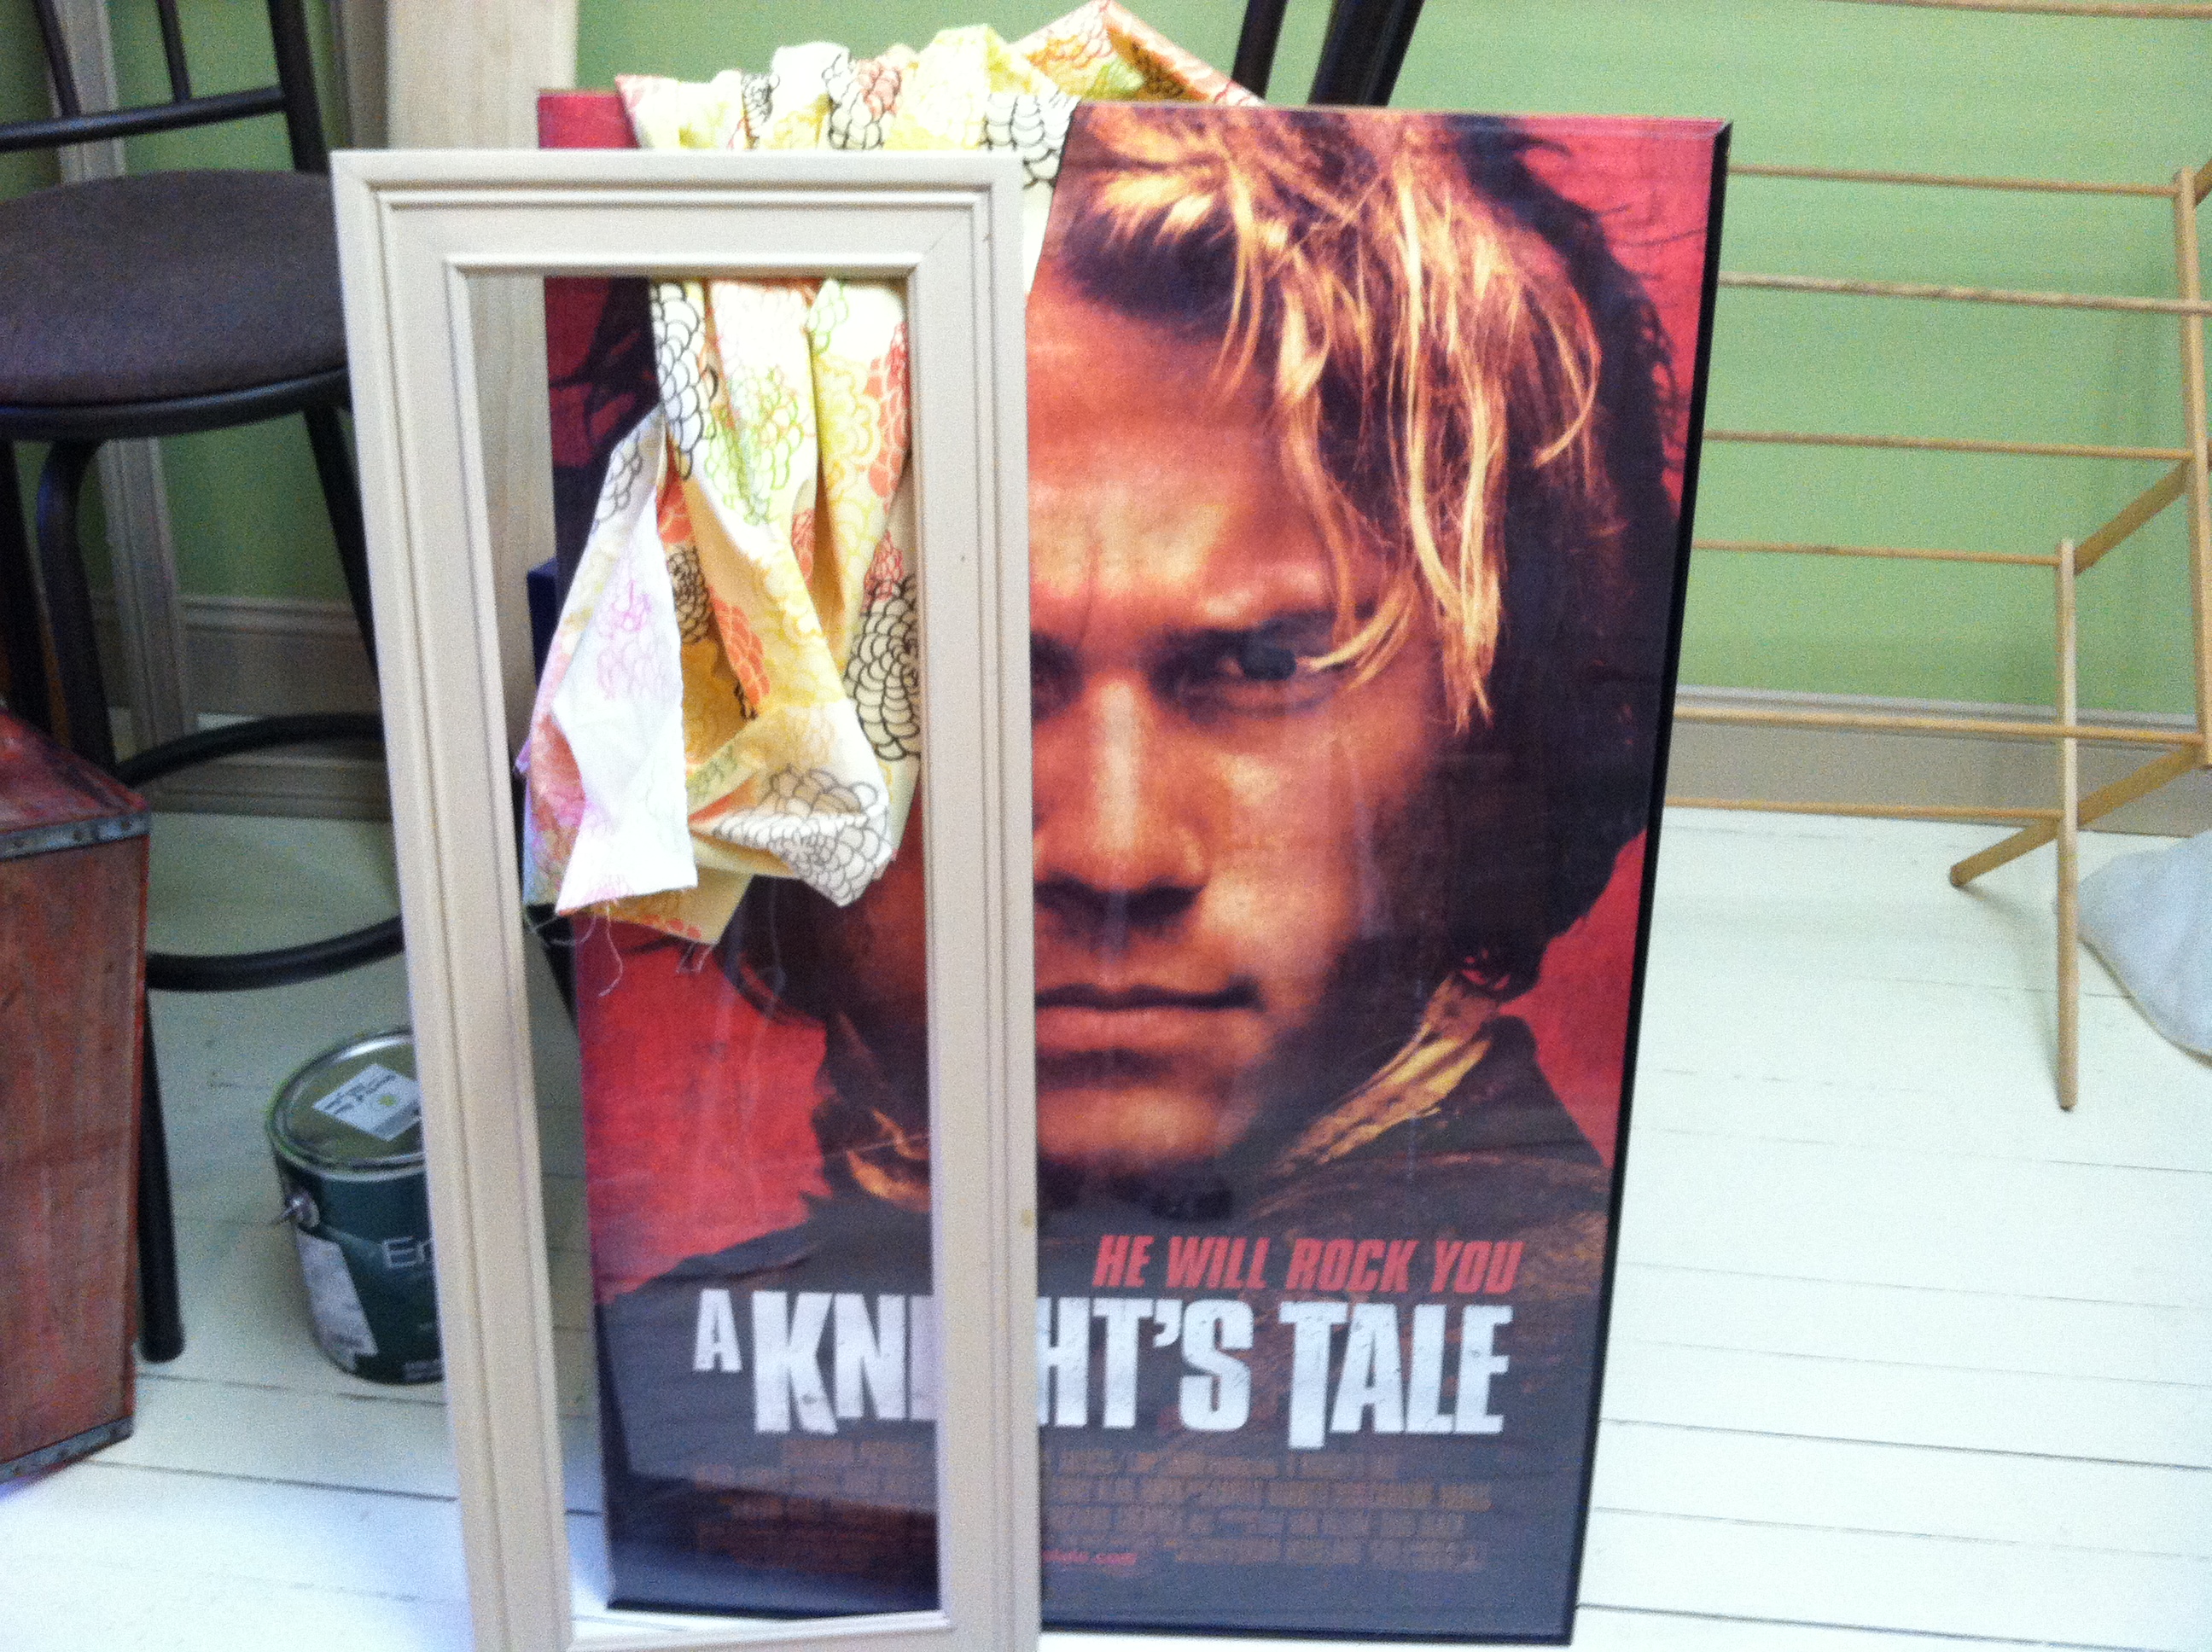
Heath and friends

The frames, before
Slightly less naked frames
Gluing the fabric to the backing
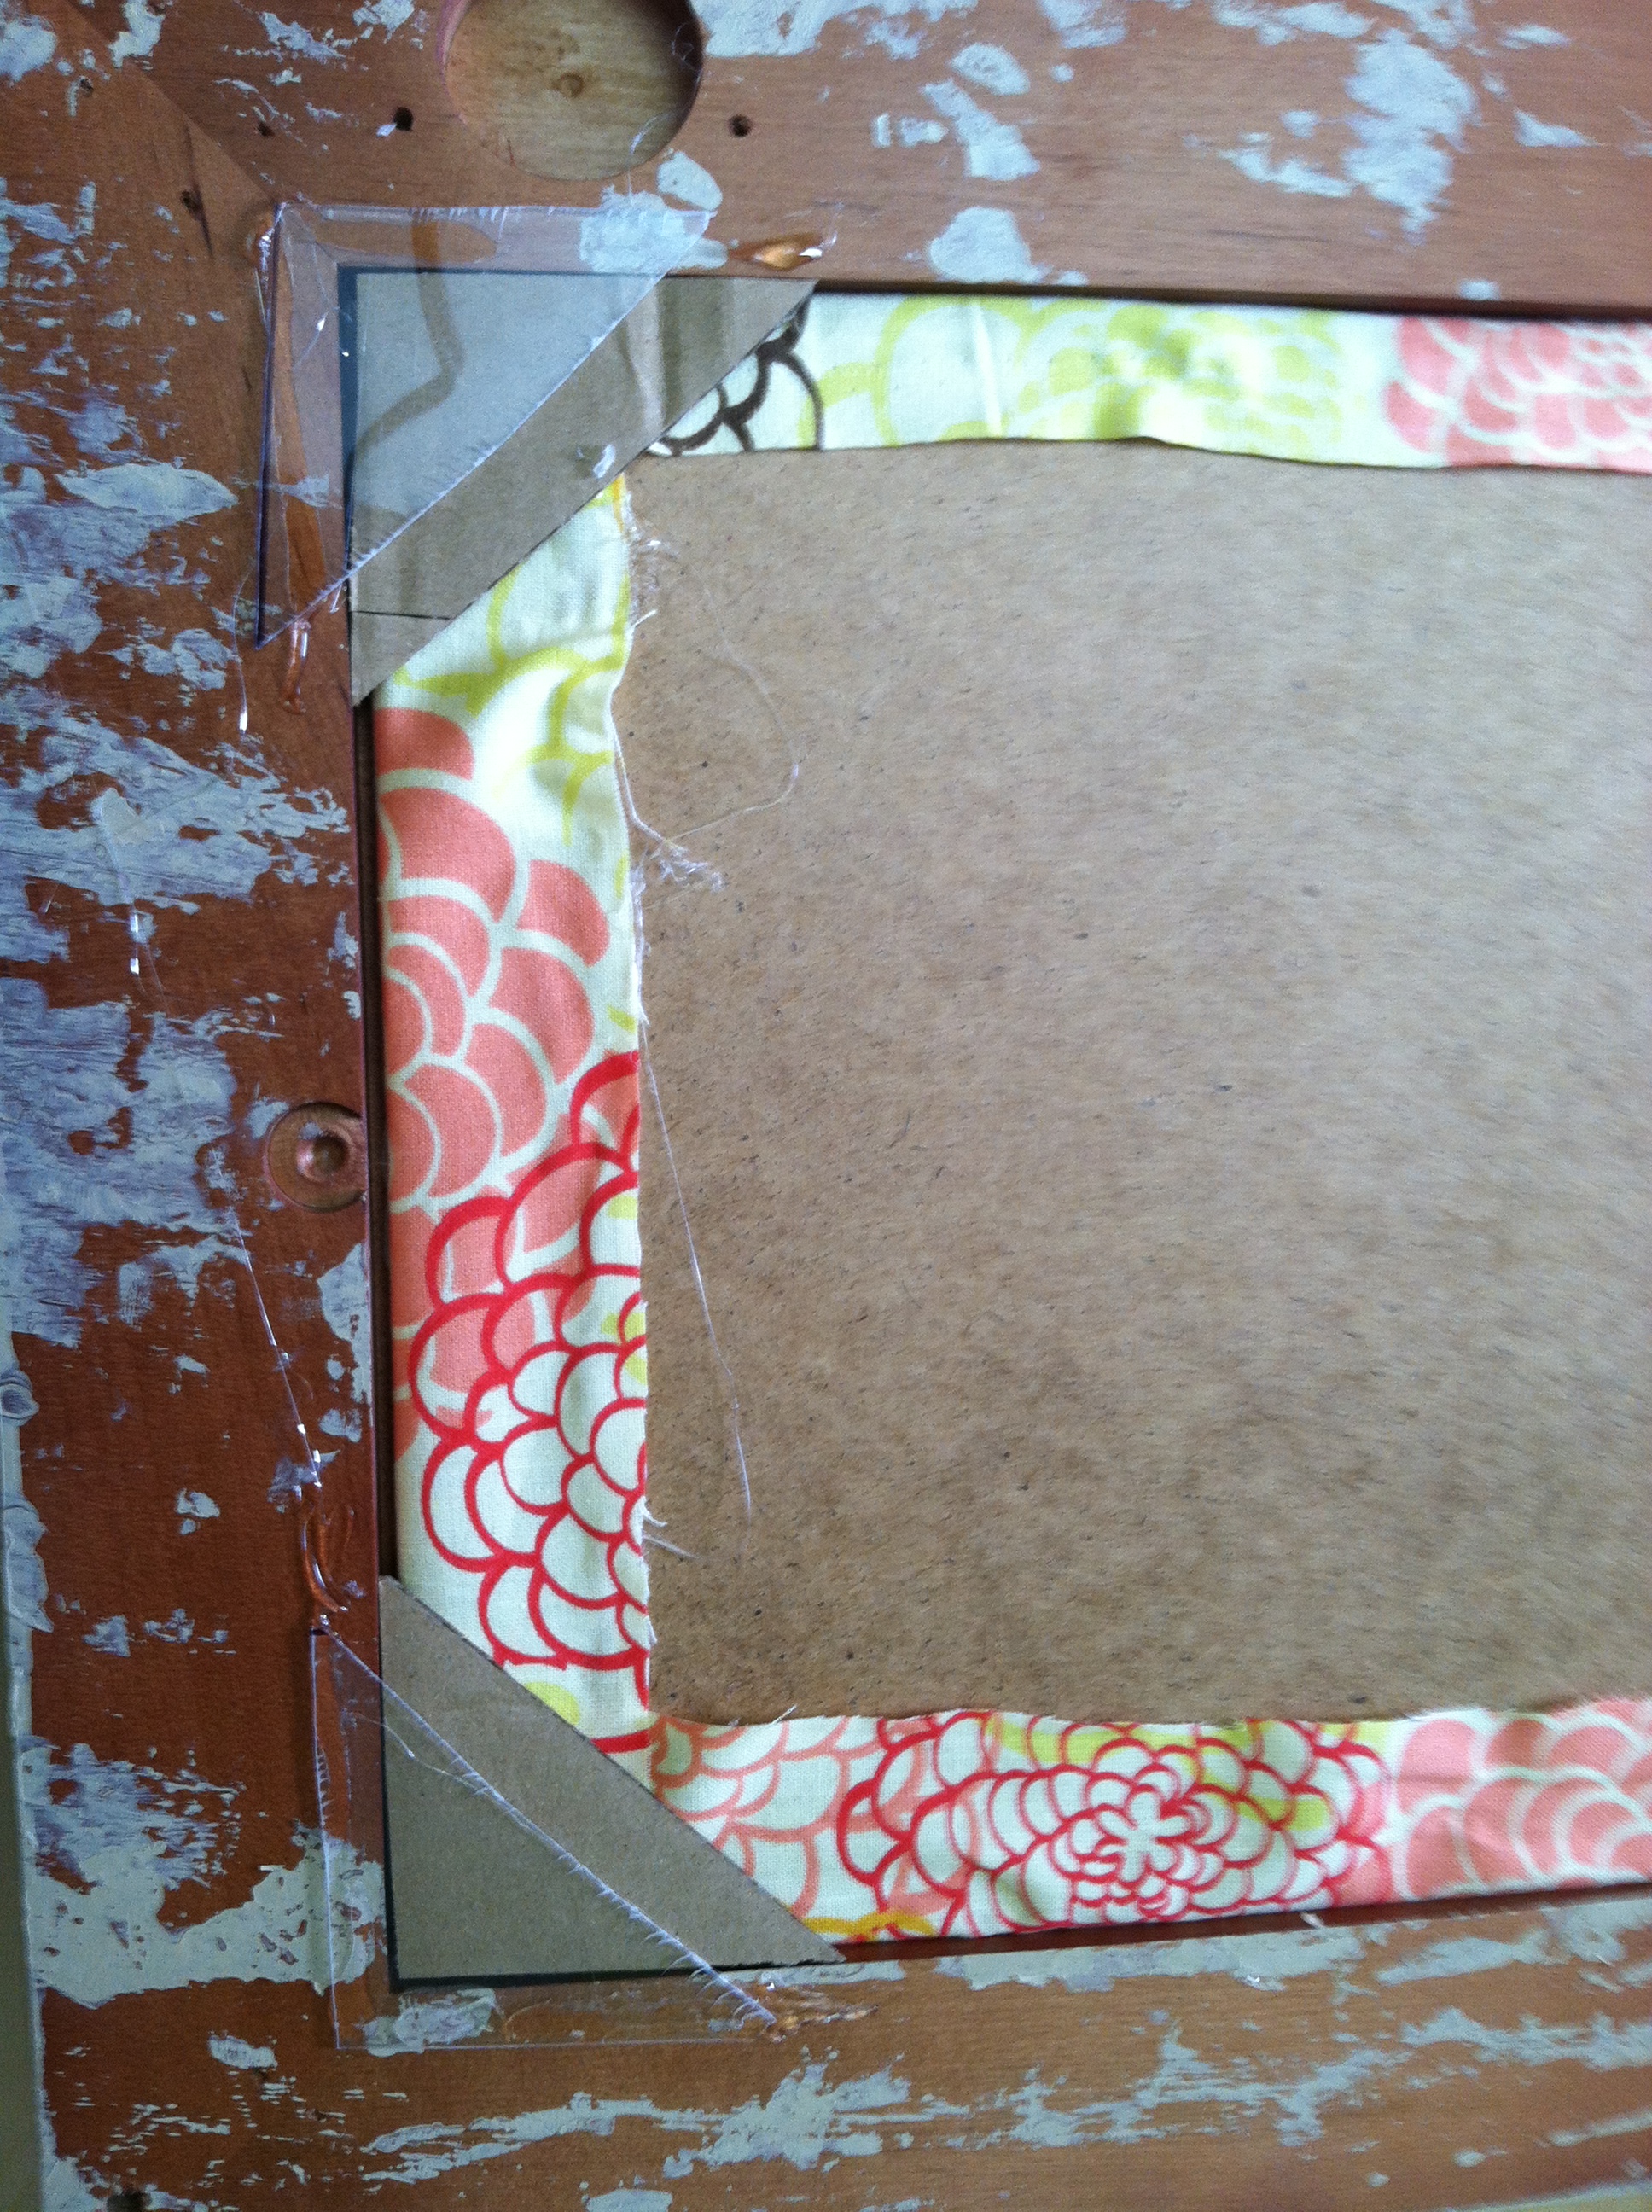
After placing the fabric-wrapped backing into the frame, I used some spare plexiglass triangles to reinforce the corners

Flowers, flowers and more flowers

Our new dining room 🙂

8 Responses to “How to Make More Cheap Wall Art (Can You Ever Have Enough?)”
I see a plural possessive there!
Aggghhhhh! It snuck in! I guess this is indicative of my mental state 🙂
Really cute idea! Yours are great because their long so they almost make the wall look longer. Feel free to check out our blog, http://www.twinspiration.co 🙂
i wish i had more wall space for wall art
I know, same. I’m afraid we’ve reached the saturation point just as I’m hitting my decorative stride!
What a fun, creative idea! It looks great! 🙂
I scored some CHEAP plexiglass at Michael’s, it was on super clearance (like a buck), now I’m thinking I should have bought more 😉
Oh snap! Yeah, I wasn’t sure how “cutting” it would go but it worked out nicely.