Take That, Target! How to Make Your Own Wall Art for Less than $6

Weave your paper strips over, then under.
As a first time home owner and admirer of all things pretty, I love this:
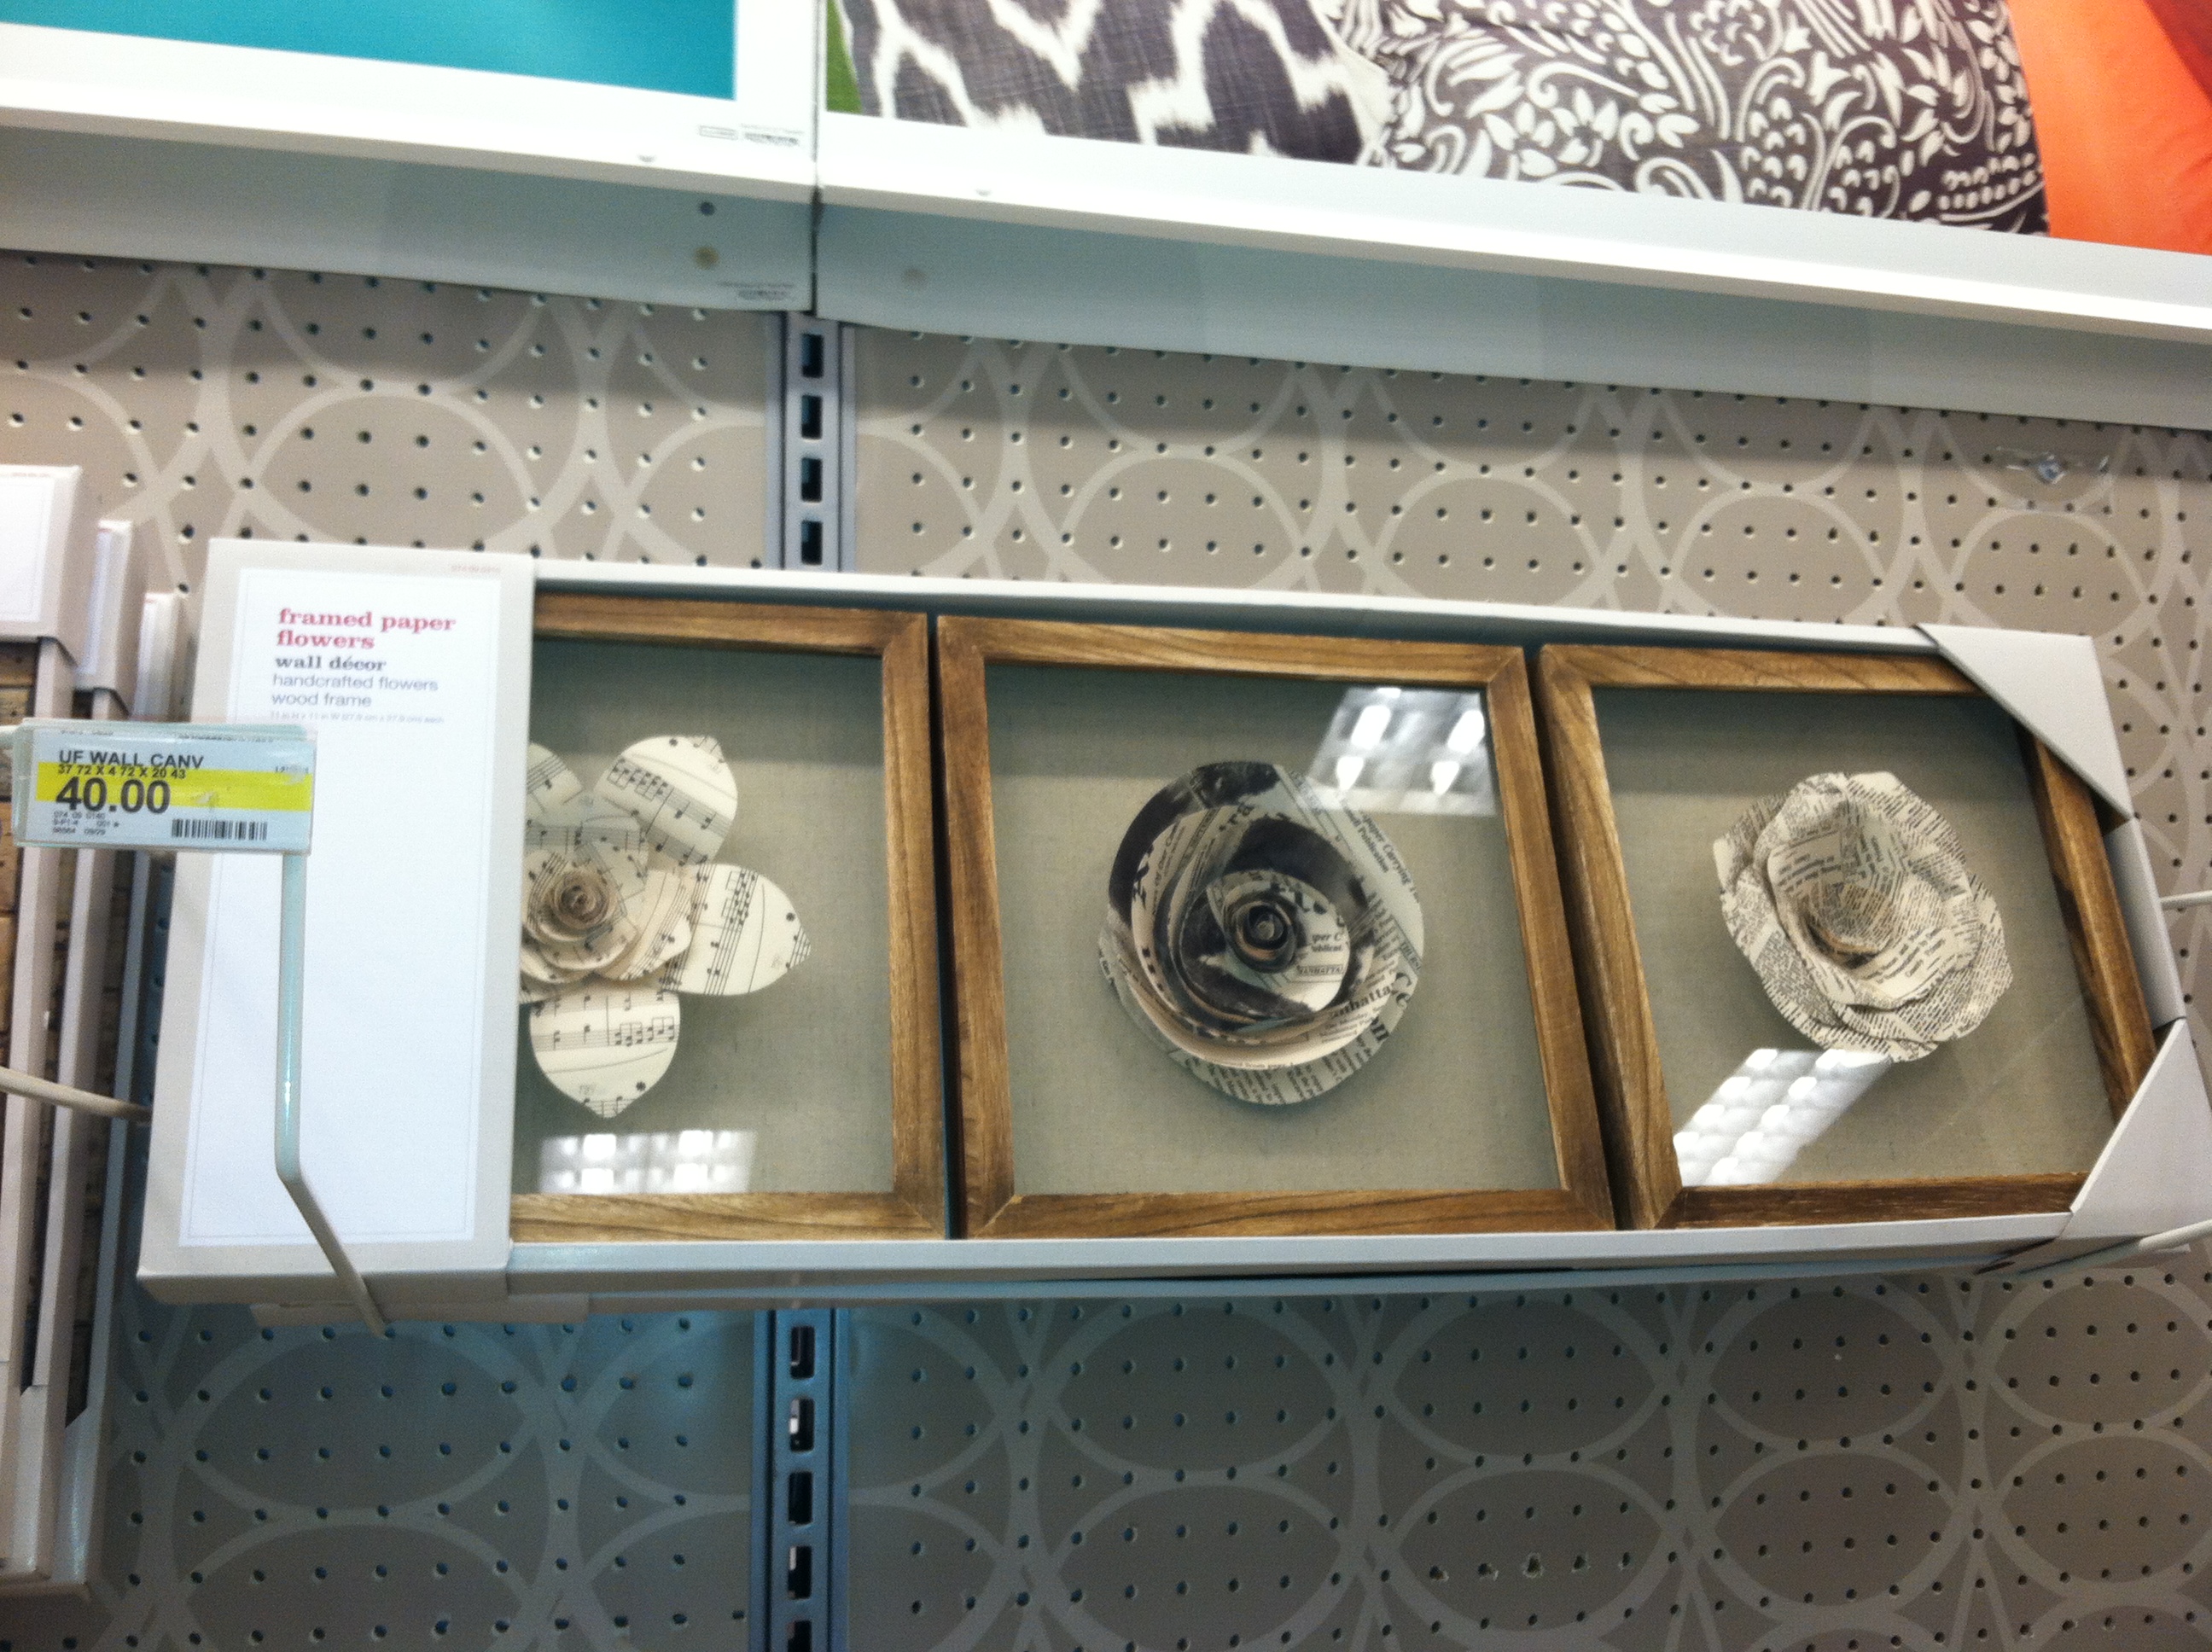
And this:
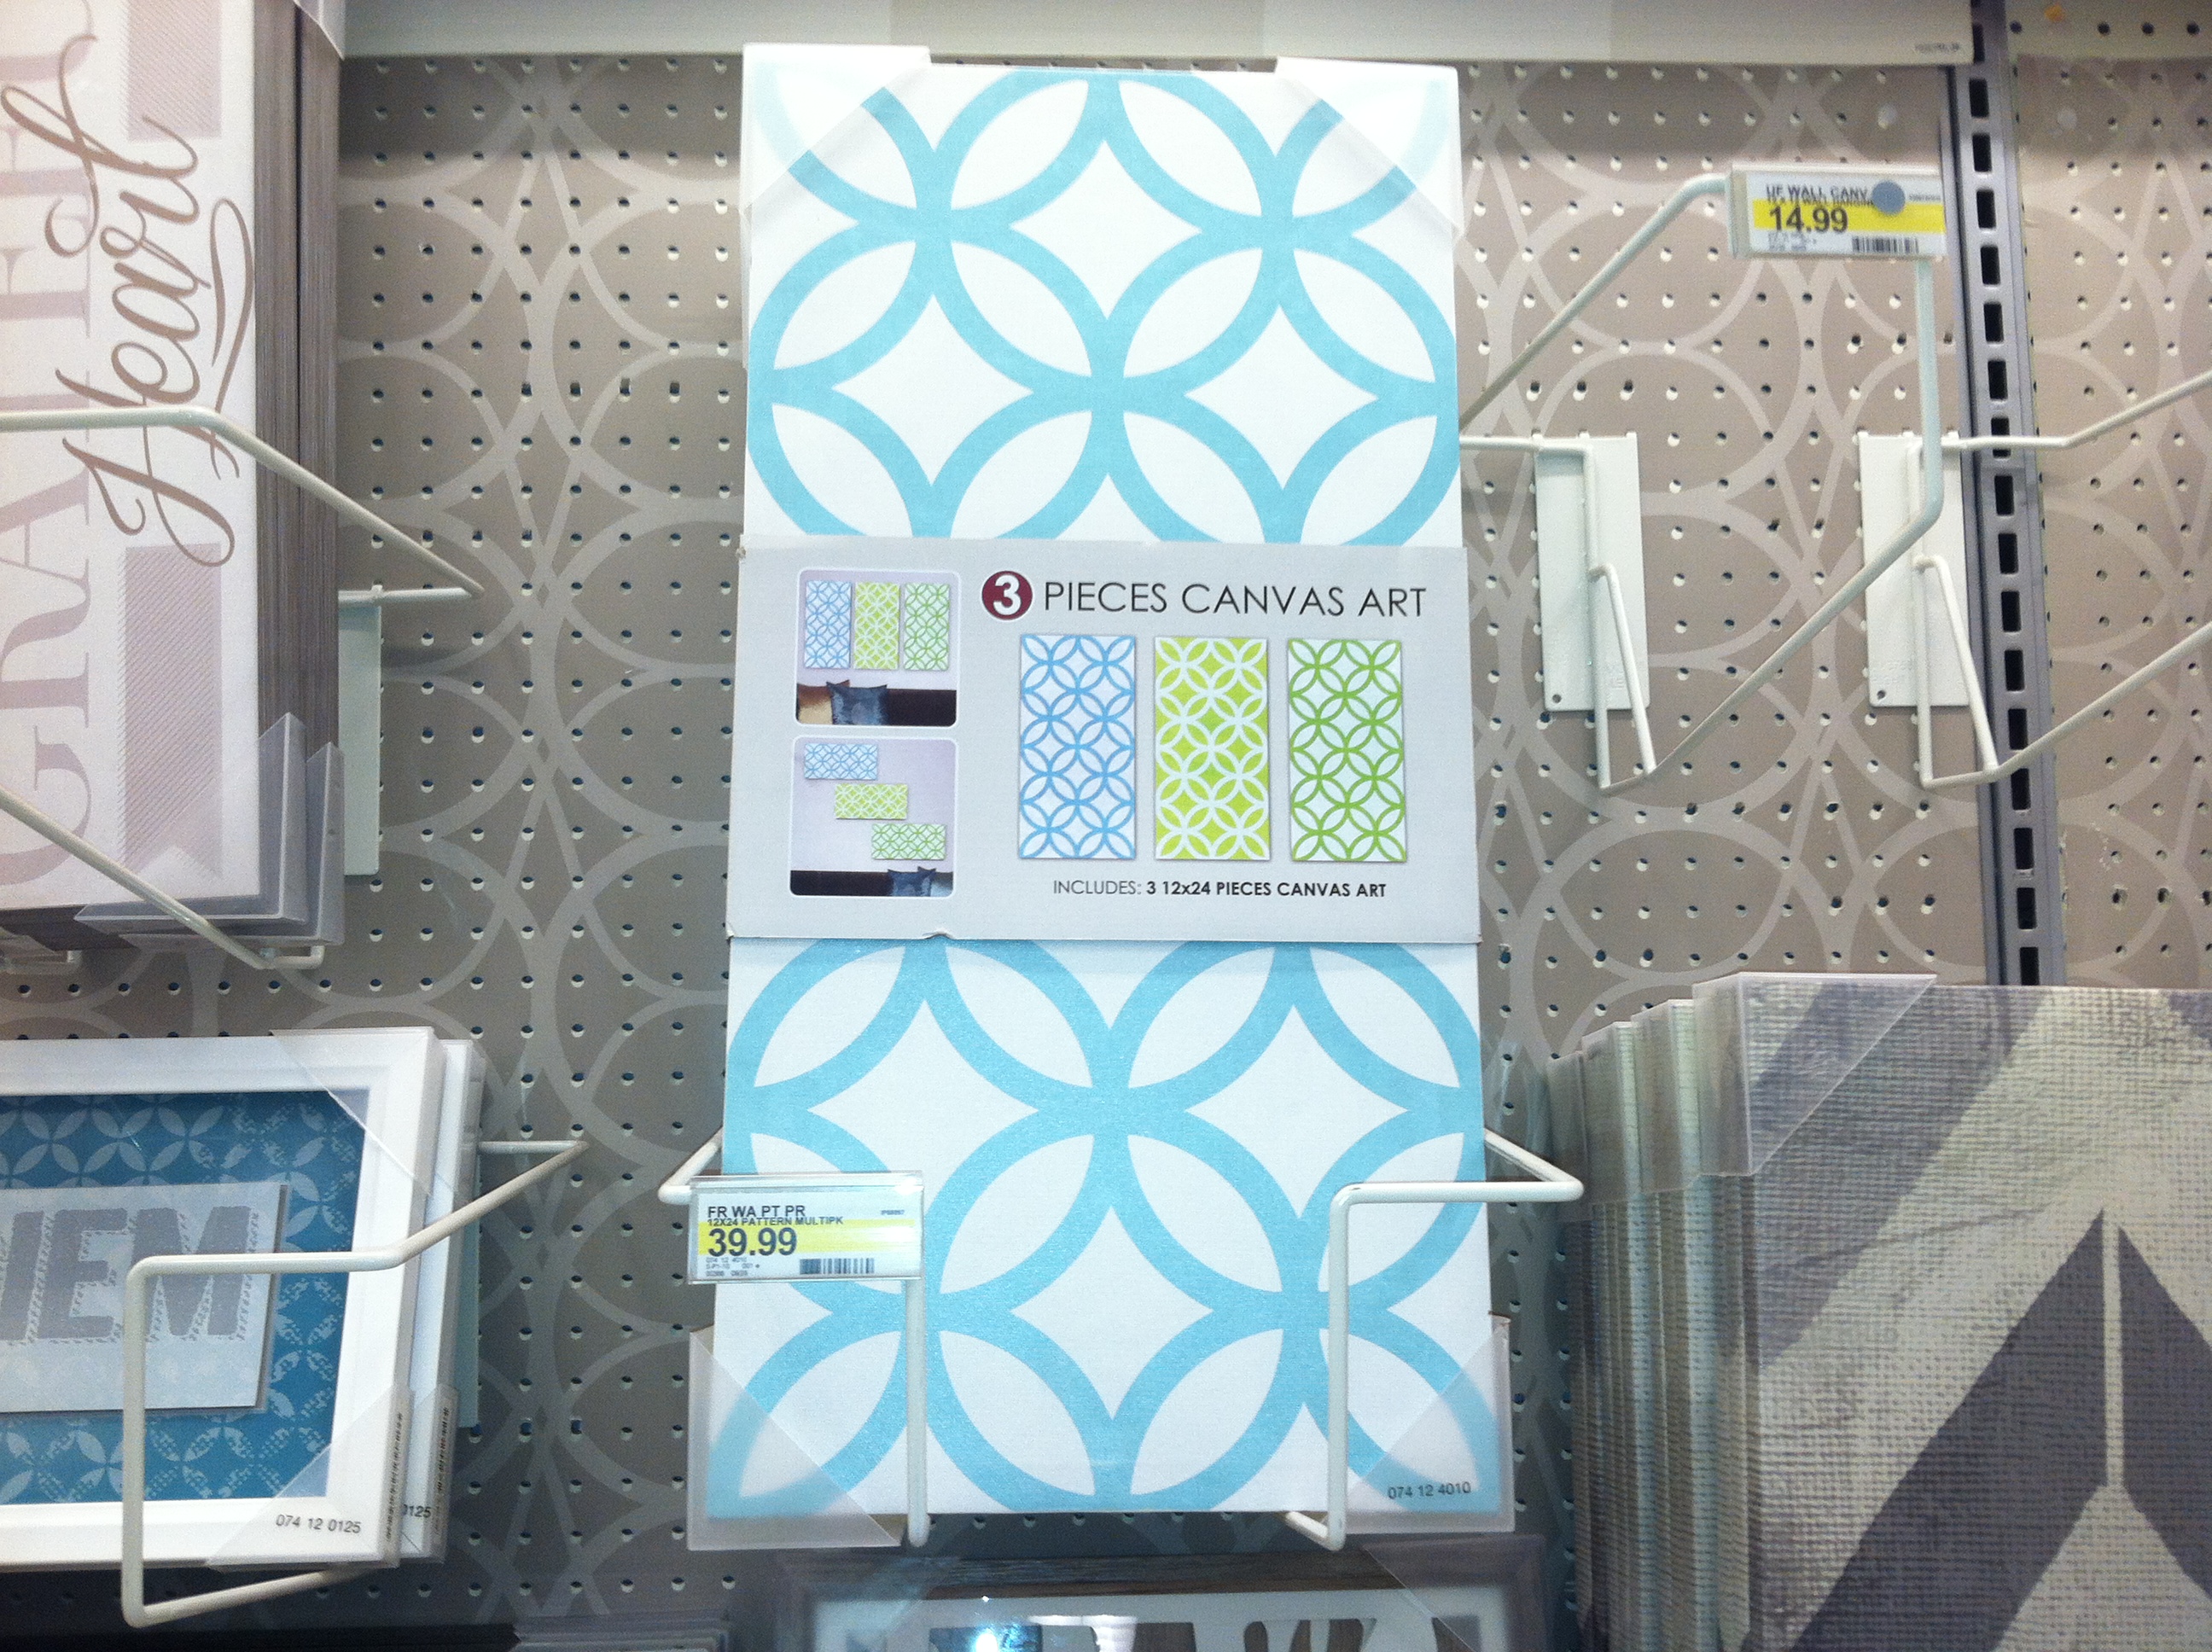
But $40 a pop? I don’t think so.
I decided to make some wall art of my own, and frankly, I think what I came up is way better. And, best of all, my three frames of utter fabulous-ness cost me about $5 to make!
In this post, I’ll show you everything you need to create your own way-cool wall art by revisiting those construction paper place mat weaving skills you developed in Kindergarten…
What you’ll need:
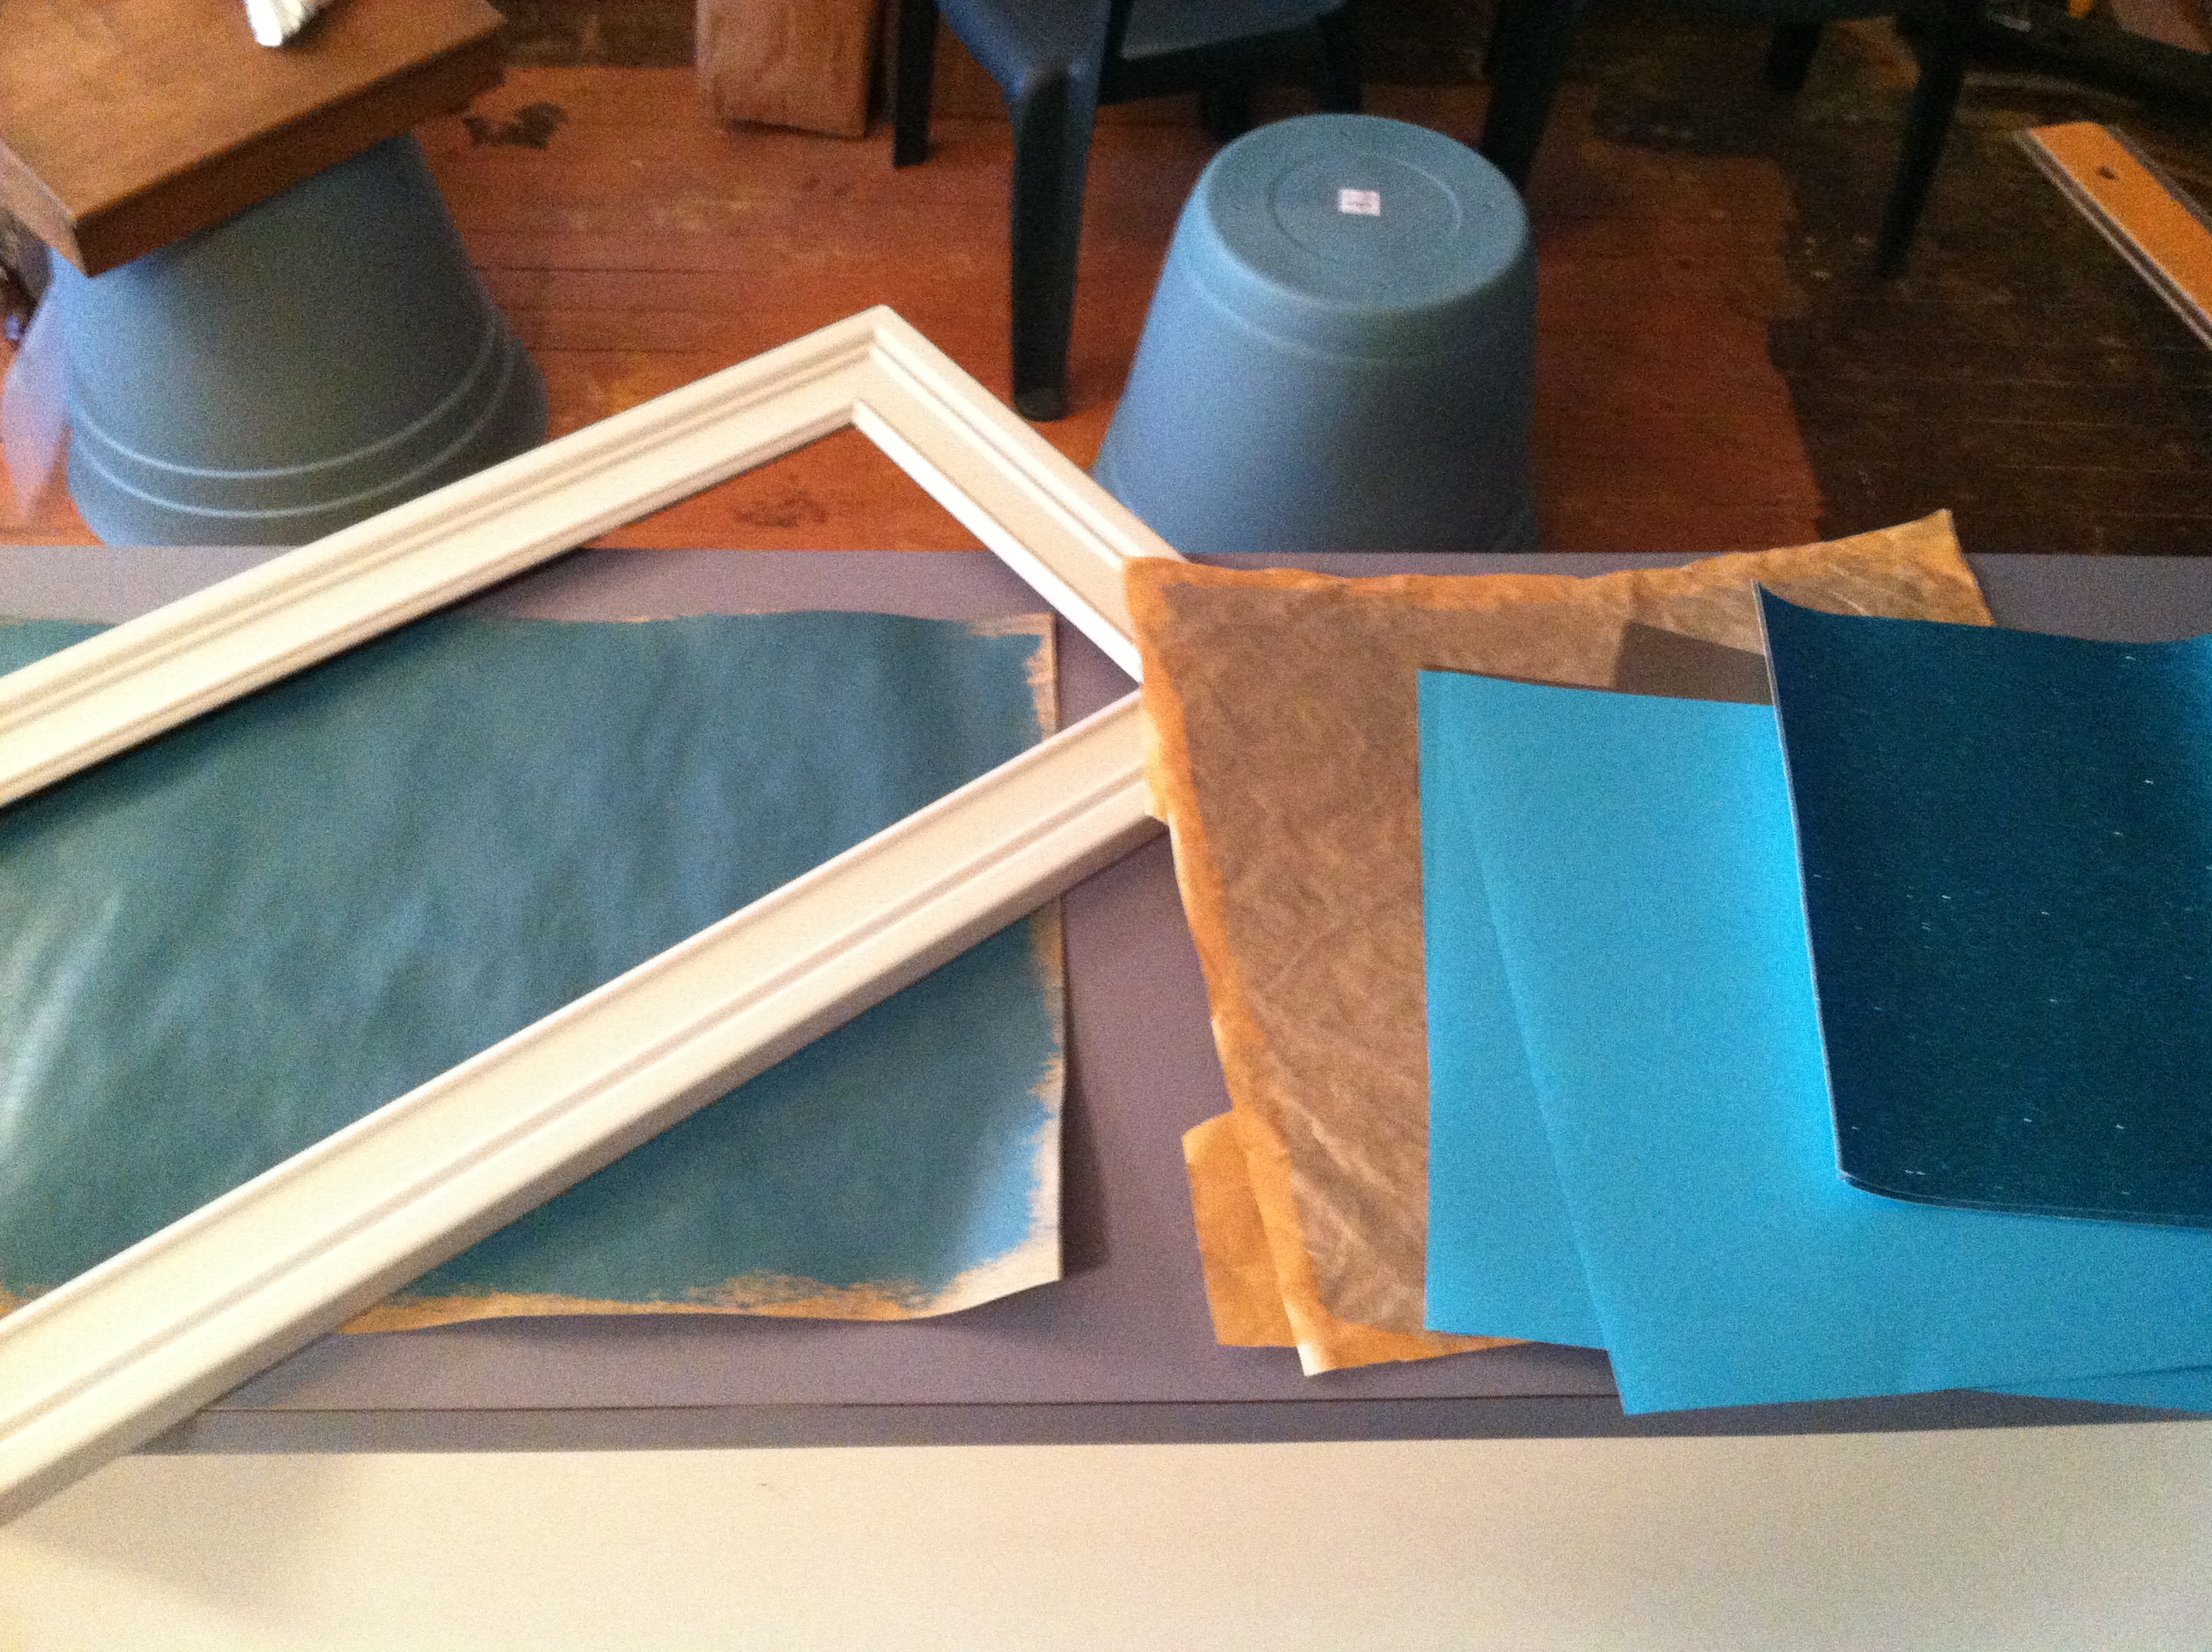
- Cheap frames (I used brown wooden glass cabinet doors minus-the-glass that I picked up at the Habitat Restore for a buck each.)
- Paper (different colors and textures are great. I used mainly magazine pages, paper bags, card stock and some sparkly teal paper I couldn’t resist at the craft store.)
- Paint (I used gray craft paint to paint my frames and my paper bags to go along with my teal/gray/silver color scheme.)
- Glue gun and scissors
What you do:
- Paint your frames. Be sure to get all the edges so they look good from all angles. I didn’t bother to prime my cabinet doors first and they turned out just fine.
- Measure the interior opening of your frame and cut a large piece of cardstock to fit inside; this will form the base (or “warp” in loom speak) of your weaving. This step would be even easier with a piece of oak tag but I was trying to use what I had lying around instead of buying new materials so I pieced a few pieces of cardstock together to get the required length.
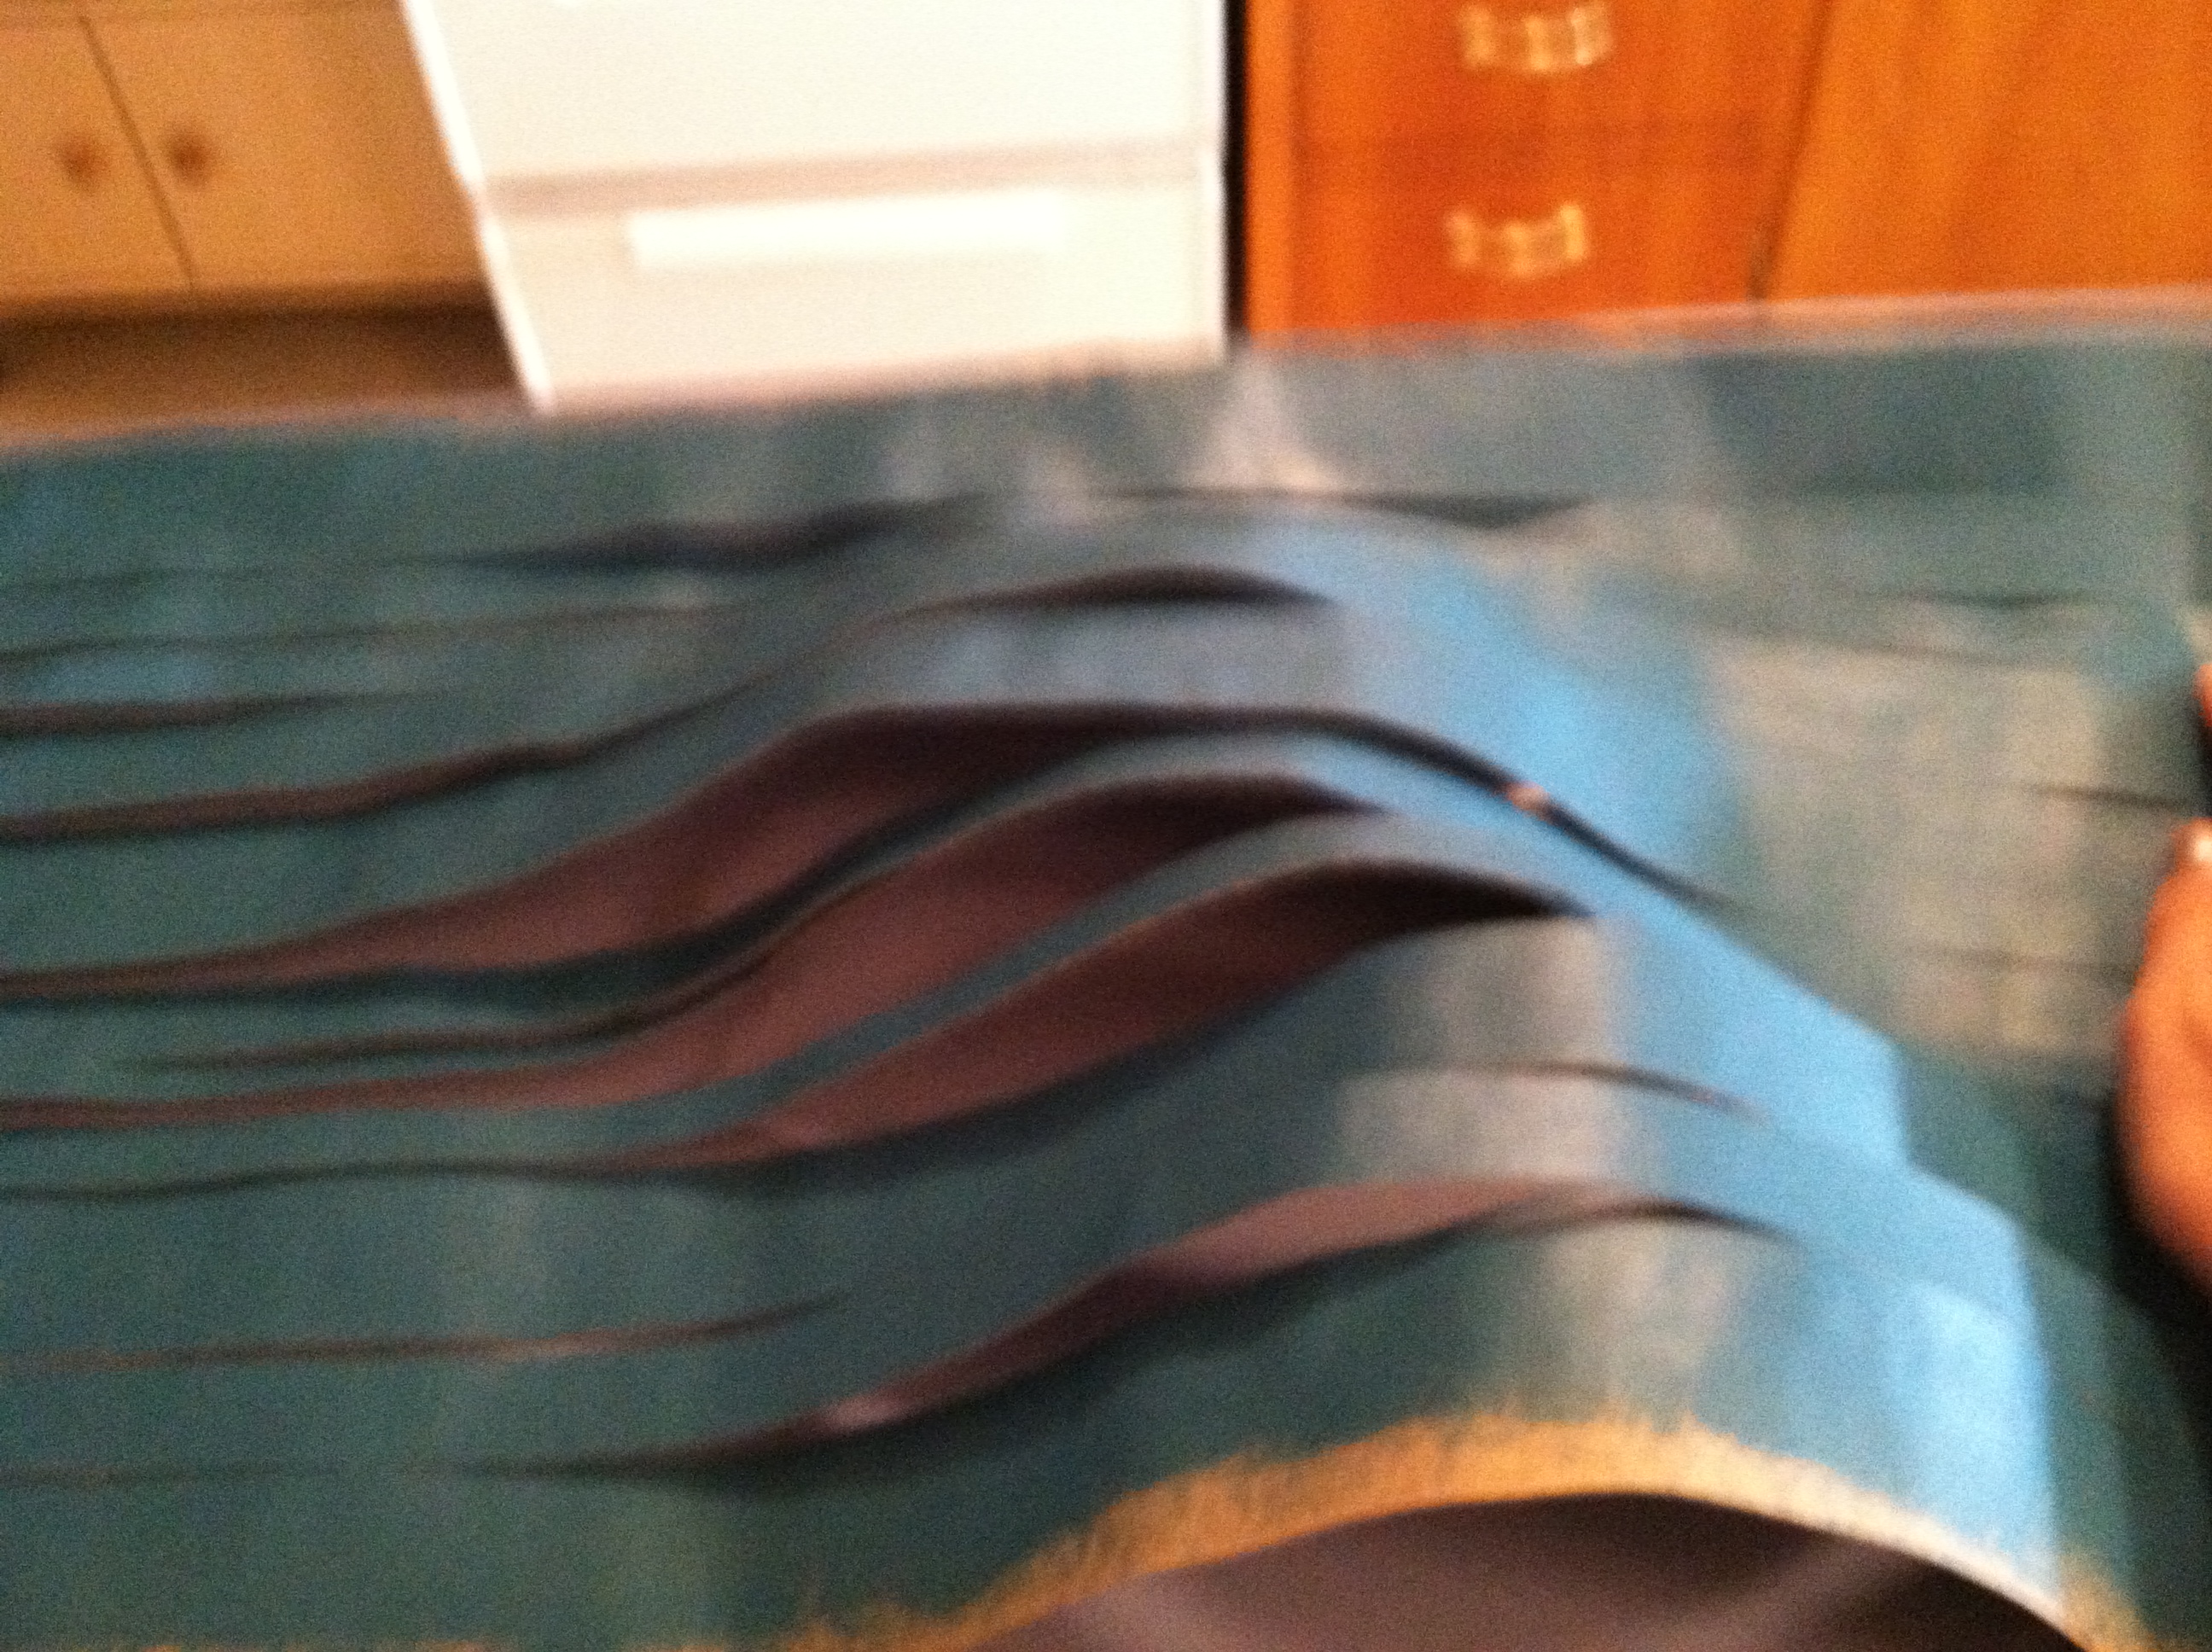
- Cut your base or “warp” into strips lengthwise, leaving the top inch uncut. You can cut straight lines or wavy lines for two different types of woven looks.
- Cut your weaving papers (“weft”) into strips equal to the width of your frame. I used various colors and thicknesses to add variety.
- Weave your strips through the base using an over/under/over/under pattern. Glue the edges of the strips to the frame to hold them in place.
- Trim any excess paper and glue your weaving into the frame. I tried to staple gun mine but the frame wasn’t thick enough and the staples went right through so measure first if you’re going to try stapling.
- Sneer at all those Target suckers who spent $40 on their mass-produced junk.
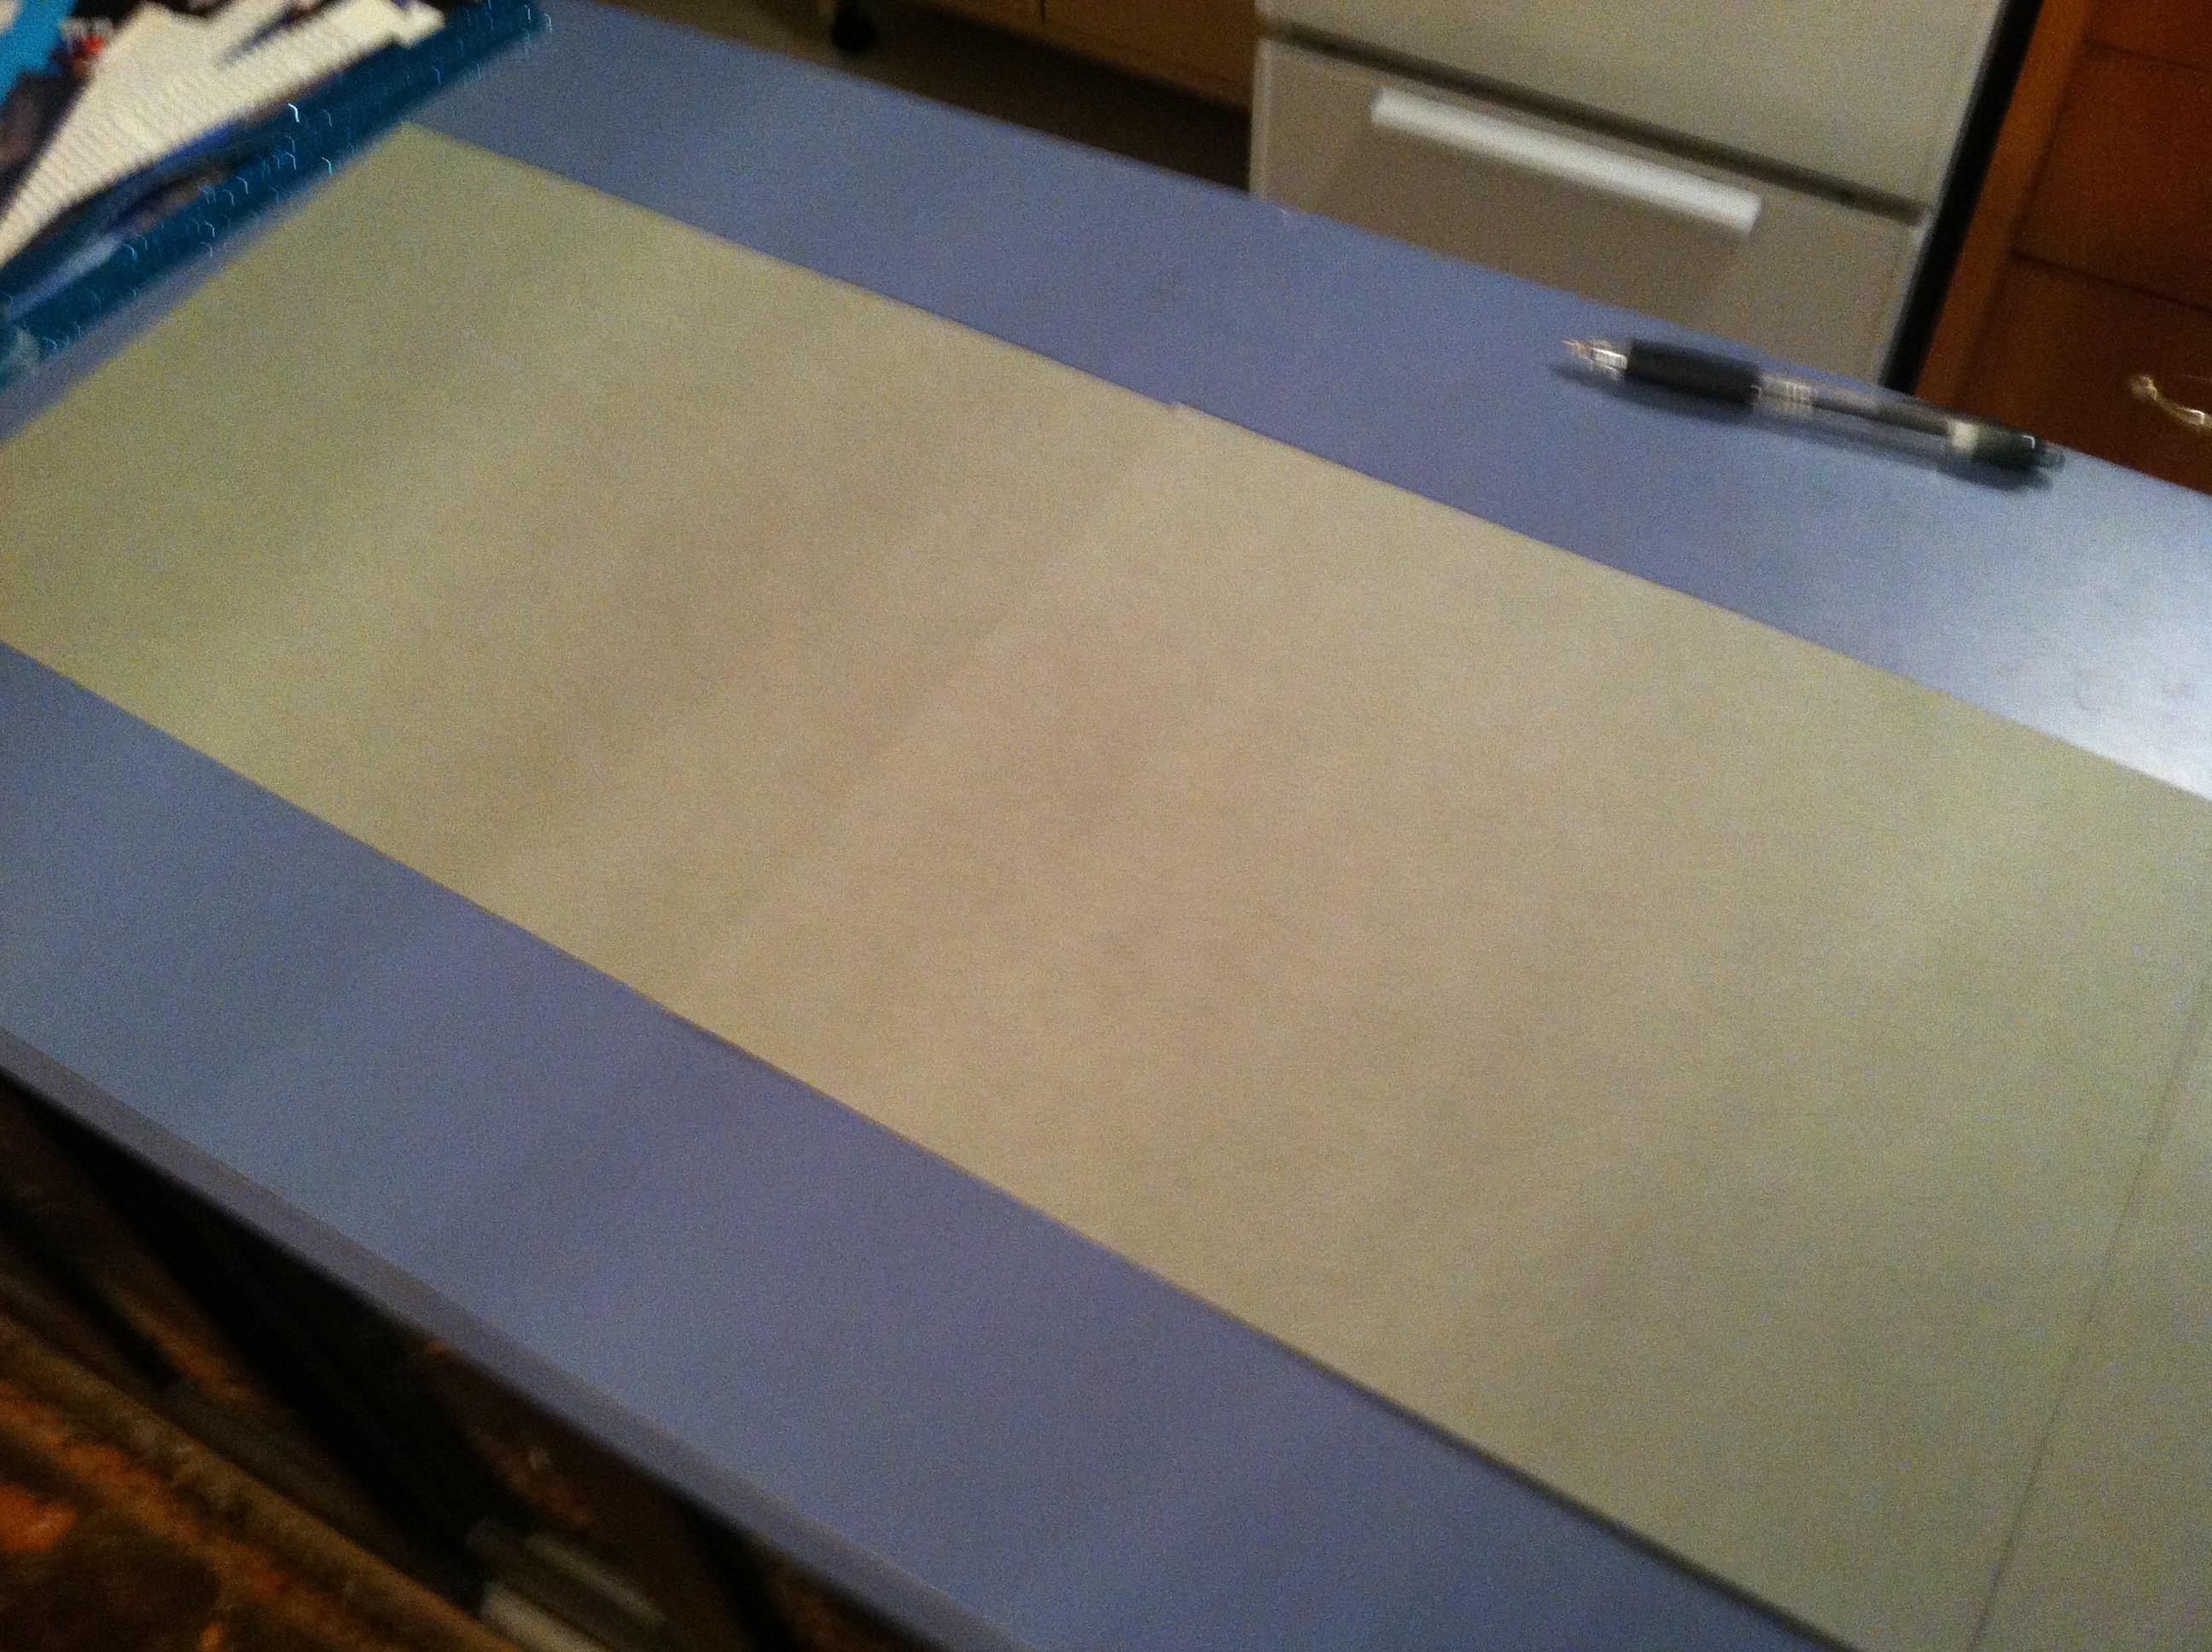
Start with a large piece of heavy paper or cardstock the same size as your frame.
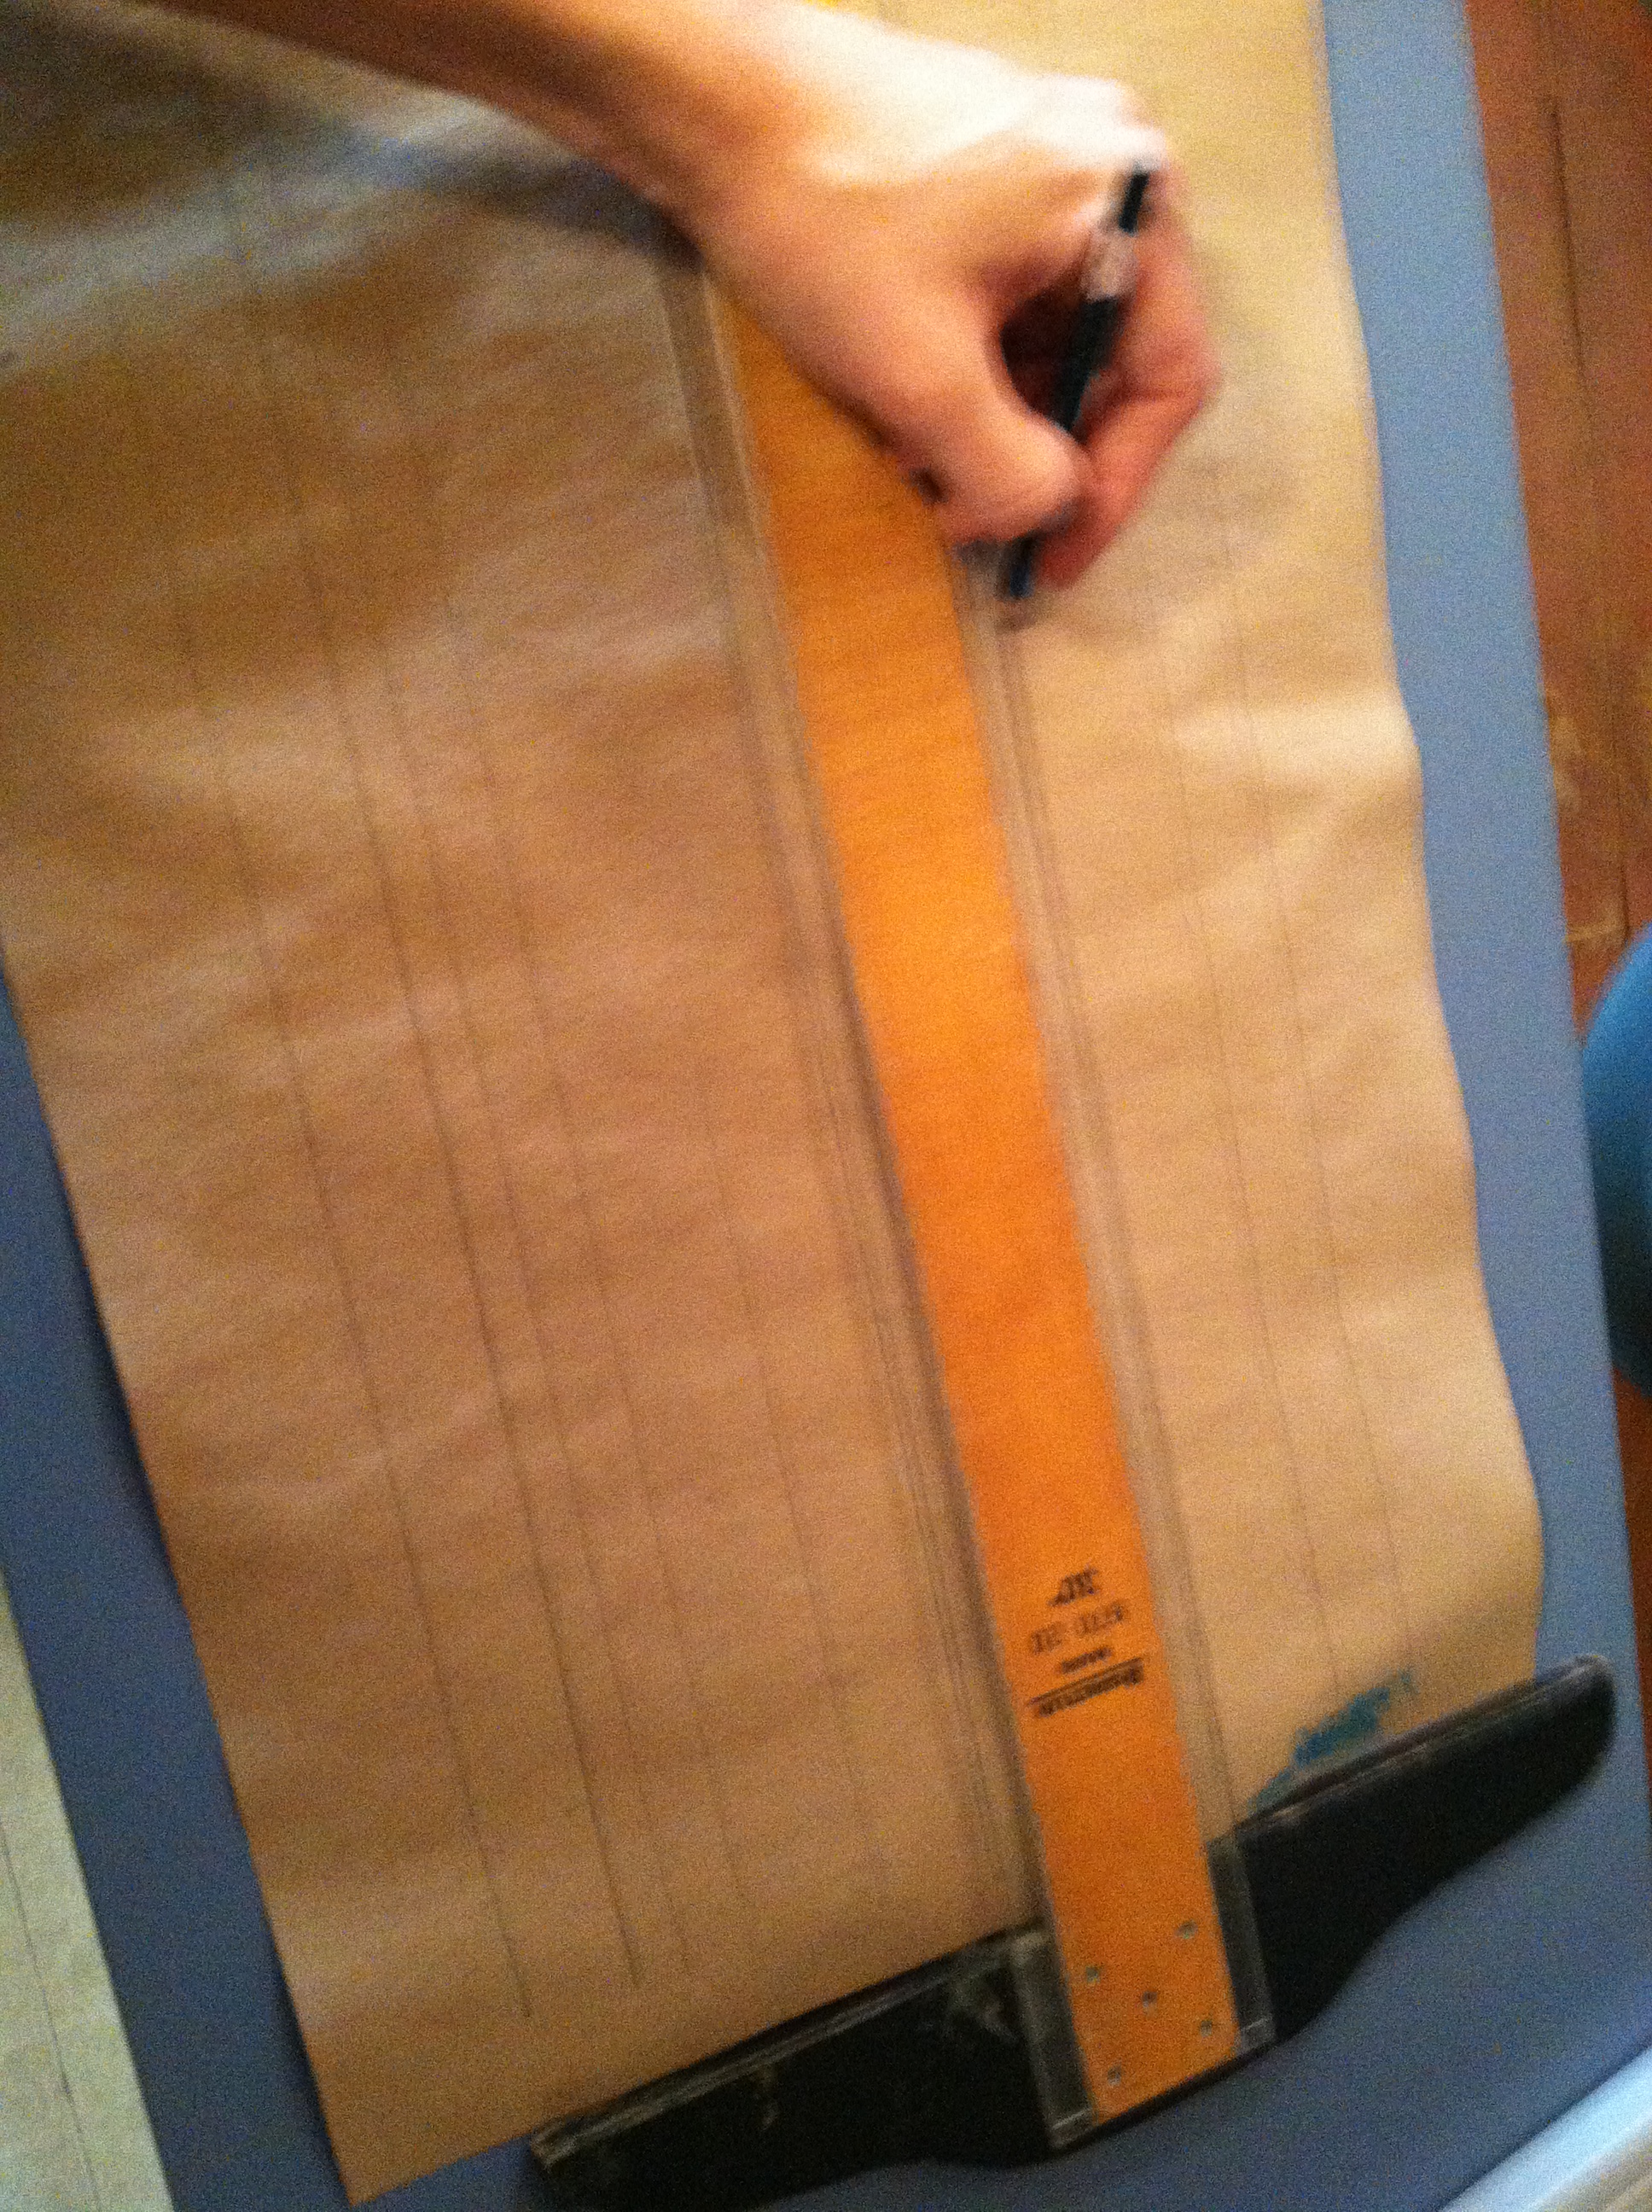
Mark off straight lines to cut into your base.
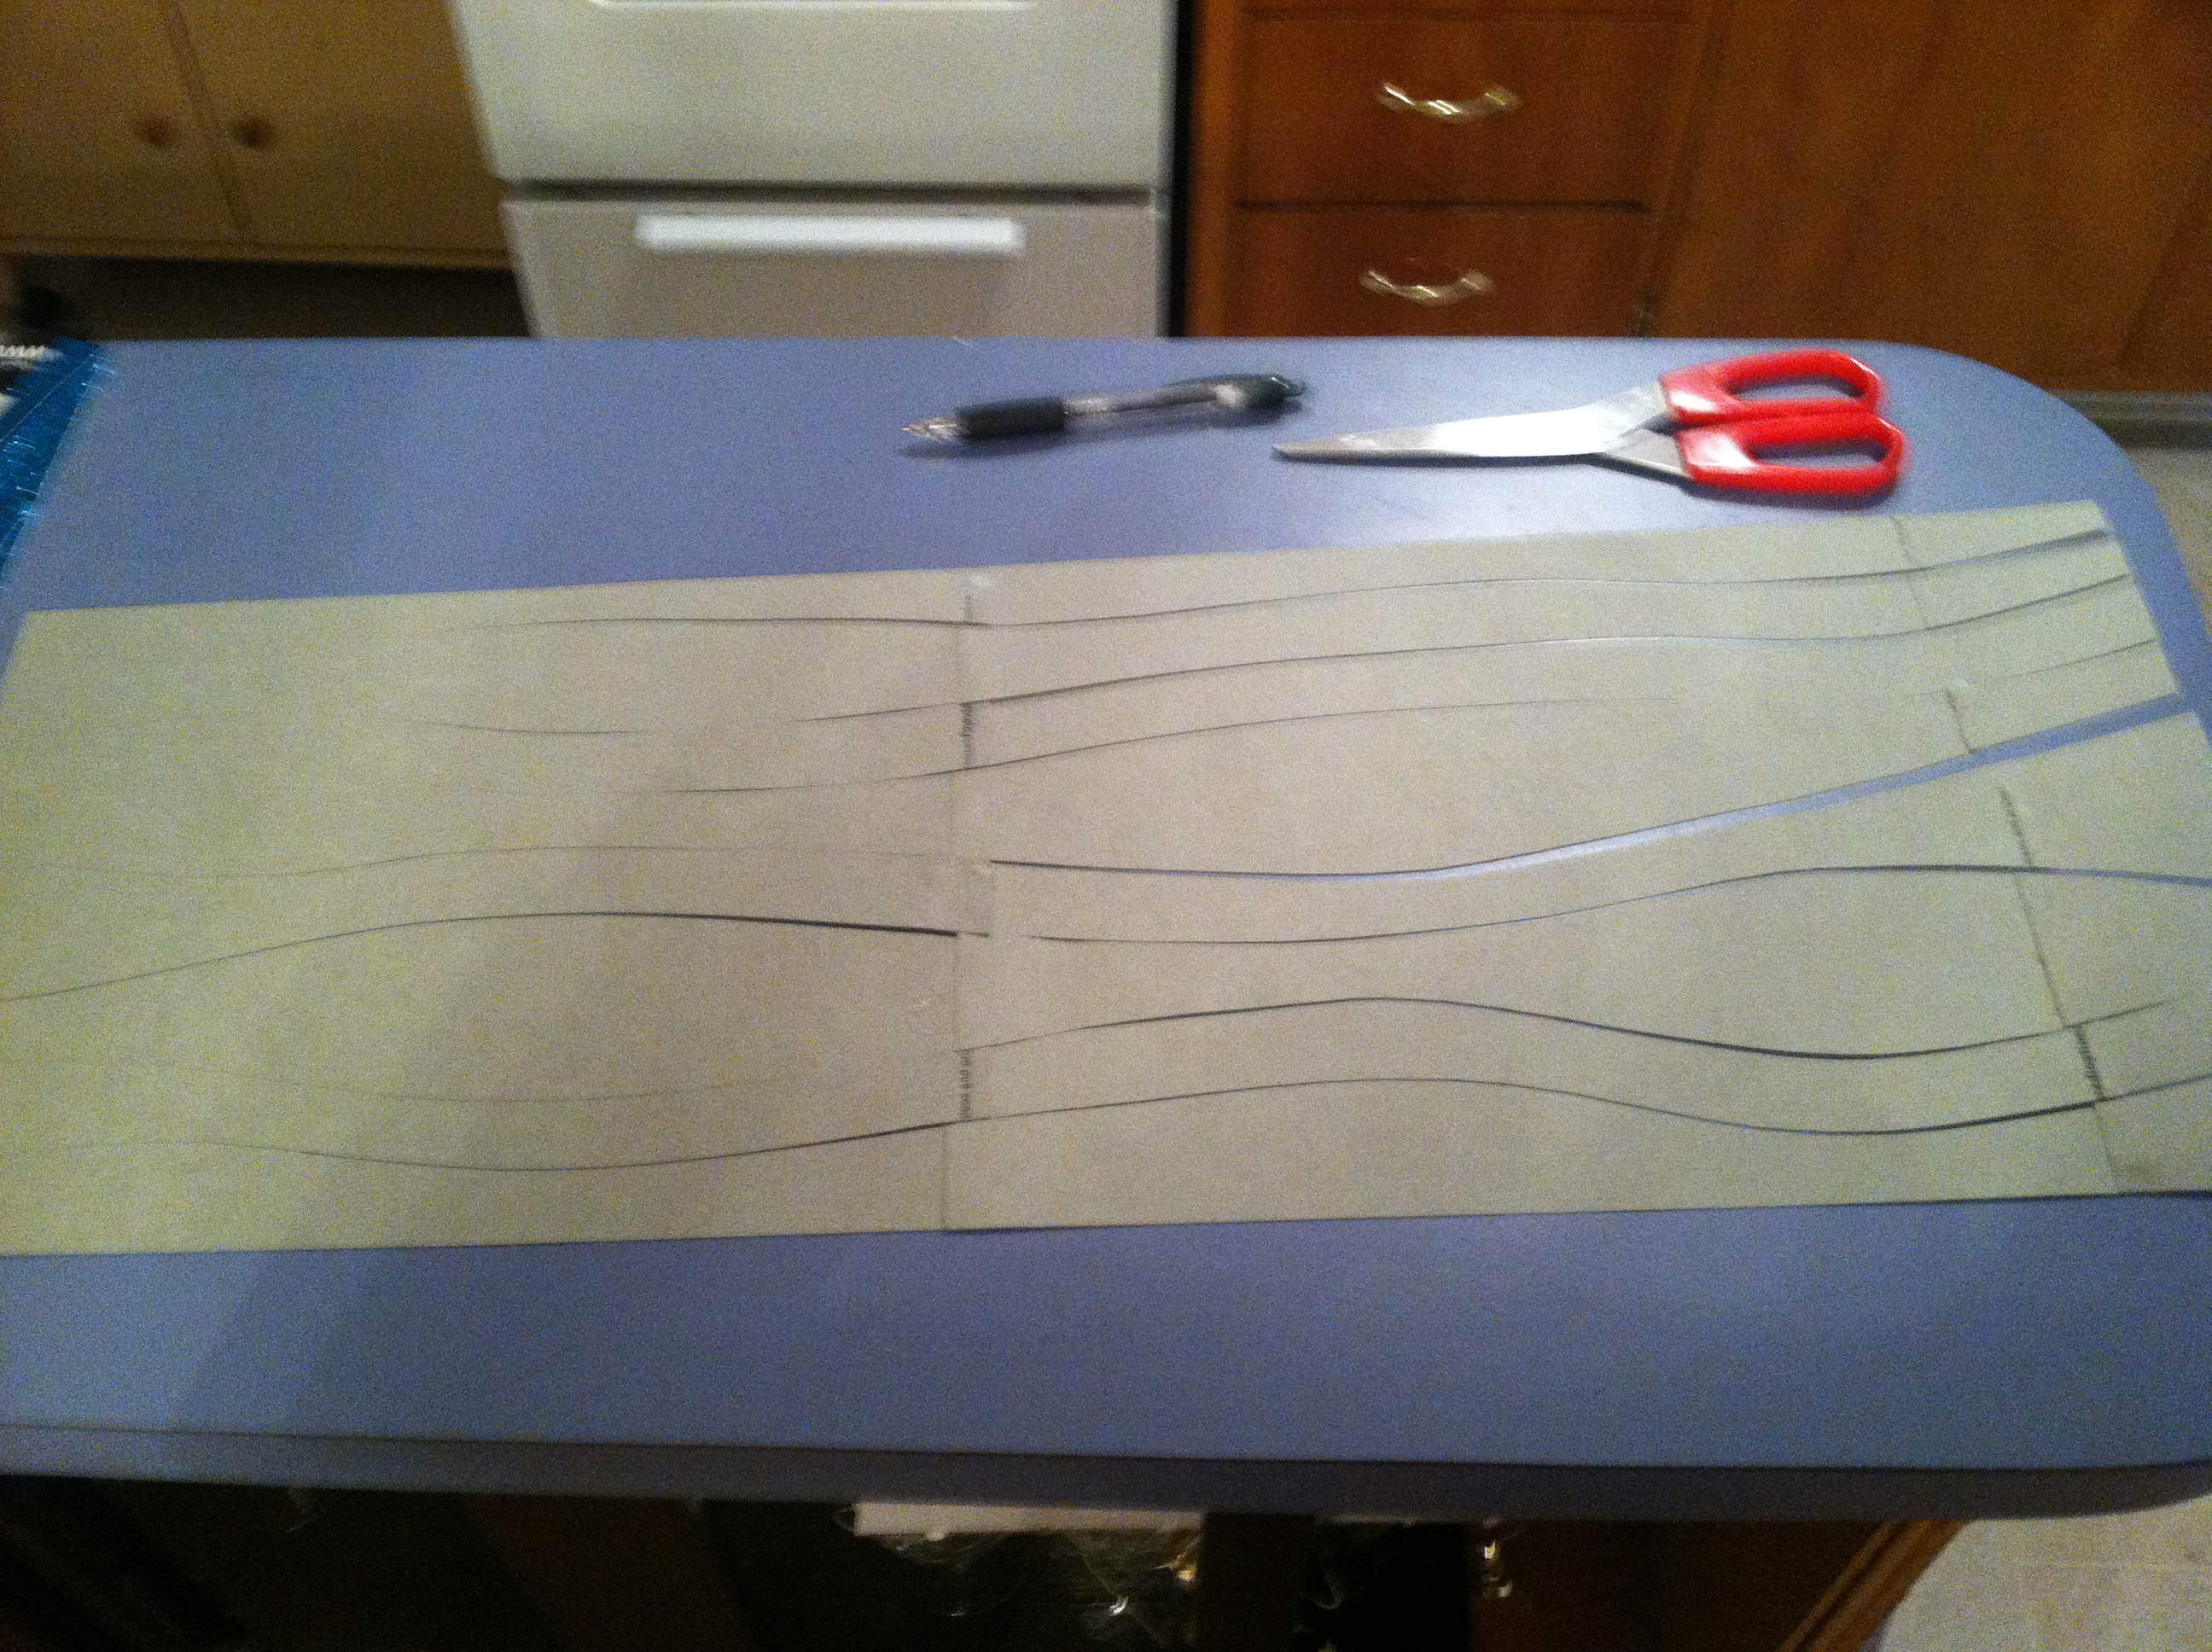
Or, go with squiggly lines instead.
You can paint a paper bag to match your color scheme and use that as your base too.
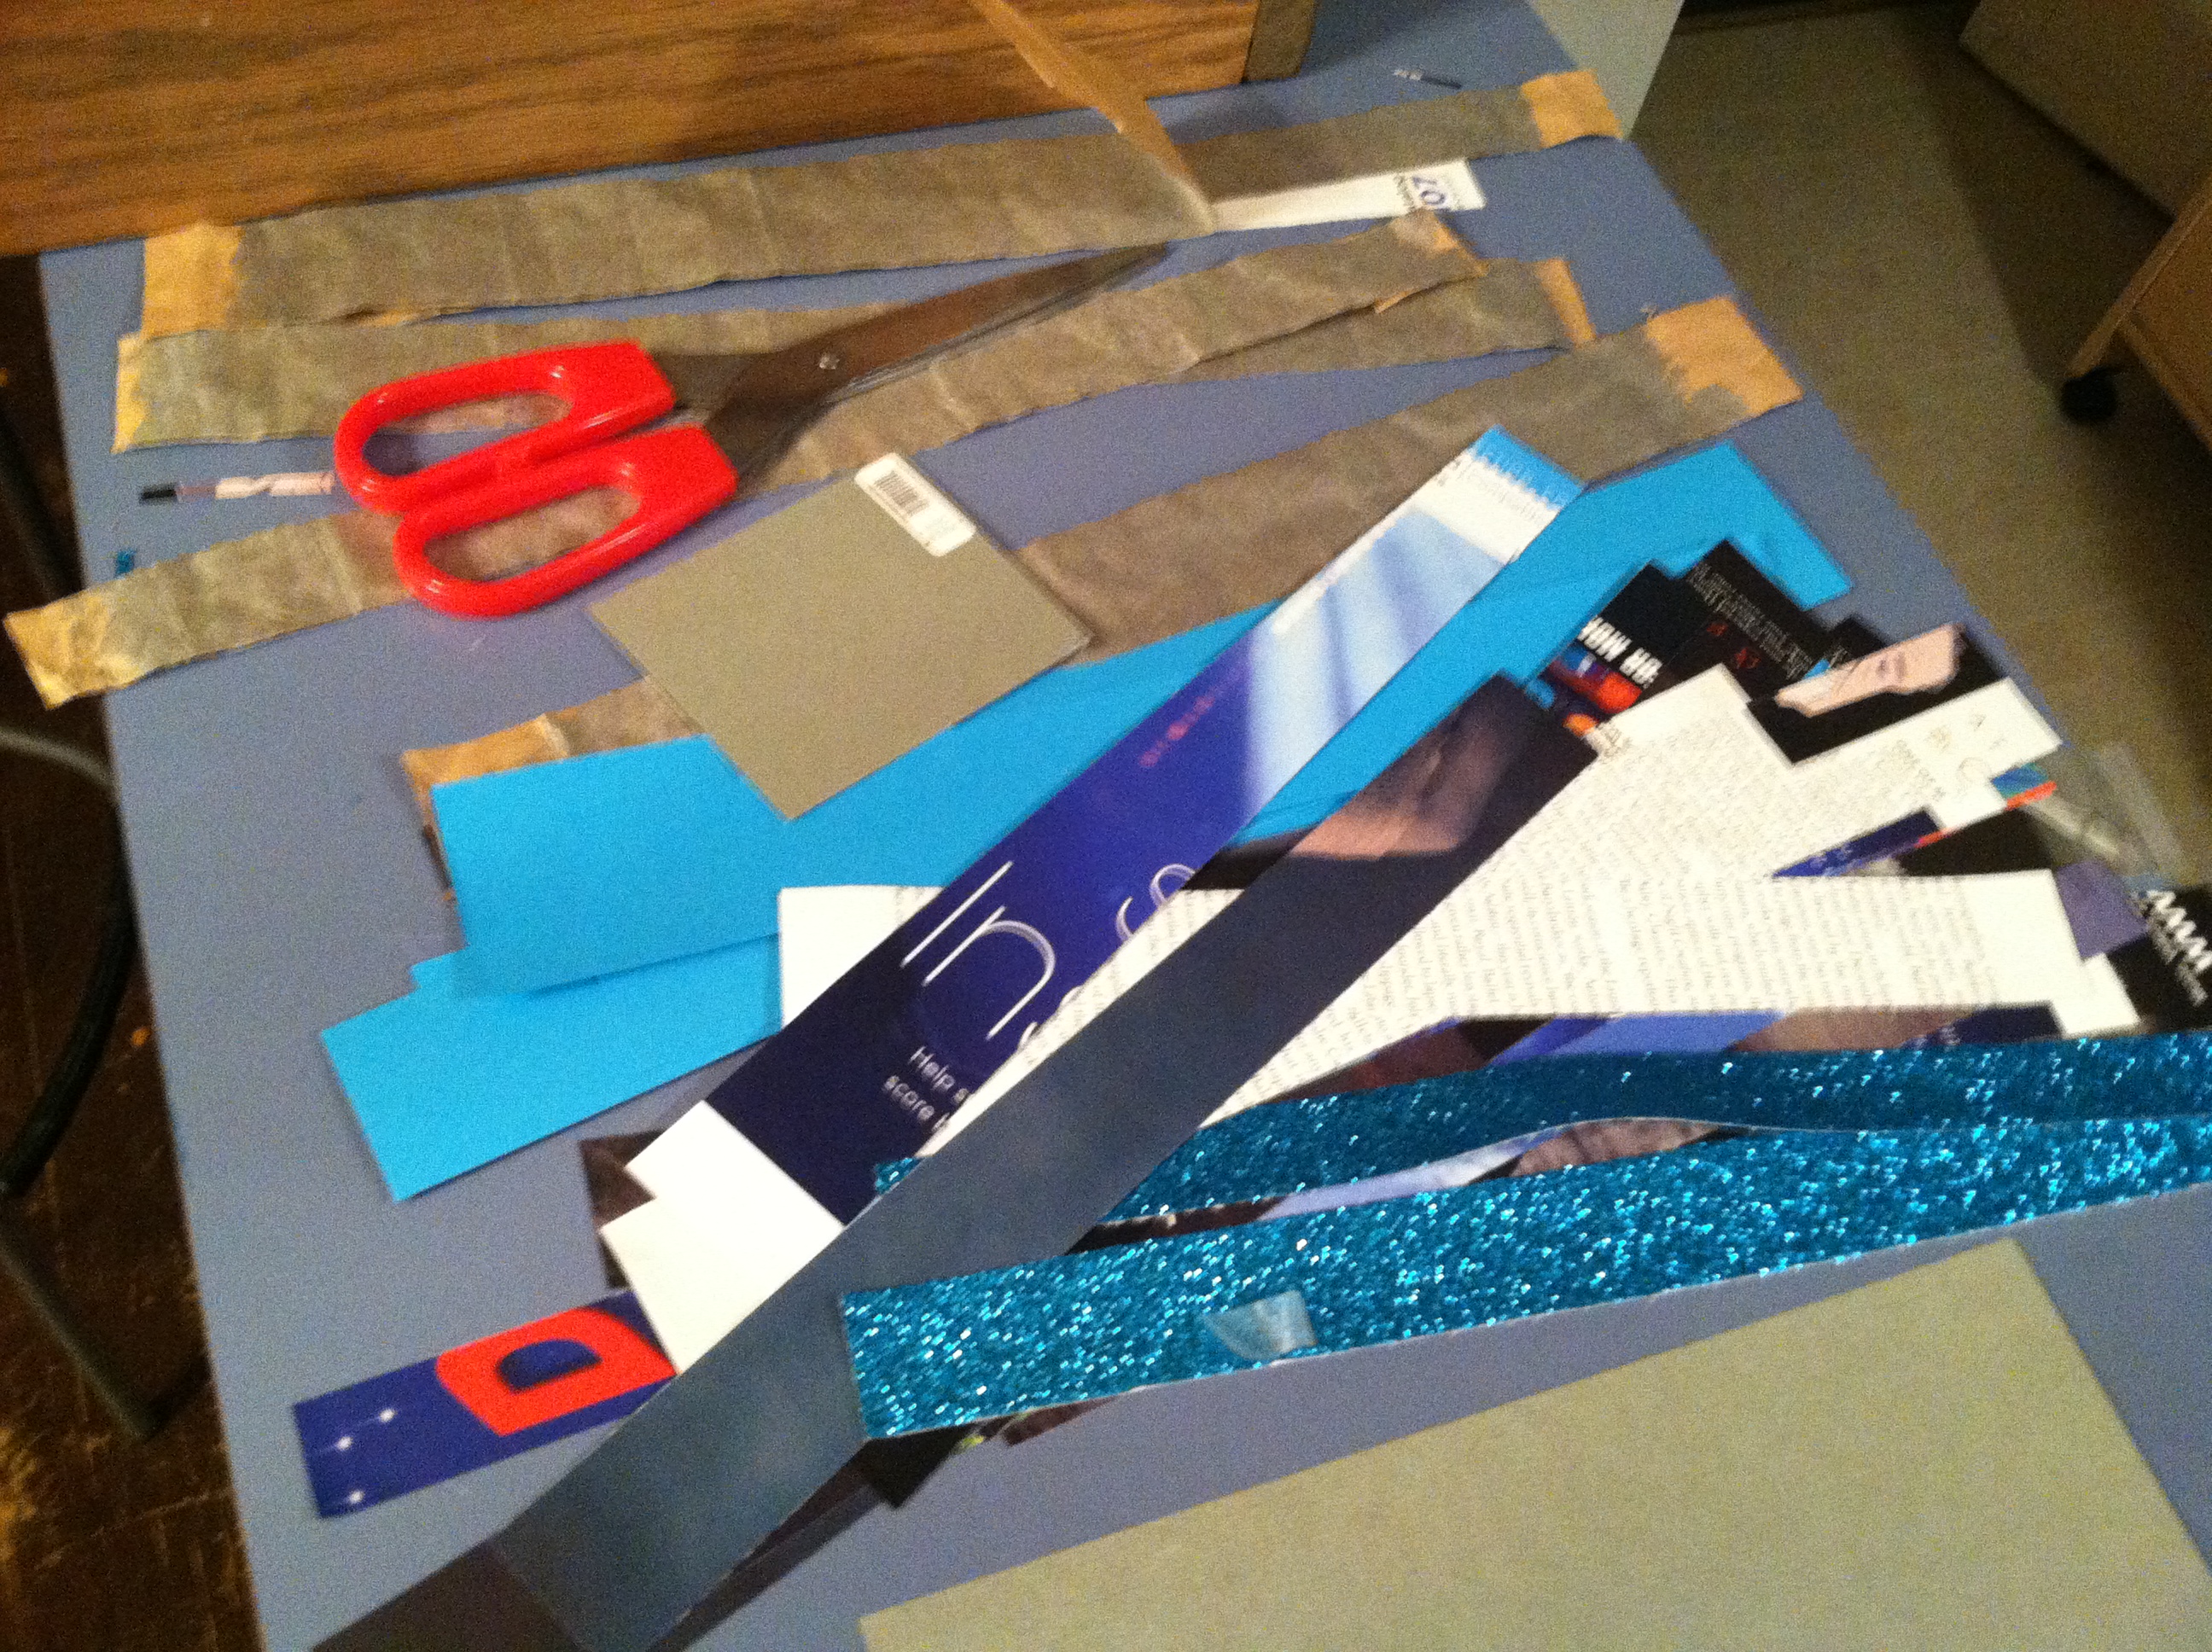
Used mixed media (sparkly scrapbook paper, magazine pages and cardstock) for your weaving strips.
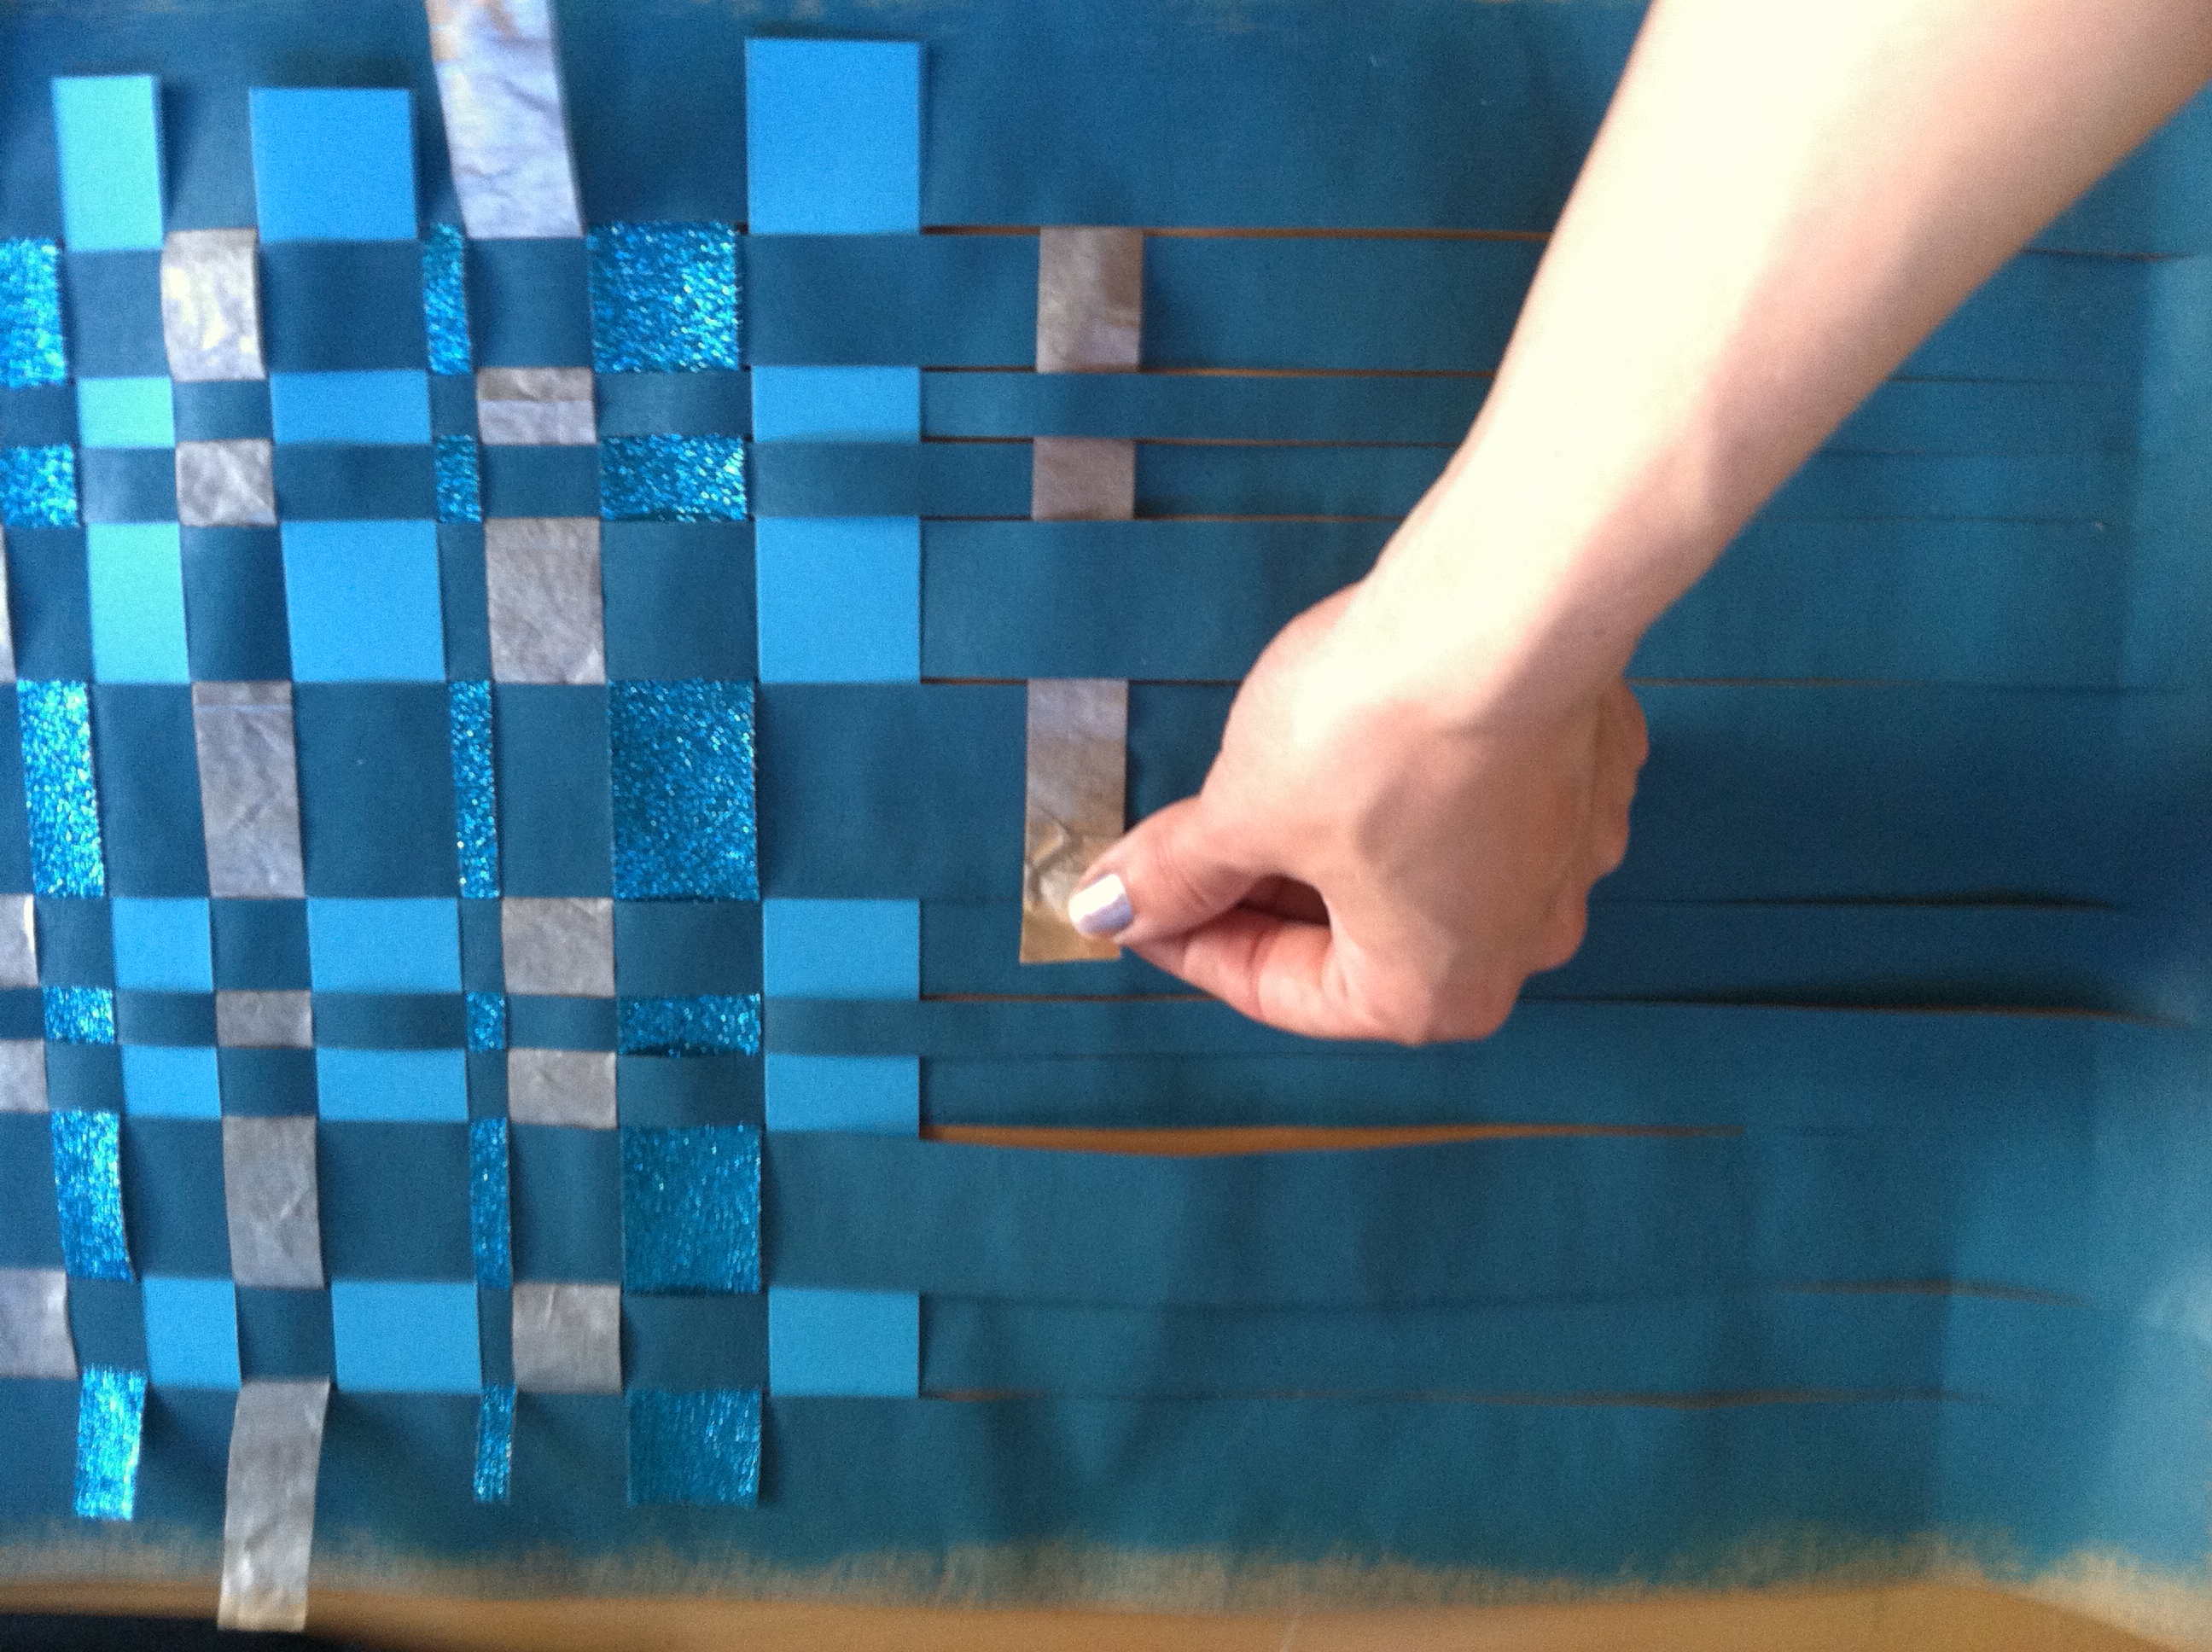
Weave your paper strips over, then under.
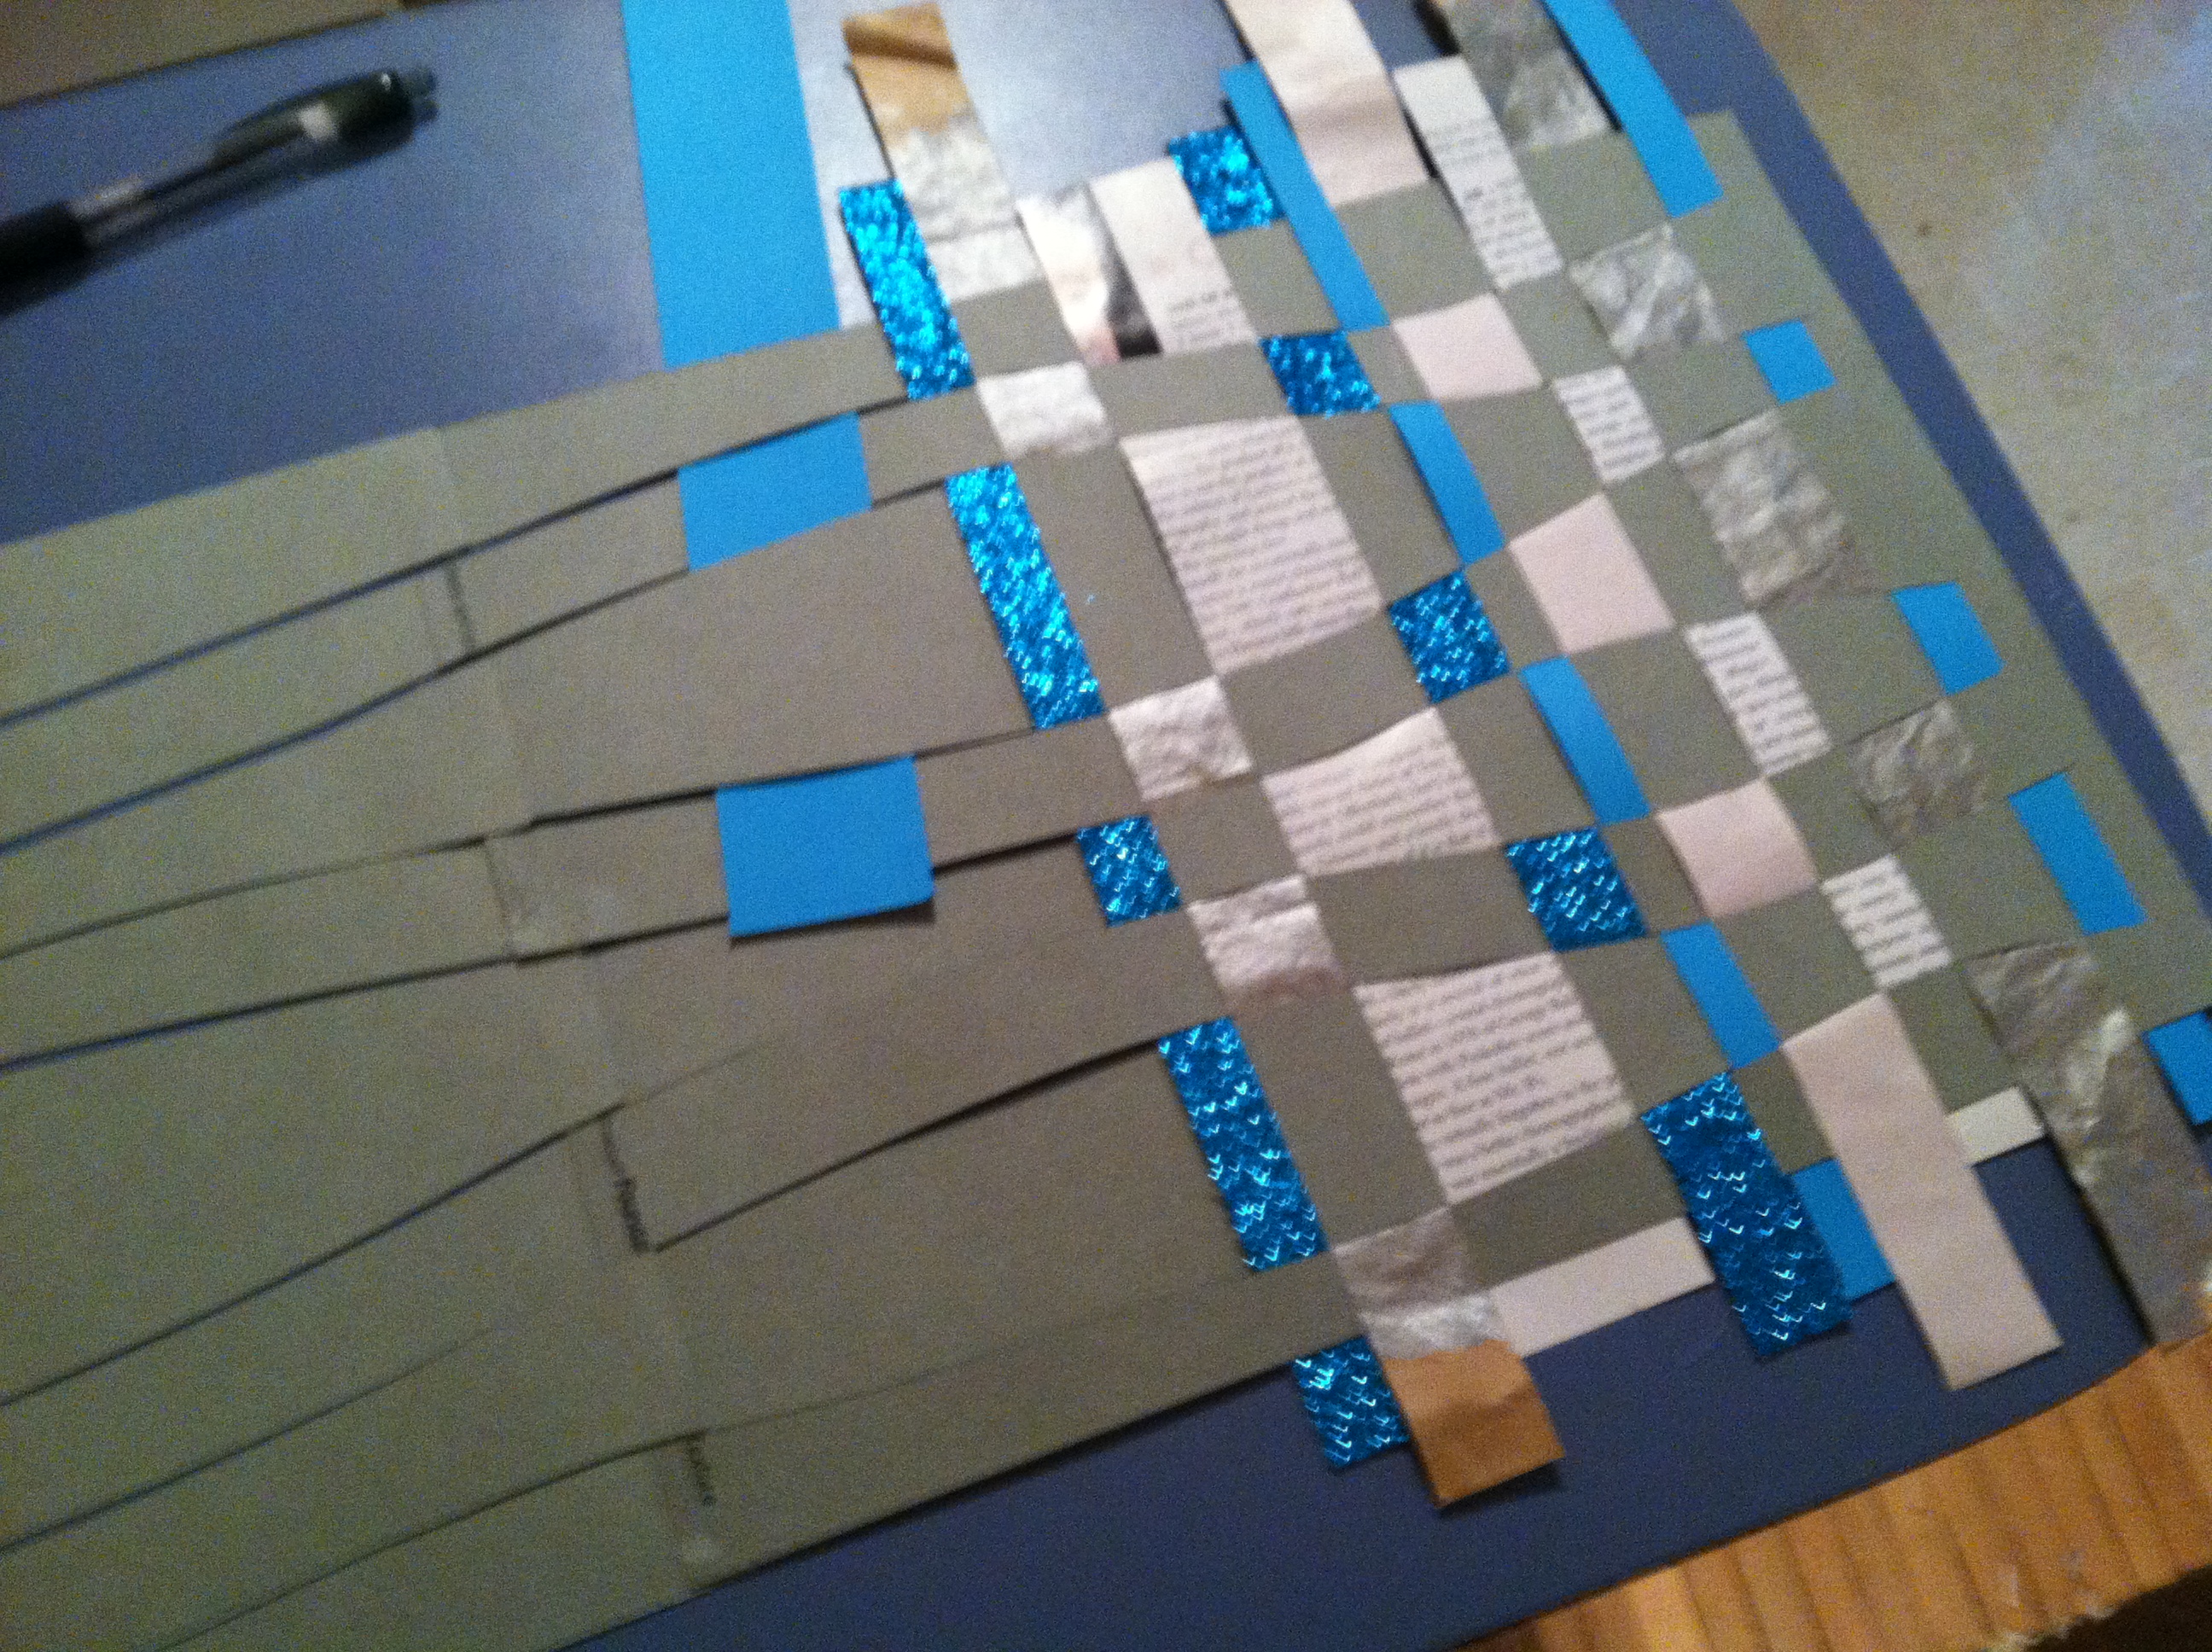
Use the same technique (over/under) for a wavy line base to achieve a different look.
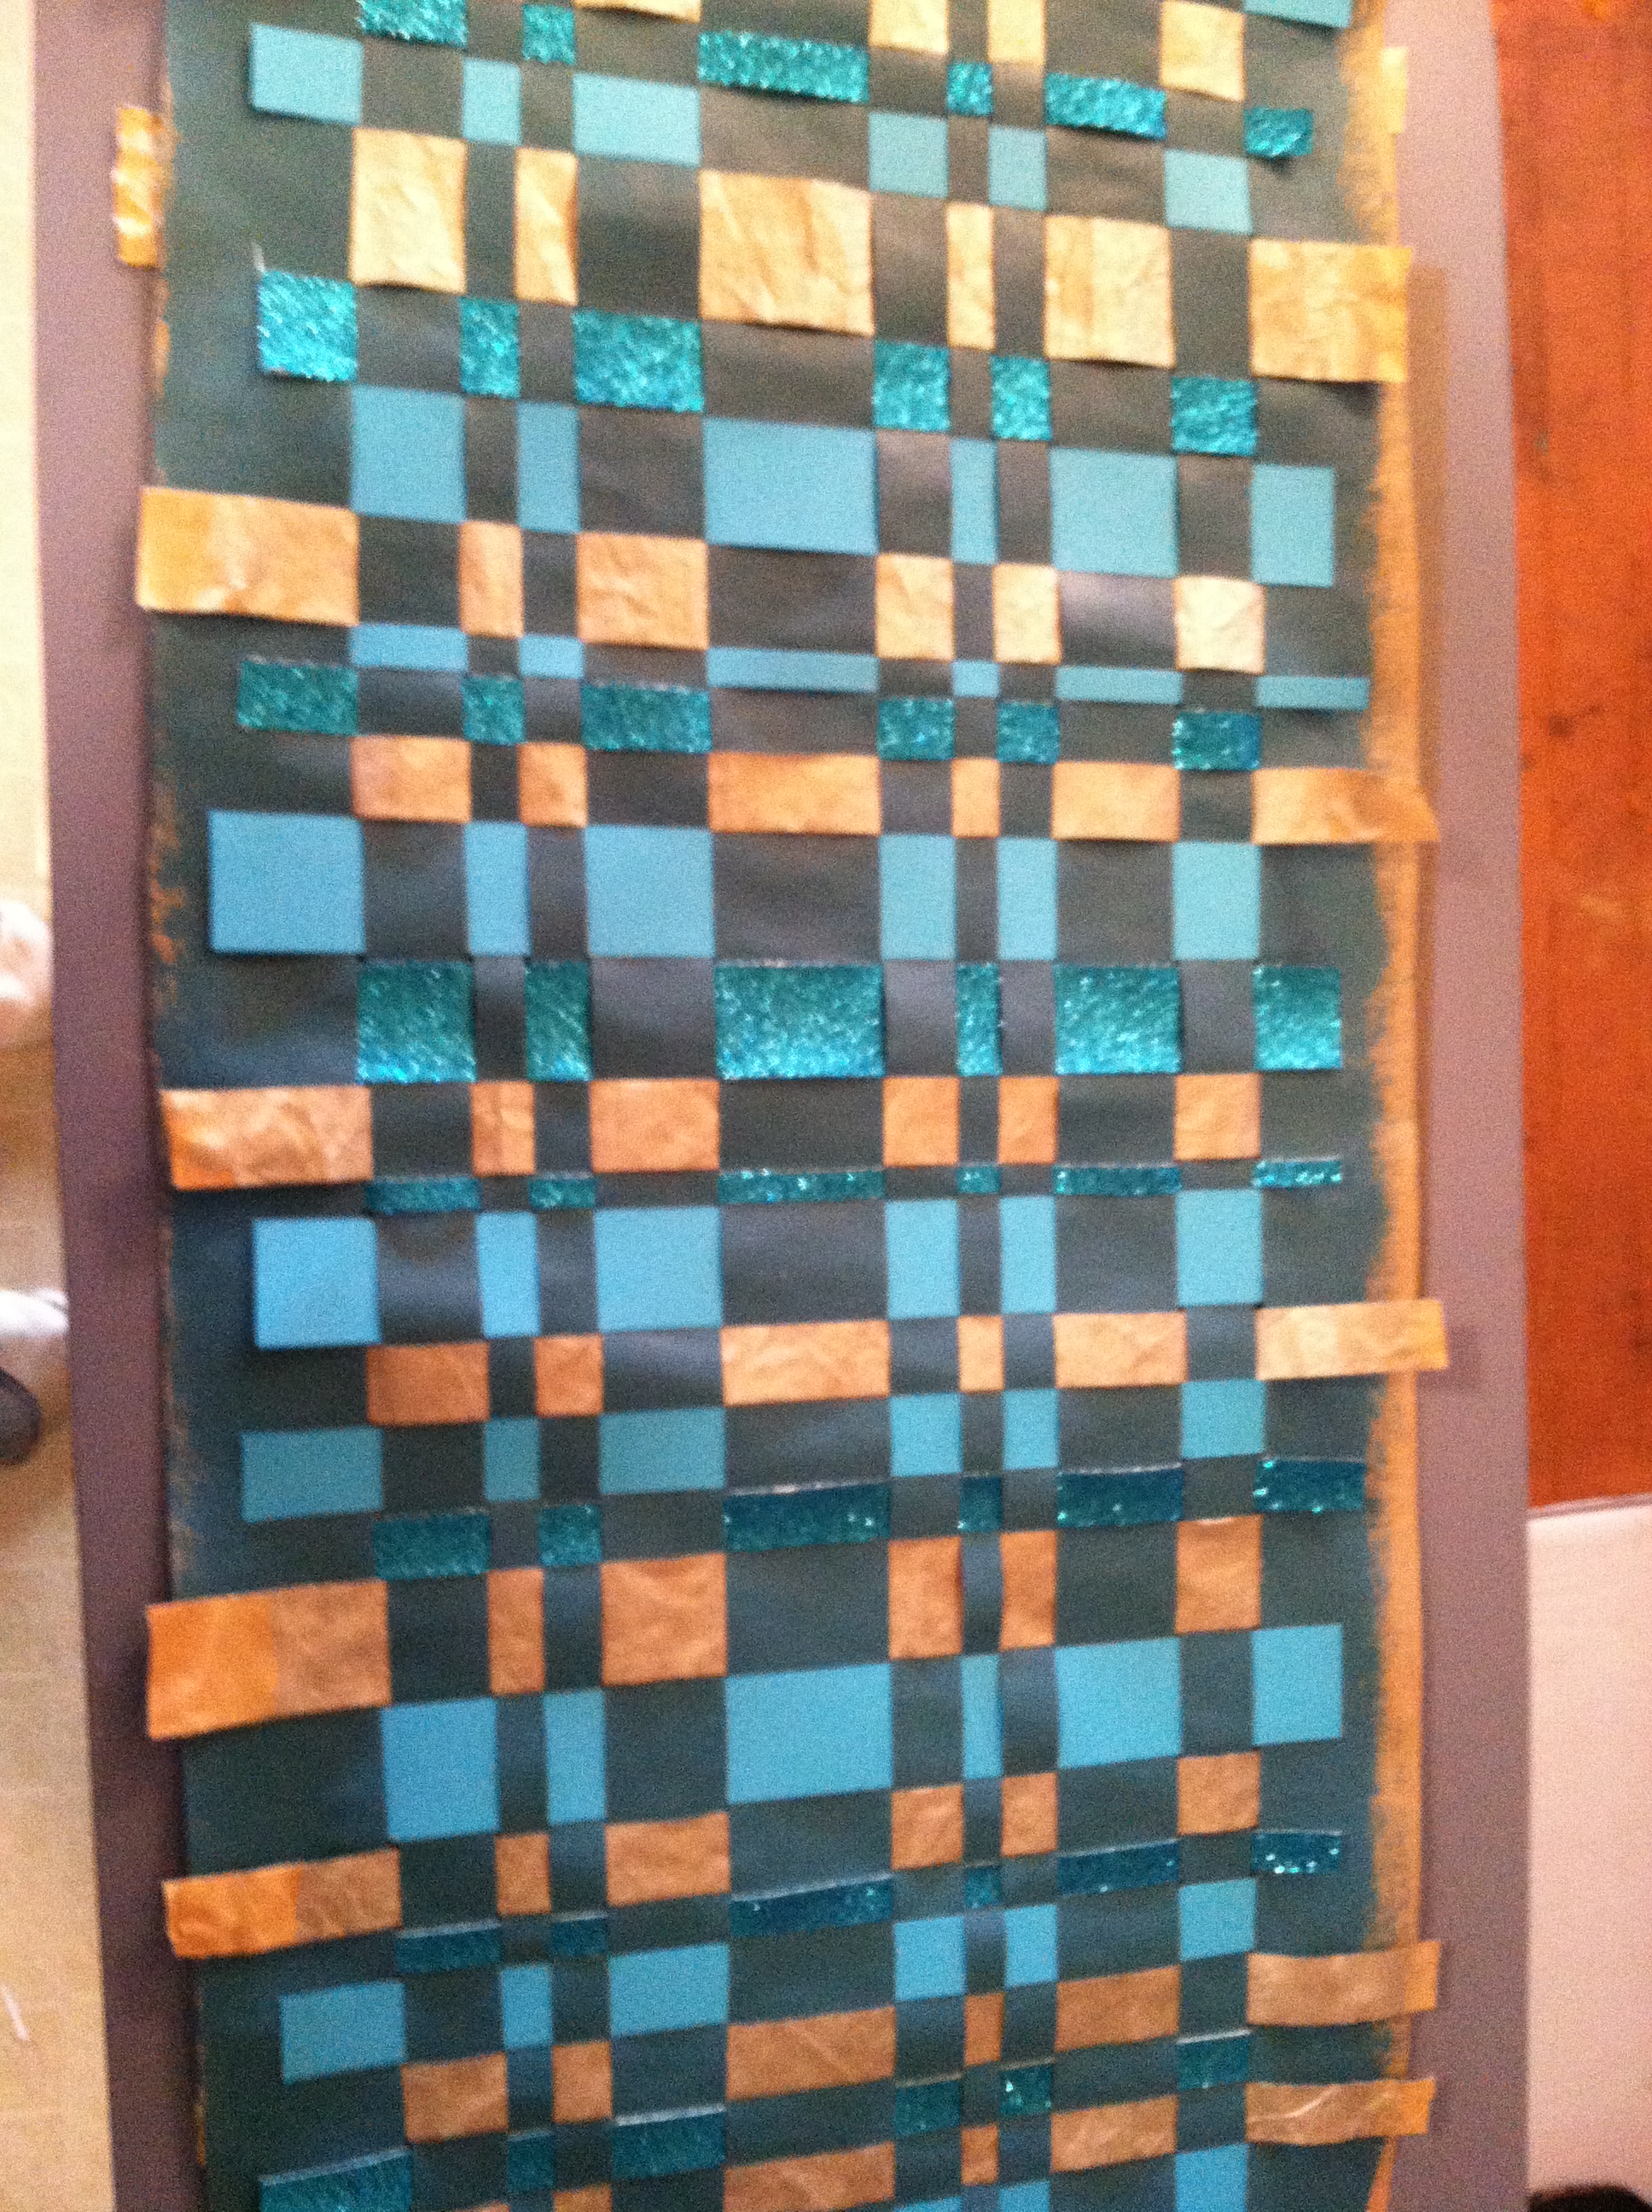
When you finish weaving, check that all of the edges are glued down. This is back of the finished product.

Transfer your weaving into the frame and glue the edges in place.

Back of frame
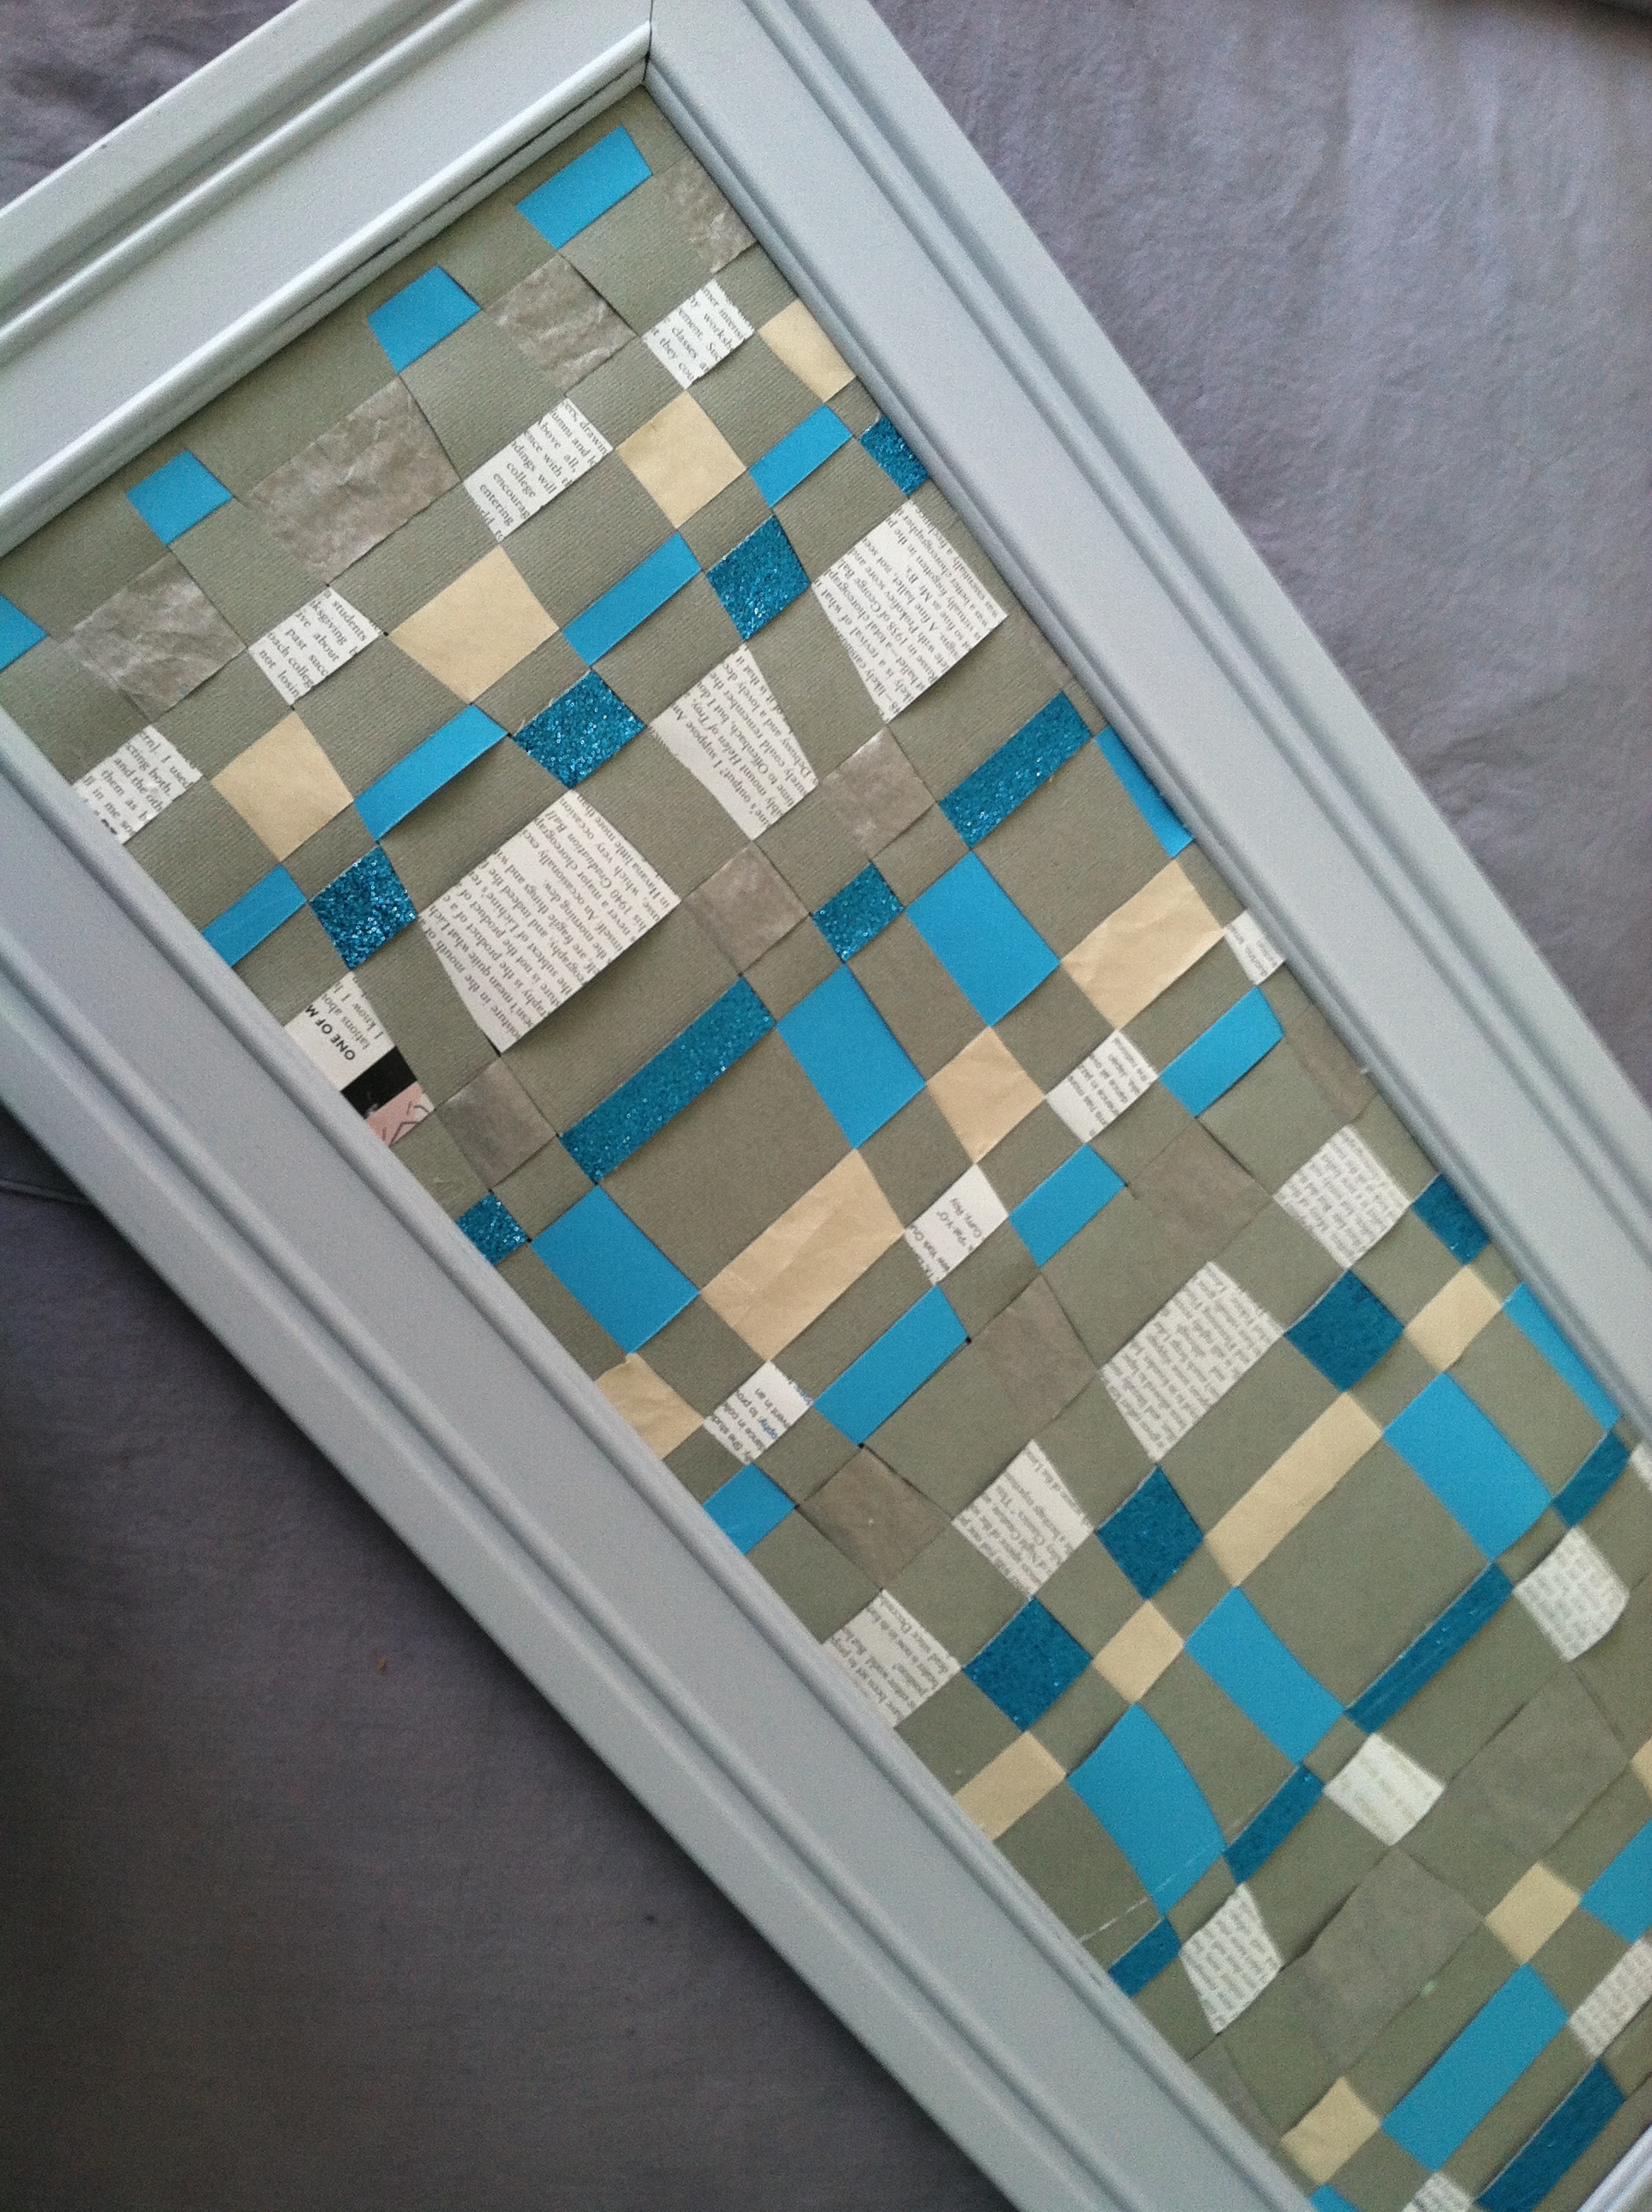
Front of frame
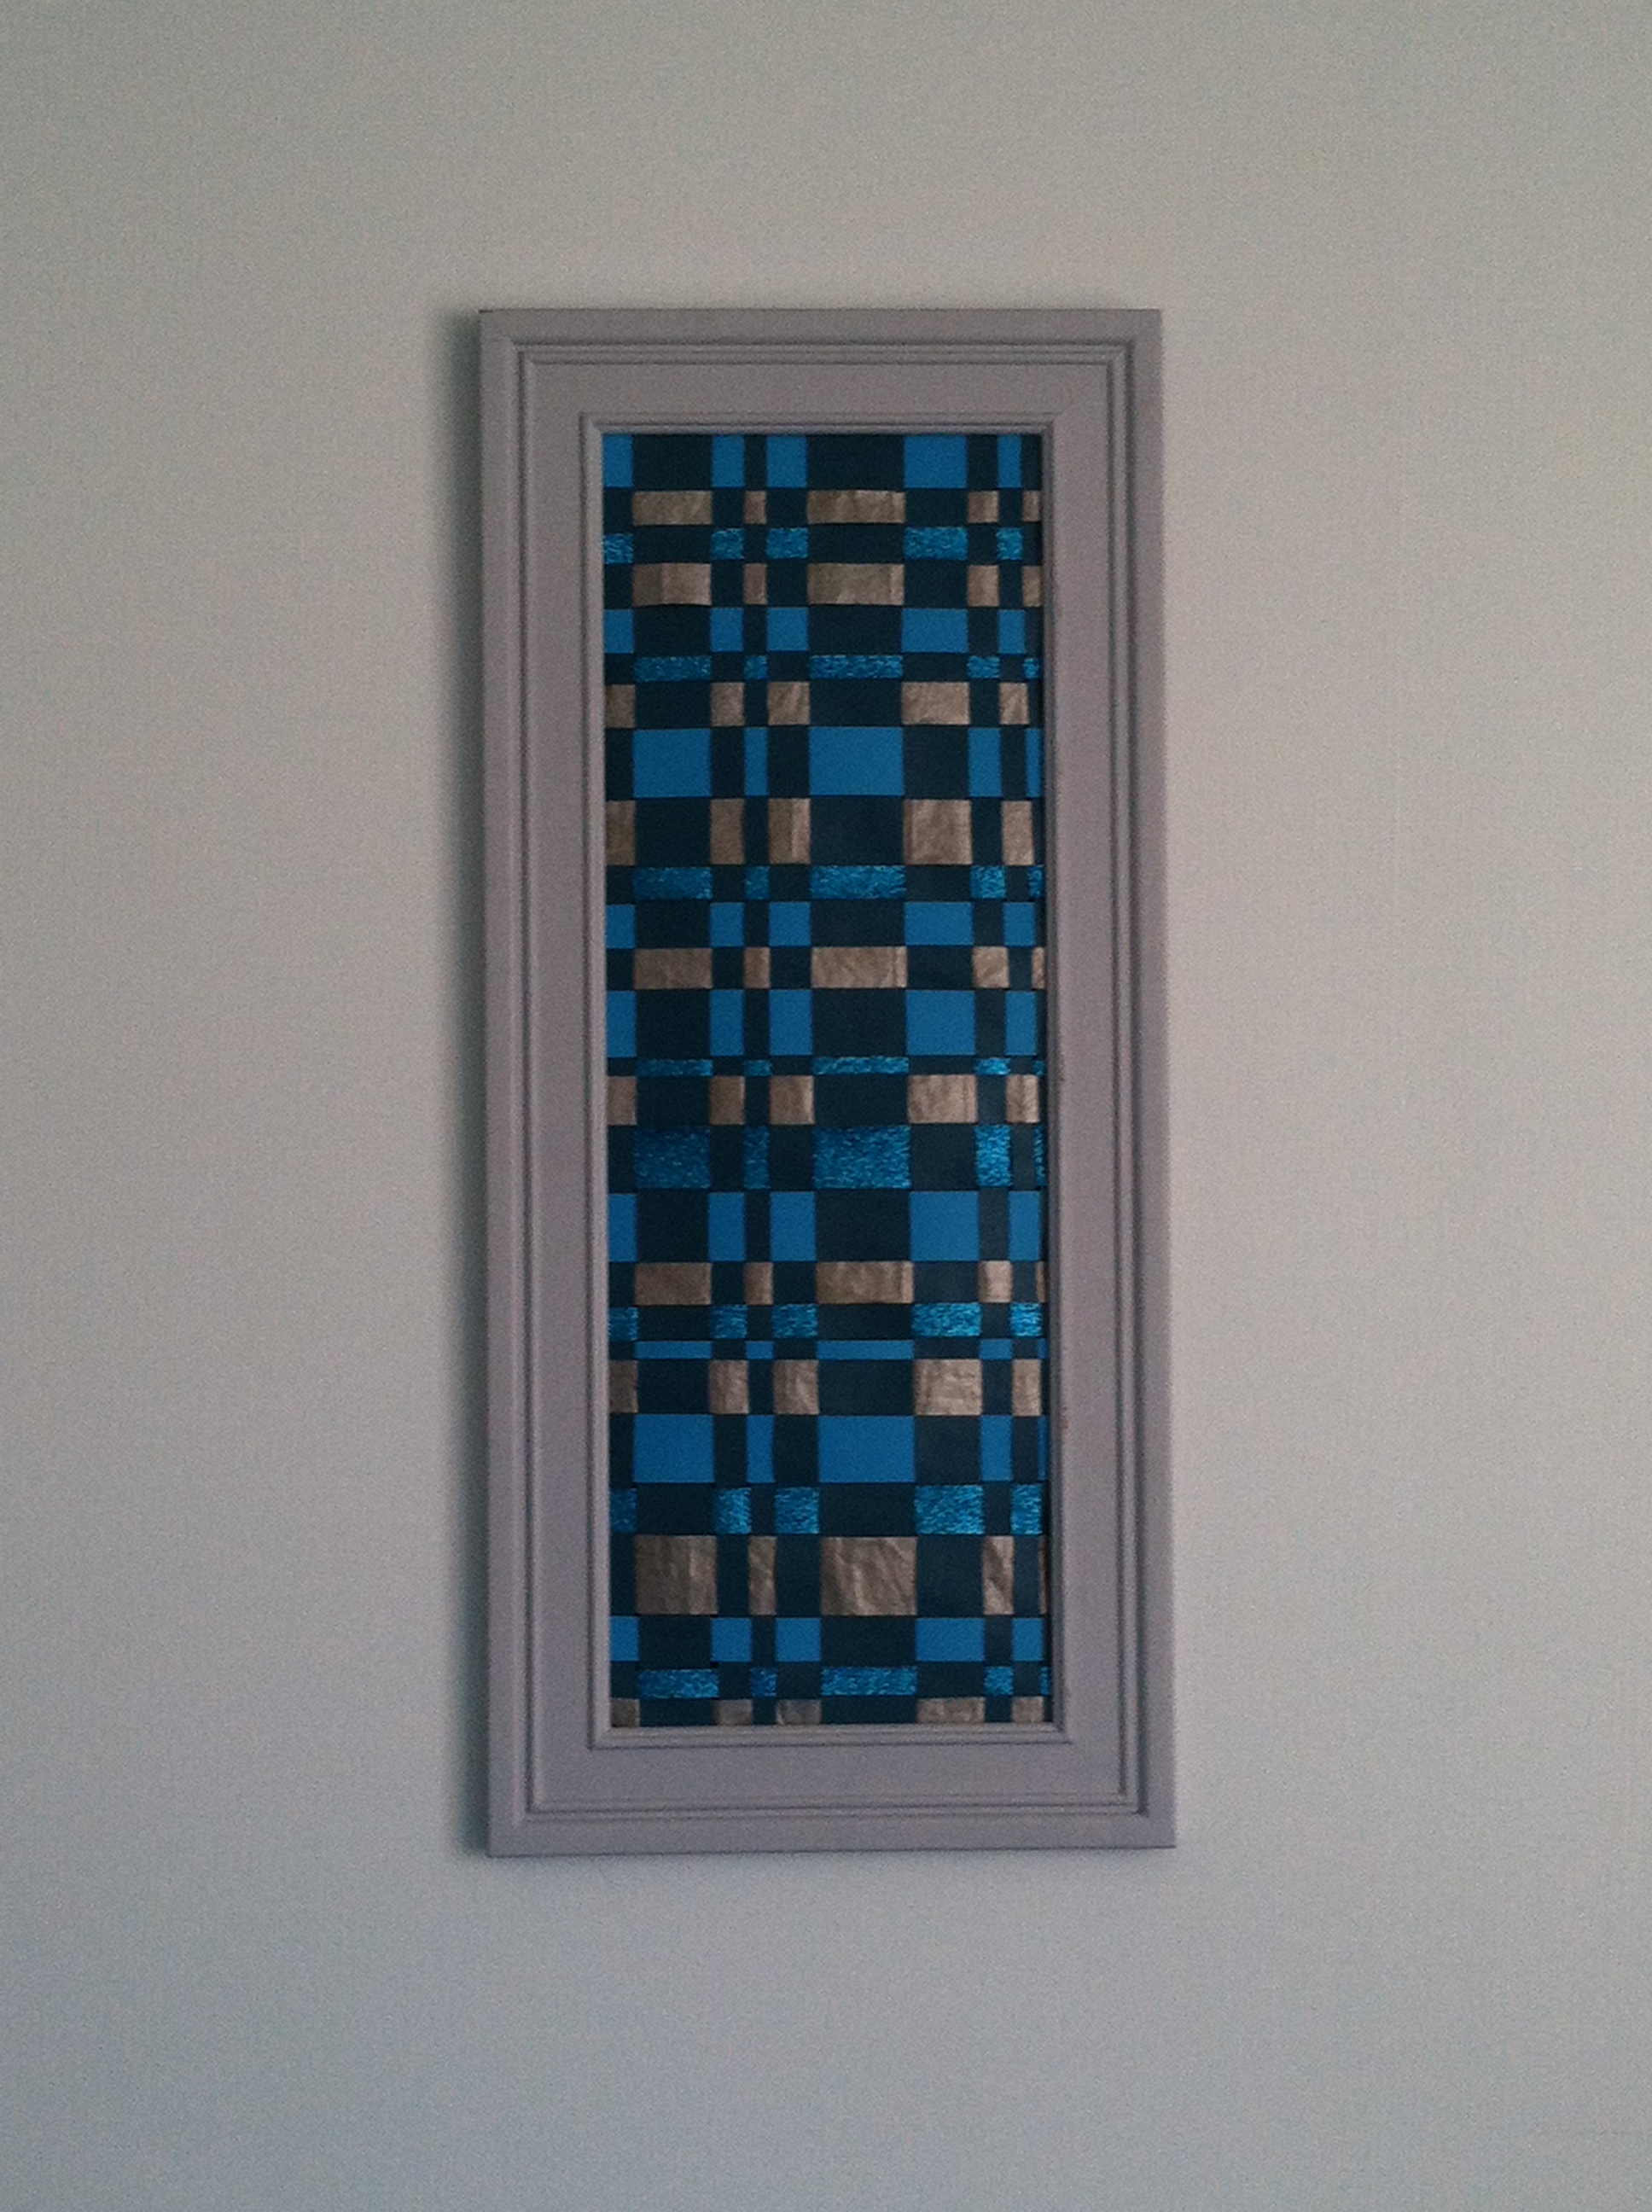
They look great on their own.
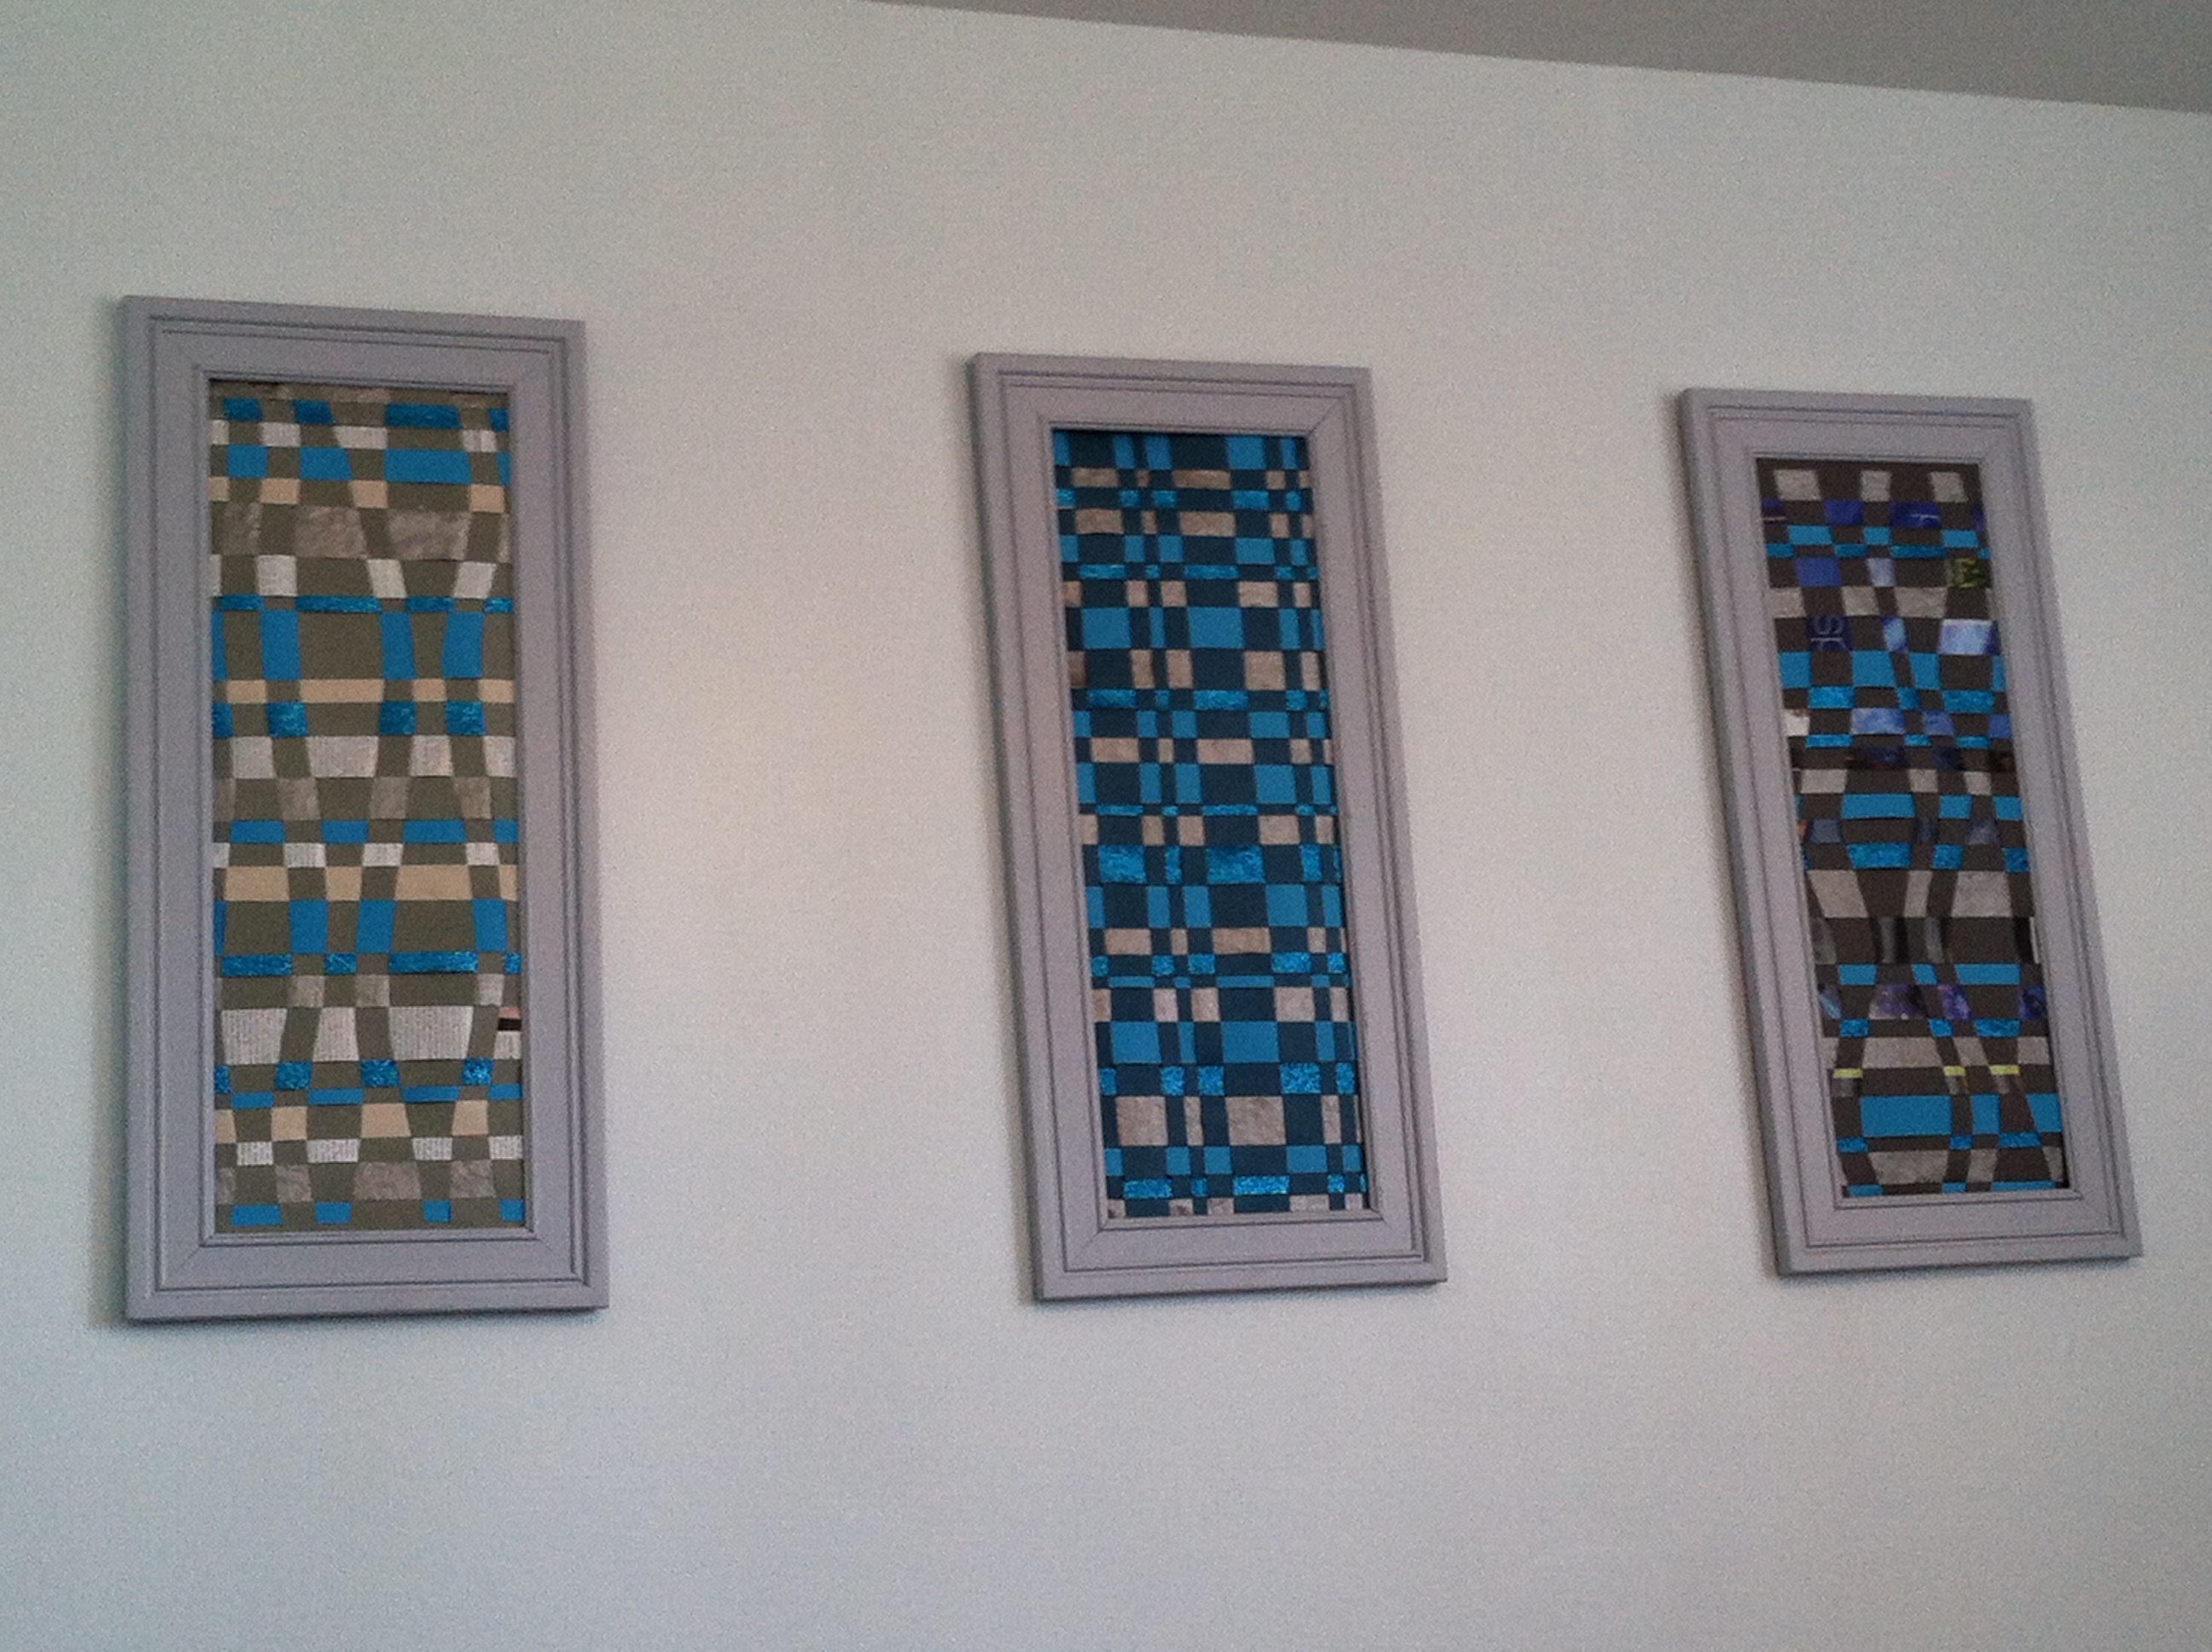
You can also hang them in a group for added impact. I did a variety of straight lines and wavy lines.

Voila!

11 Responses to “Take That, Target! How to Make Your Own Wall Art for Less than $6”
Sweet
Has anyone compared you to Martha Stewart? Because I swear you can make some really fantastic stuff and you’re so crafty! The finished product looks great though I’d rather have you make one because I’m horrible at following directions.
Haha! Martha Stewart is a name that is never mentioned in the Richter household (mainly because she’s so darn smug and steels other people’s idea without ever giving credit to anyone) but I will take your compliment in the spirit it was intended 😉 I don’t like following directions either- whenever I read other DIY blogs, I’m like “Just show me the pictures already!”
Yeah I figured it may be a name never spoken but I totally mean it in the awesome crafty way! I’m more of a chaotic creator and so I can’t explain how it happened, or if it will turn out good, I’m just like well… Let’s hope this turns out decent!
I hear ya! Half the time I’m like “Wait, how did I do that?” Let alone “How do I explain how I did that?” There are always many non-blog worthy prototypes that don’t quite work out…
This is an excellent use of discarded manuscript pages. Invite a few kids over and you can charge for art classes!
How utterly unique & wonderful!
I love this! I’ve gotta try to make one – although, I don’t know where I will hang it…I’m kind of crazy about having pictures and things all over the walls. My husband just shakes his head.
[…] Once the vanity was up, I got started on some cheap upcycled wall art. […]
[…] week, I shared how to make some awesome framed wall art for less than $6. The one purchase I made for this project (aside from the frames) was a piece of teal sparkly […]
[…] good at a lot of things: making pillows, decorating my walls and constructing my very own Zen meditation cushions… but cooking is not one of those […]